I’ve documented my introduction and journey with the Weiss Distribution Technique (WDT) and how it improved my home espresso. Starting off with a paperclip, then needles and toothpicks in a cork, it was a great learning process. And every step helped improve my espresso.
My boss at CoffeeGeek decided to send me an actual, real WDT tool, from a company that designs, makes and sells them on Etsy, called Introvert Makes. They make several versions, including a very fancy polished aluminum one that sells for $61.
I was sent the Classic Version, which retails for well under $20. I also got a chance to ask Andrew, the owner of IntrovertMakes, questions about this device and WDT in general, which you’ll find some reference to, below. This is my mini review.
This product was tested in my home on my main espresso machine, as well as a manual model. I compared the technique and output of this WDT device to several “homebrew” WDT tools including a cork with toothpicks, and a paperclip setup.
This is a 3D printed tool, and it definitely looks exactly like that: you can actually see the spiral cuts in the plastic material. It’s not the prettiest thing, but it fits really well in the hand and comes with an included stand that gives it a little home on the counter next to your espresso machine.
It is very lightweight, made from PLA plastic, and the main body is pretty wide with a diameter of 1.5 inches. The body is 2.5 inches tall without the needles.
The WDT Classic comes with 10 acupuncture style needles, each about 0.35mm diameter, and about 3.25” (8cm) long, with their spring portion occupying about 2/5ths the length. Getting 10 needles is enough to give you a full set of spares should you break or bend one or more down the road. The needles sit parallel, instead of fanning out (like some WDT devices do); Introvert argues this is better because all the needles will stay equal distance to the bottom of the filter basket when applying the WDT method.
What makes this device from Introvert so unique is that you can adjust and change the pattern of the needles! Andrew has three different recommended patterns: a close-spaced 3 needle layout in a triangle, a wide 6 needle pattern with a pentagon and a center needle, and a 4 needle layout with 3 in a triangle, and a 4th needle in the middle.
To insert and change the needles, the top cap of the Classic unscrews, showing the hole slots (and the patterns etched in the plastic). Simply slide the acupuncture needles into the pattern you chose and screw the lid back on to secure them.
I asked Andrew at Introvert what pattern he likes best. “My favourite pattern for the Classic is the pentagon plus the center needle.” Andrew said. “This lets me have the most needles while keeping them evenly and widely spaced. I use the center needle because some coffees are stickier, and when combed around and react differently with or without the center needle.”
I also wanted to know why the wider pattern of needles (ie, more space between the needles) is desired. “One of my primary design goals is efficiency.” Andrew answered. “A wider needle pattern gives a larger volume of coverage, so that combined with more needles enables you to do more combing for the same given time. However, I’ve observed that more needles is not always better. That brings us to effectiveness, which is another primary design goal. I believe the ideal way the coffee grounds should behave when the needles move through it is to split up or part away from the needle, but no more beyond that. When the needles are too densely spaced, I notice that it sort of forms a cage or barrier and moves the trapped coffee grounds within it all around the portafilter, which I suppose will result in the opposite of even distribution.”
Based on this feedback, I set up the WDT Classic tool with the pentagon pattern and center needle, and started using it.
Using the WDT Tool
Graduating from paper clips, toothpicks and sewing needles pushed into wine corks, this tool feels like a substantial jump in ability and execution. I noticed with my home-brew tools that they tended to move the coffee around in the basket, almost like a shovel at times.
That shovel effect definitely does not happen with the Introvert WDT Classic Tool. Especially if you use one of the more spaced out needle patterns.
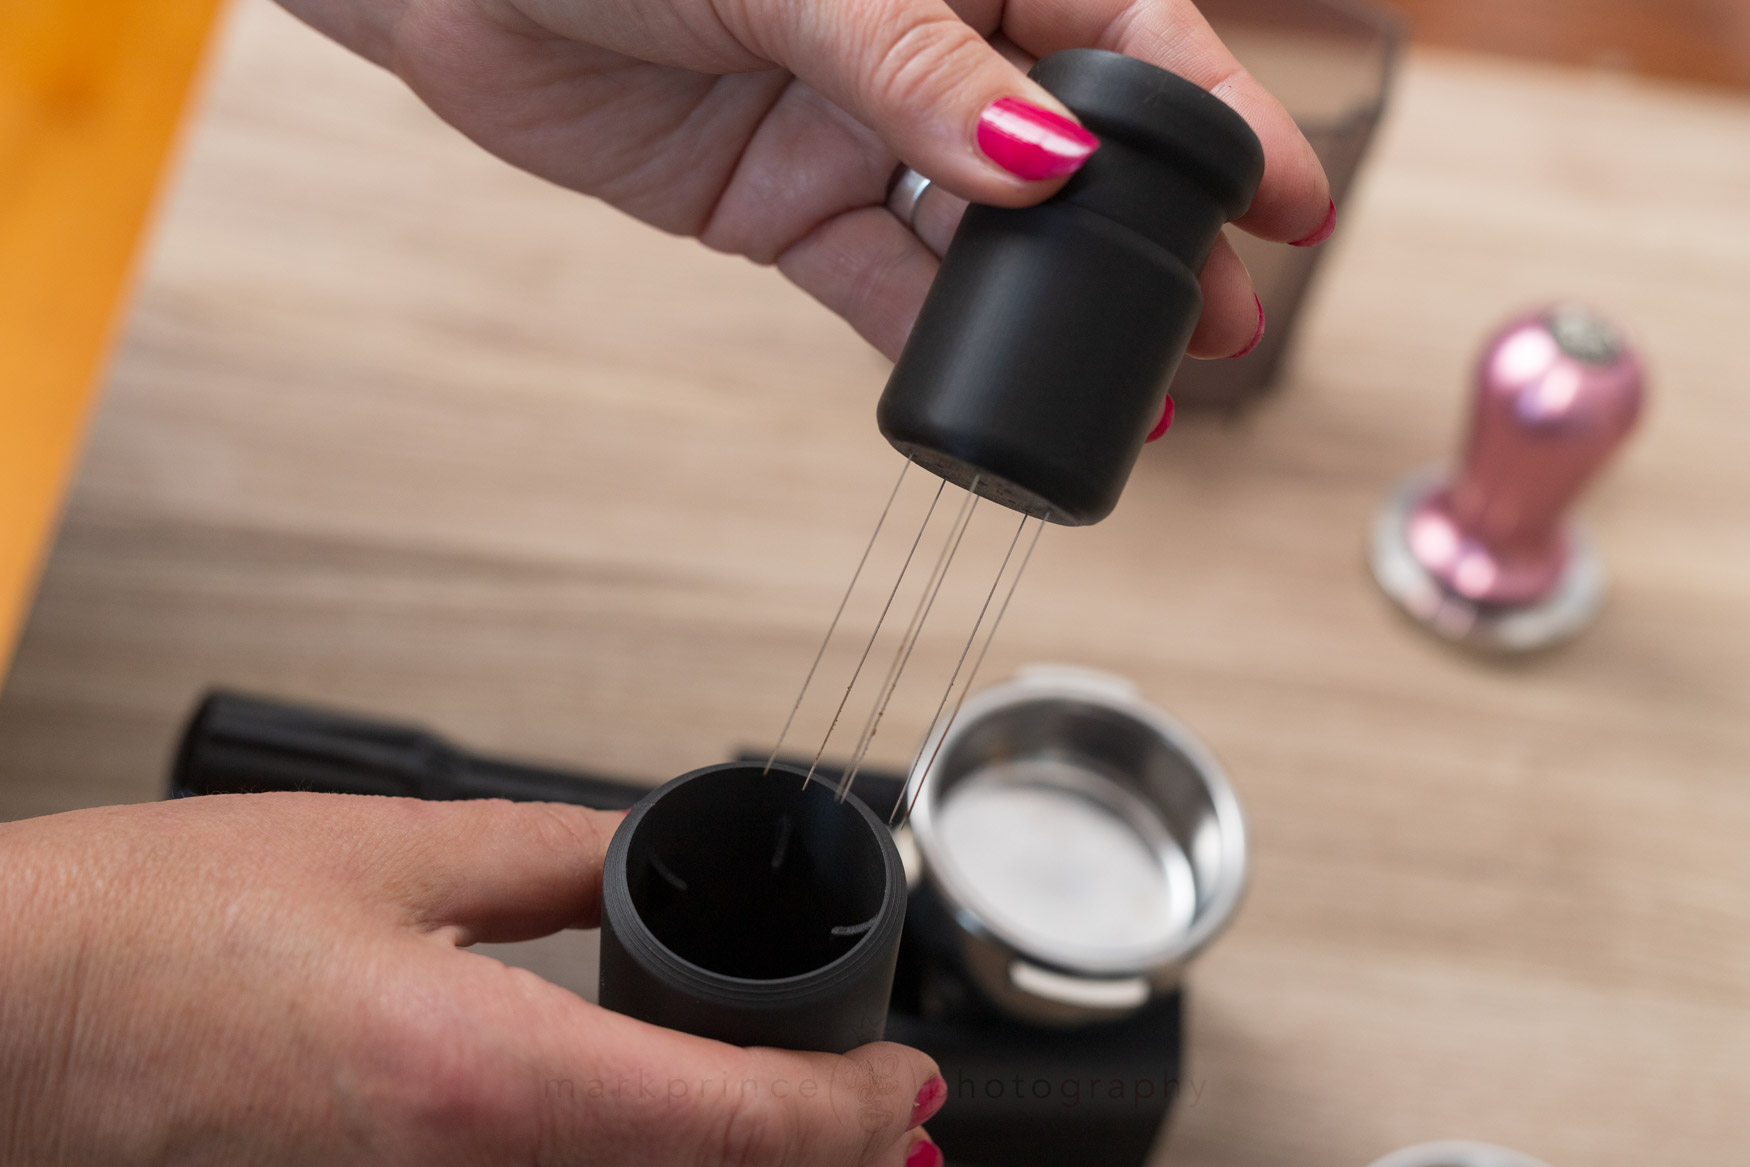
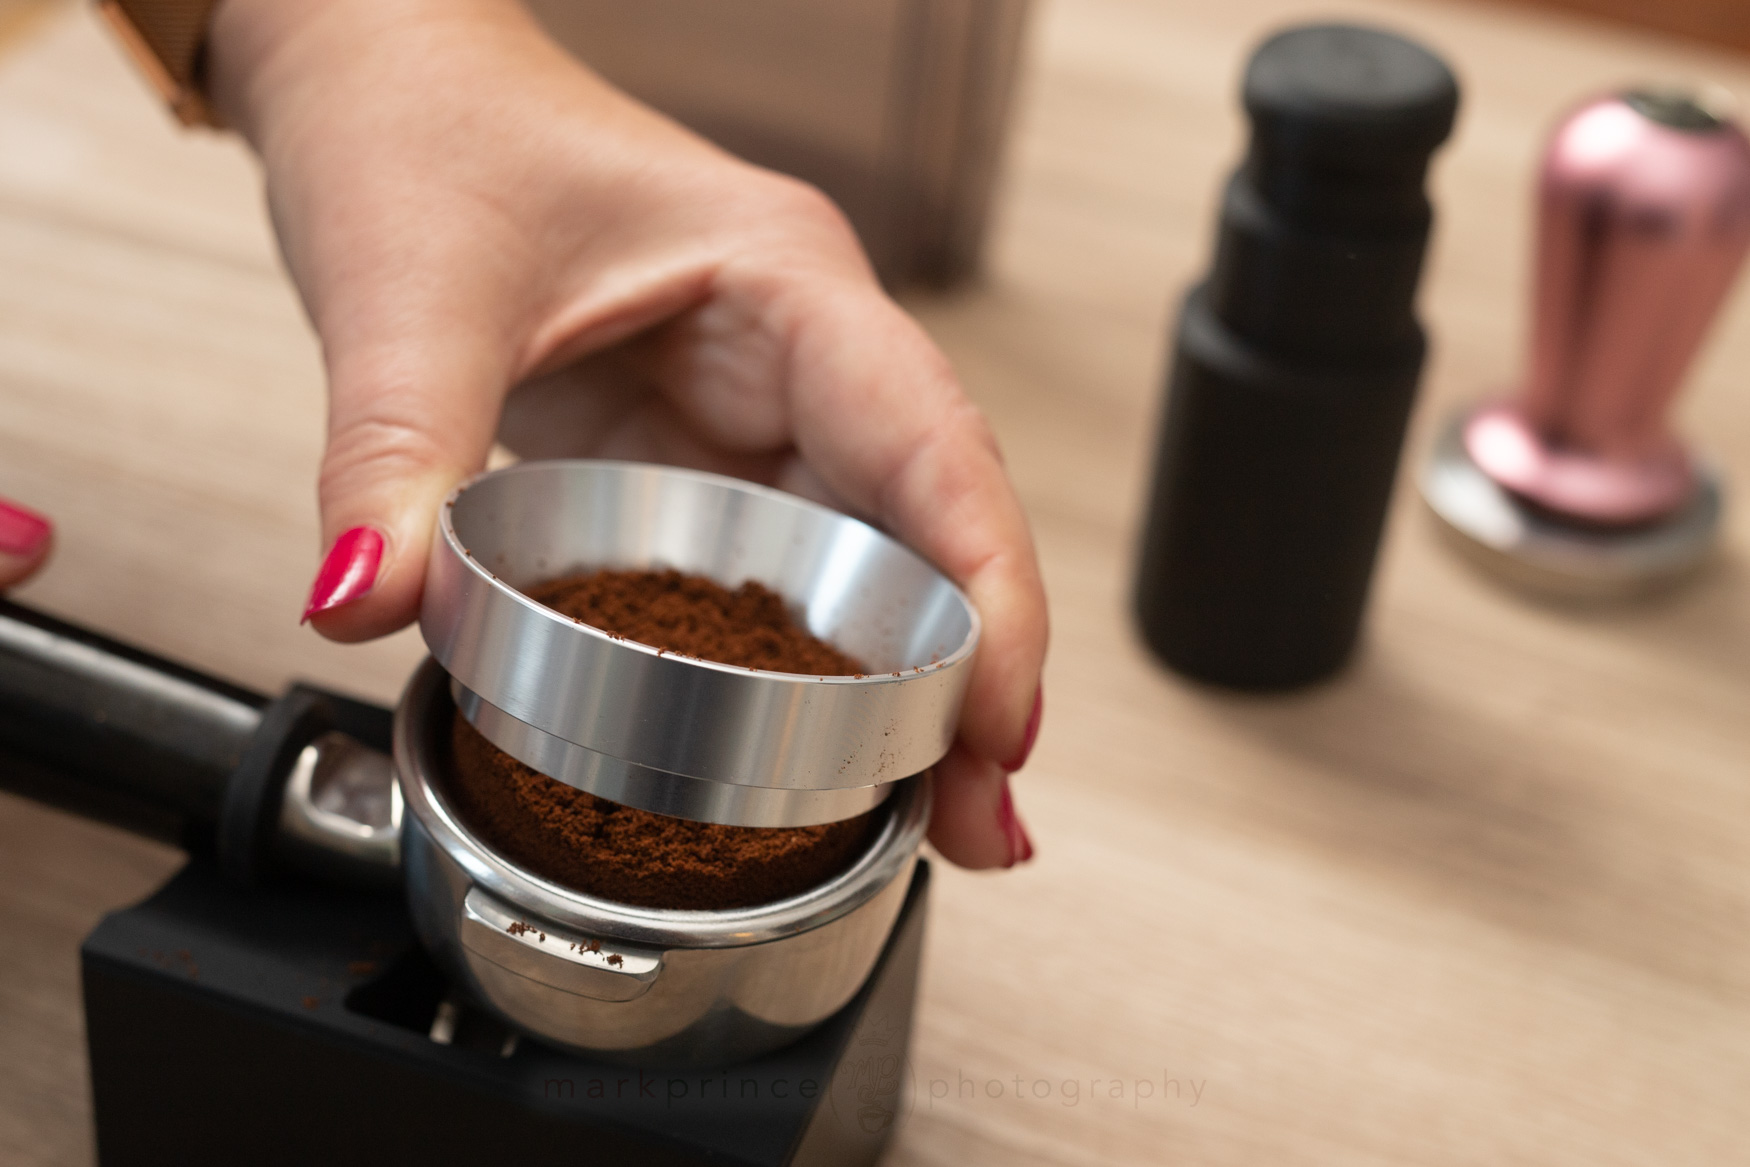
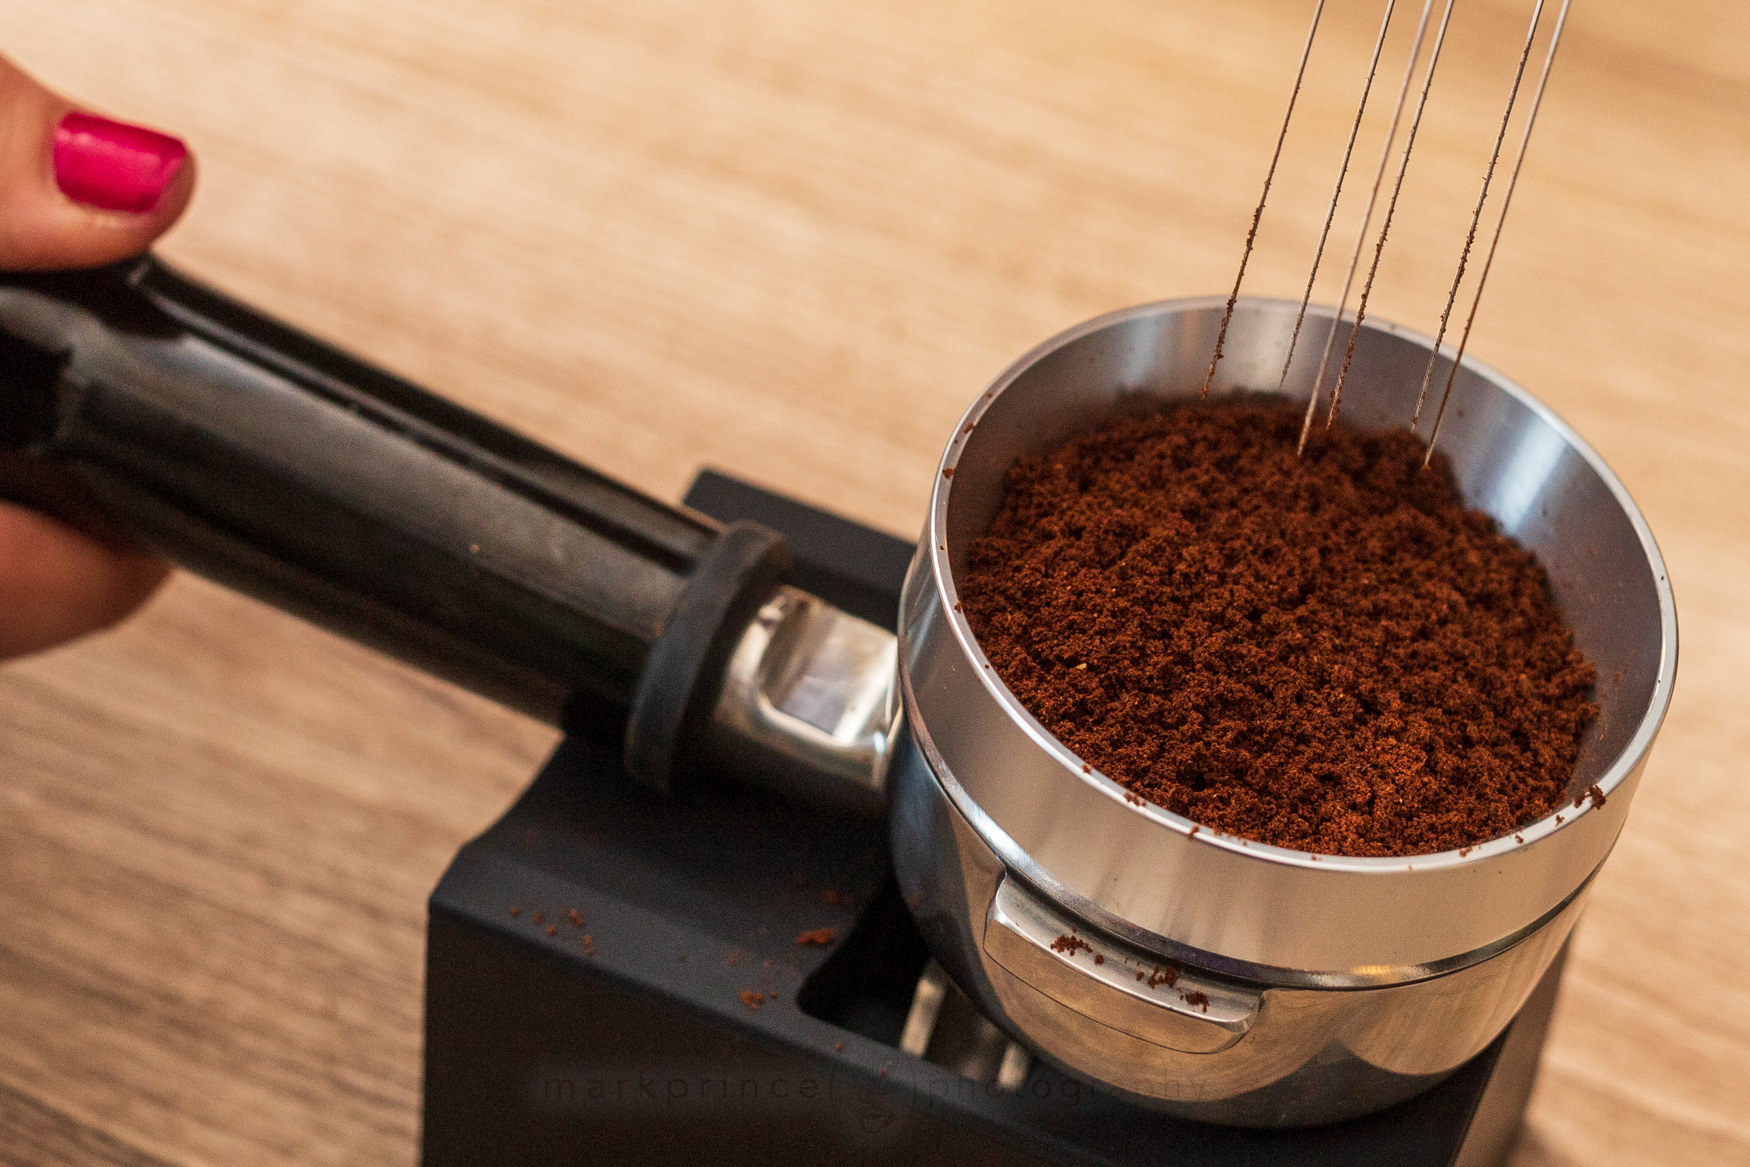
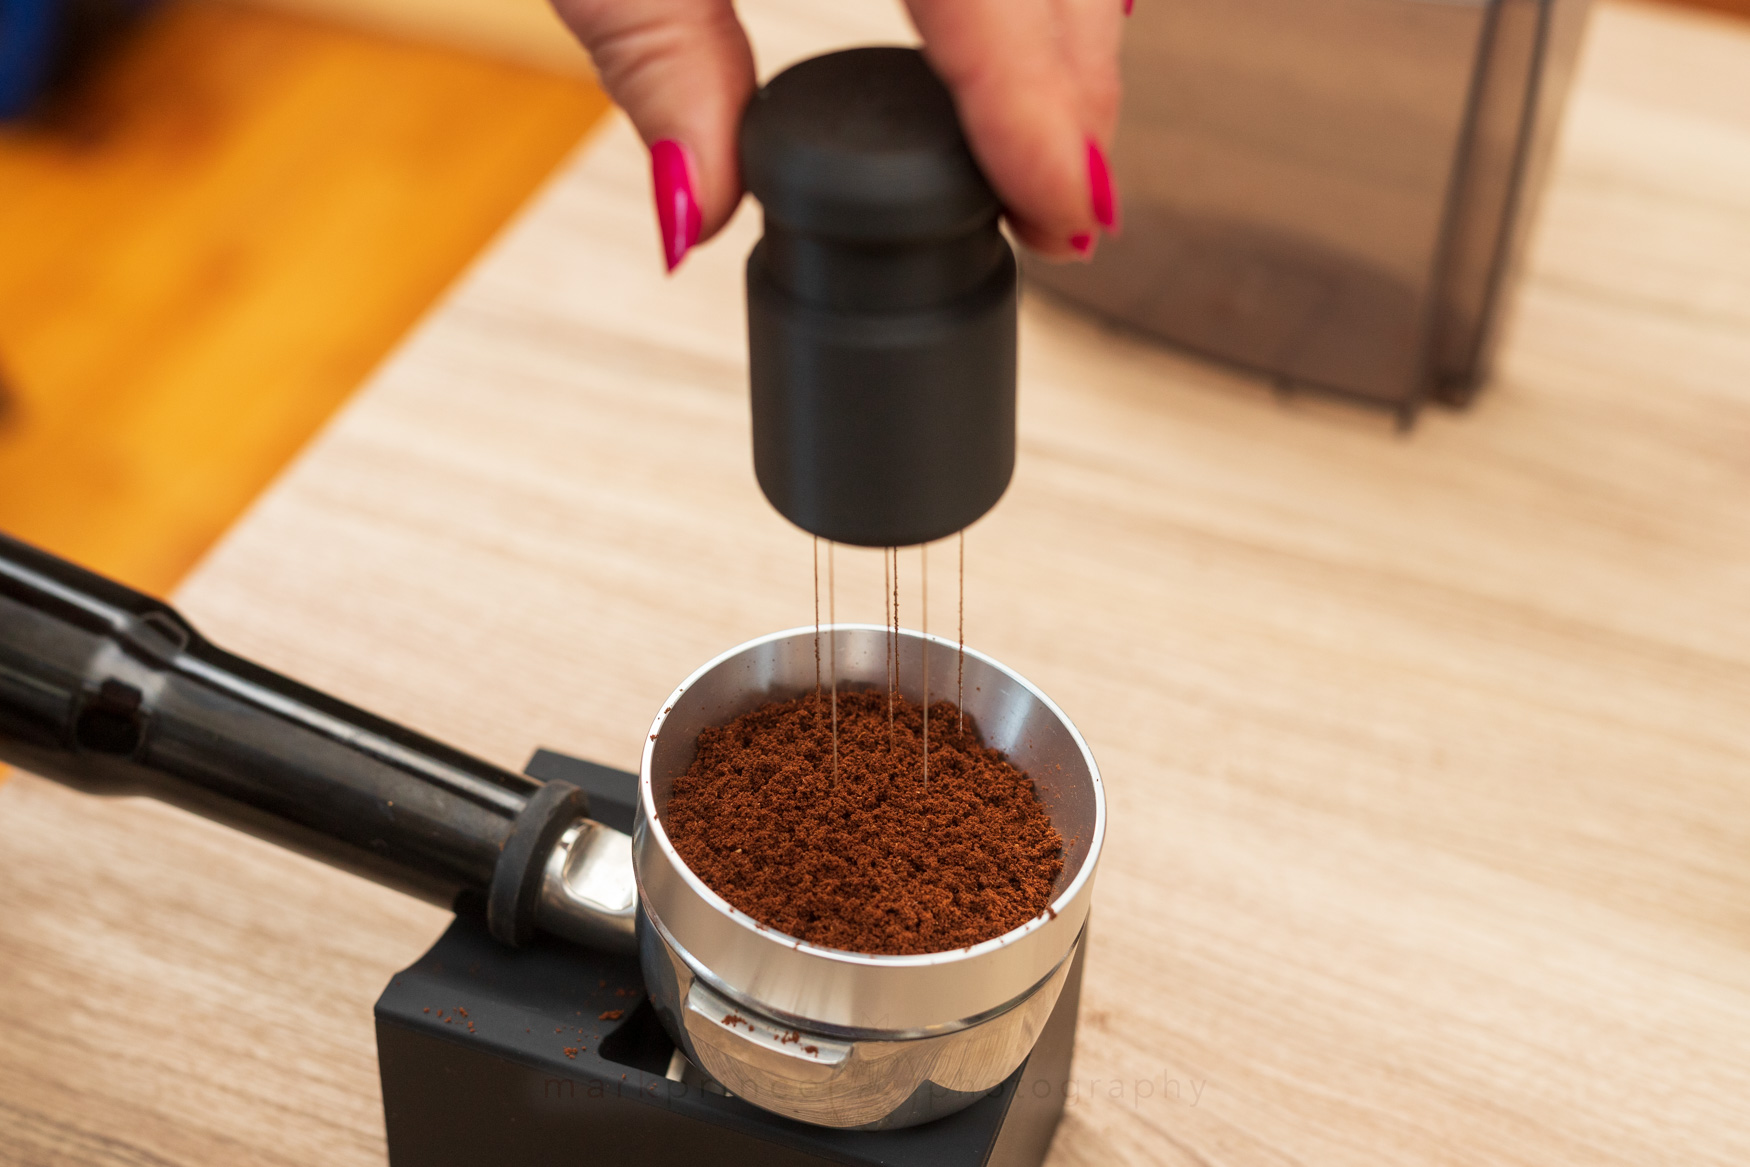
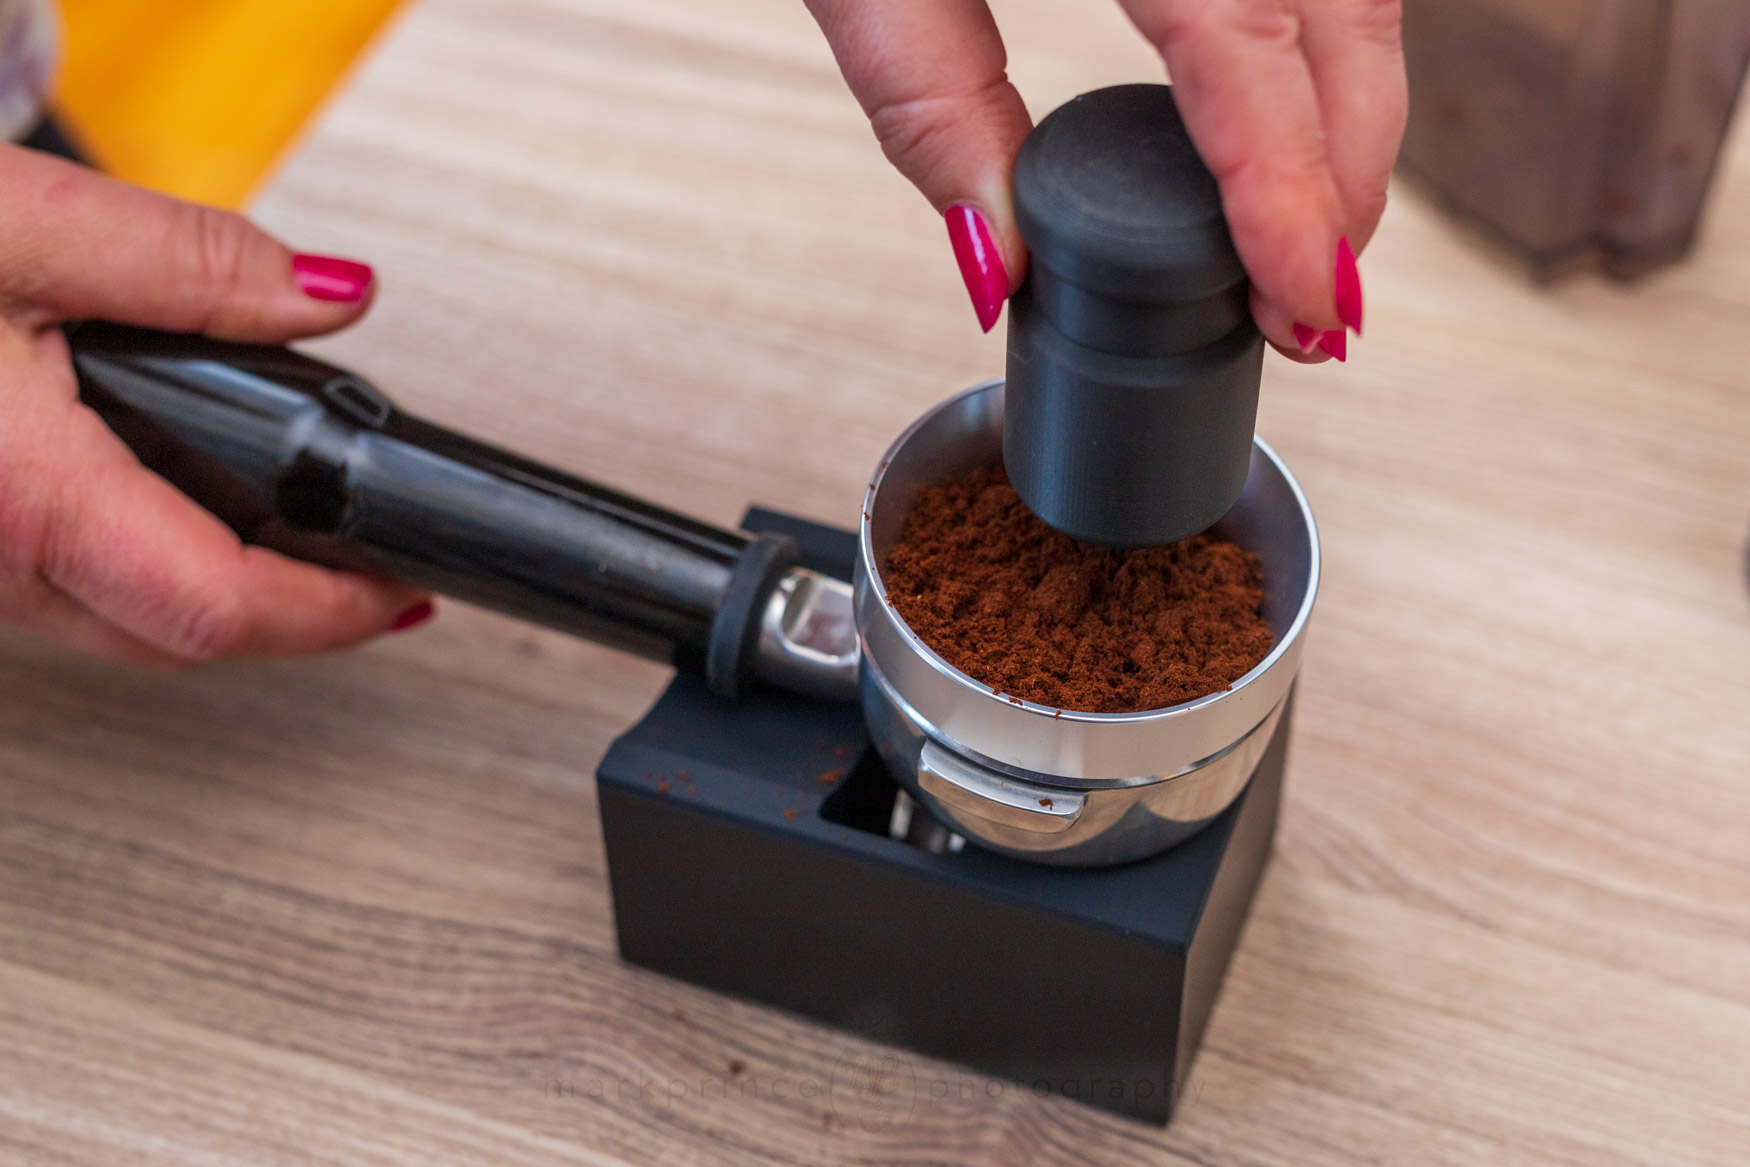
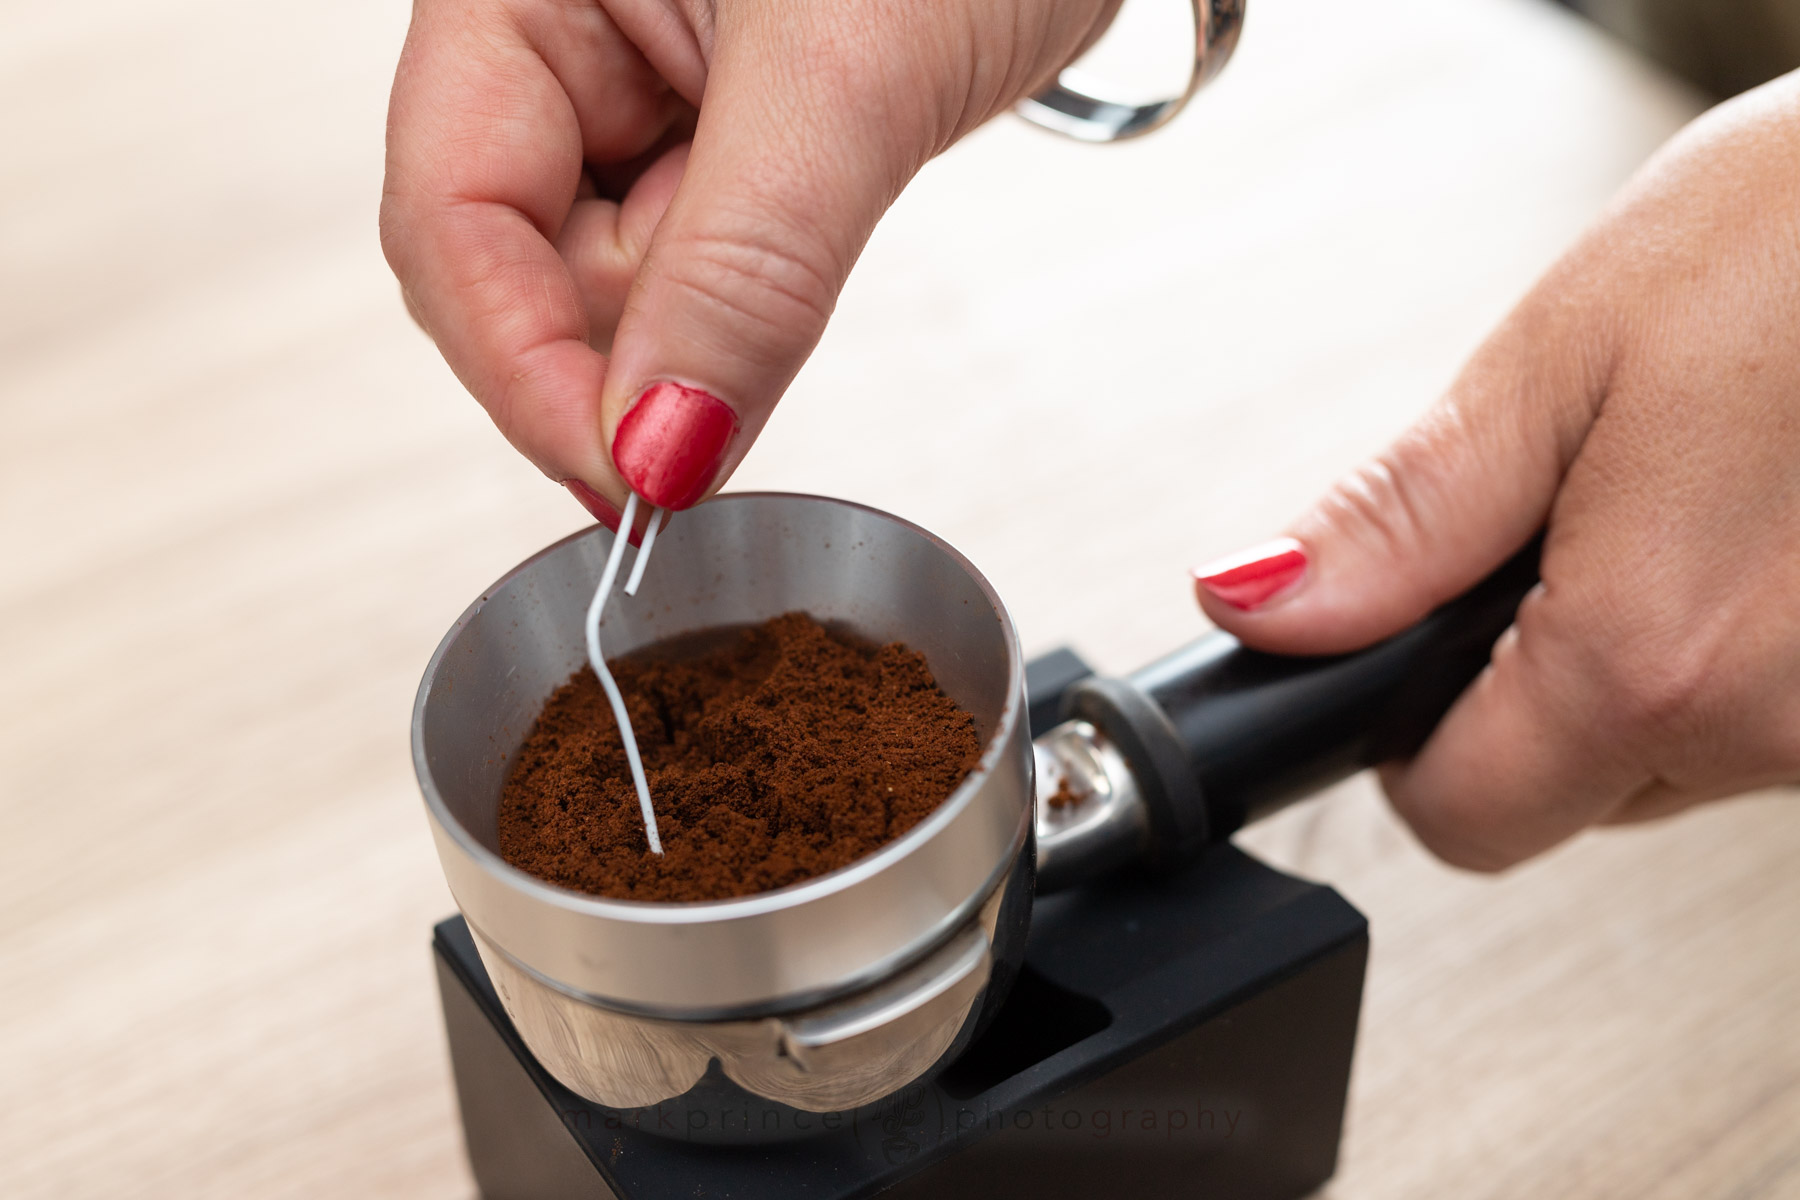
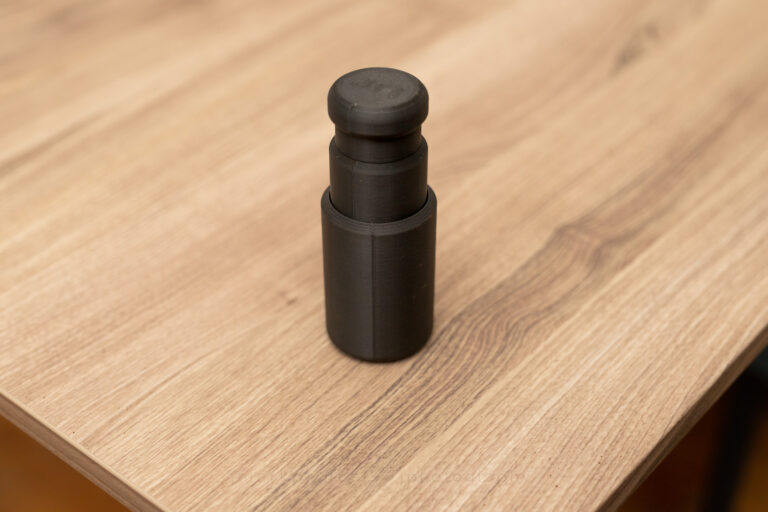
The tool parts and shuffles coffee. It immediately breaks up clumps and starts fluffing up the coffee in the basket. Most important for me, it does it fast and even. The handle feels good and fits my hand nicely, and it only takes me about 20 seconds to fully fluff up and even out the bed of coffee. It would take me a minute or two to get anything close to this with my sewing needle / cork thing.
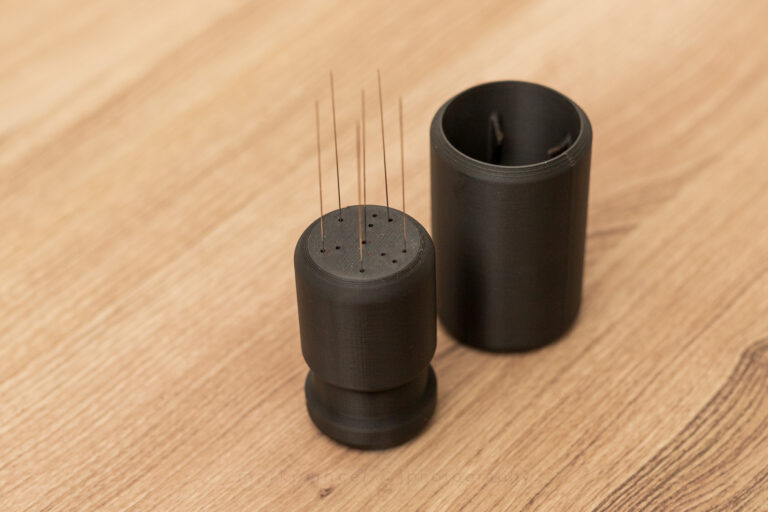
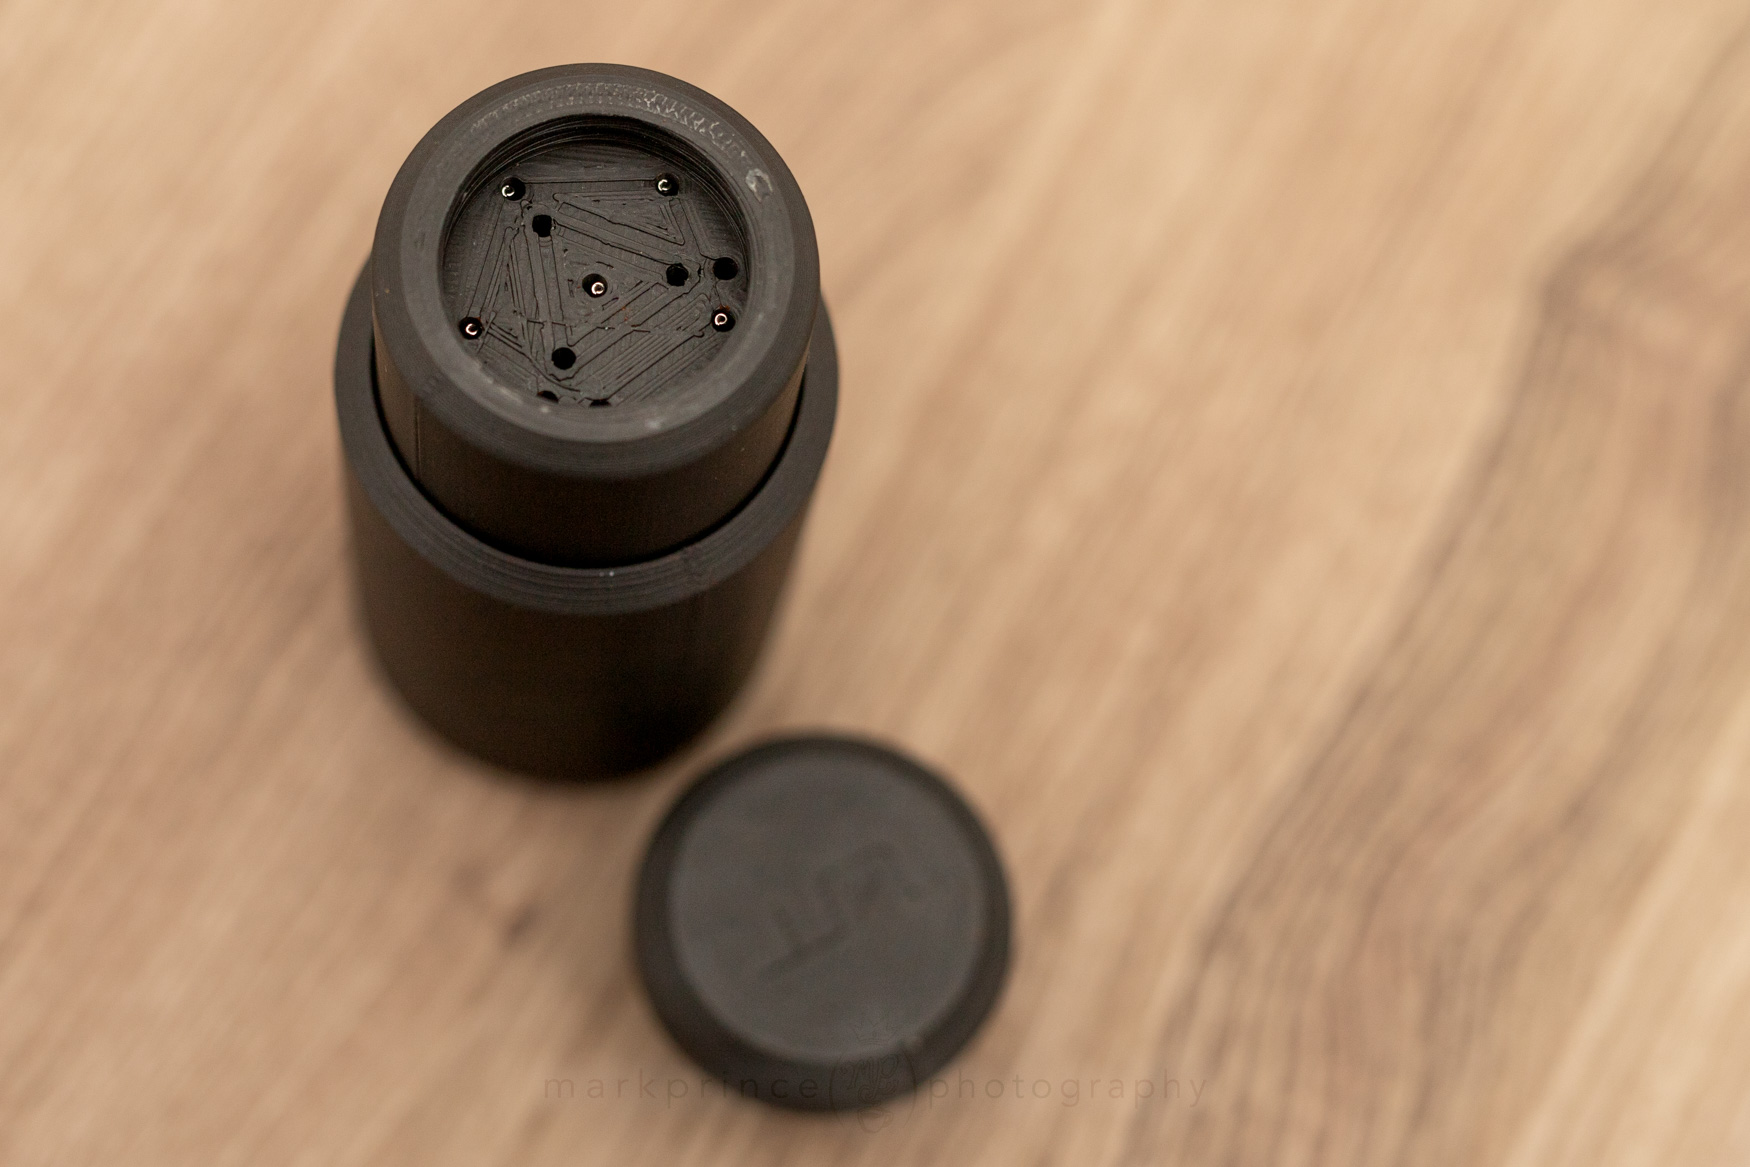
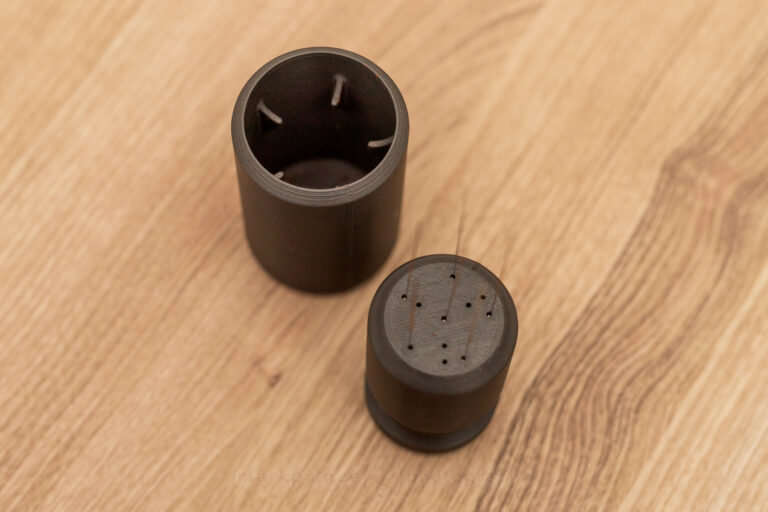
I like that the patterns can be changed, so I did just that, to see the effect. There is one pattern of a very tight triangle, and while that one cut through the coffee better than my homebrew devices, I did notice it had the occasional tendency to shovel the coffee around instead of slicing through. The wider triangle pattern with the centre needle did a much better job, but the best of all was the pentagon shape, without the centre needle: that provided the fluffiest, most even distribution of the coffee. I did notice it took a bit longer to apply the effect though.
Learning all this, I went back to Andrew’s favorite setup: the pentagon with center needle. It was almost as good in effect as without the center needle, but just faster overall.
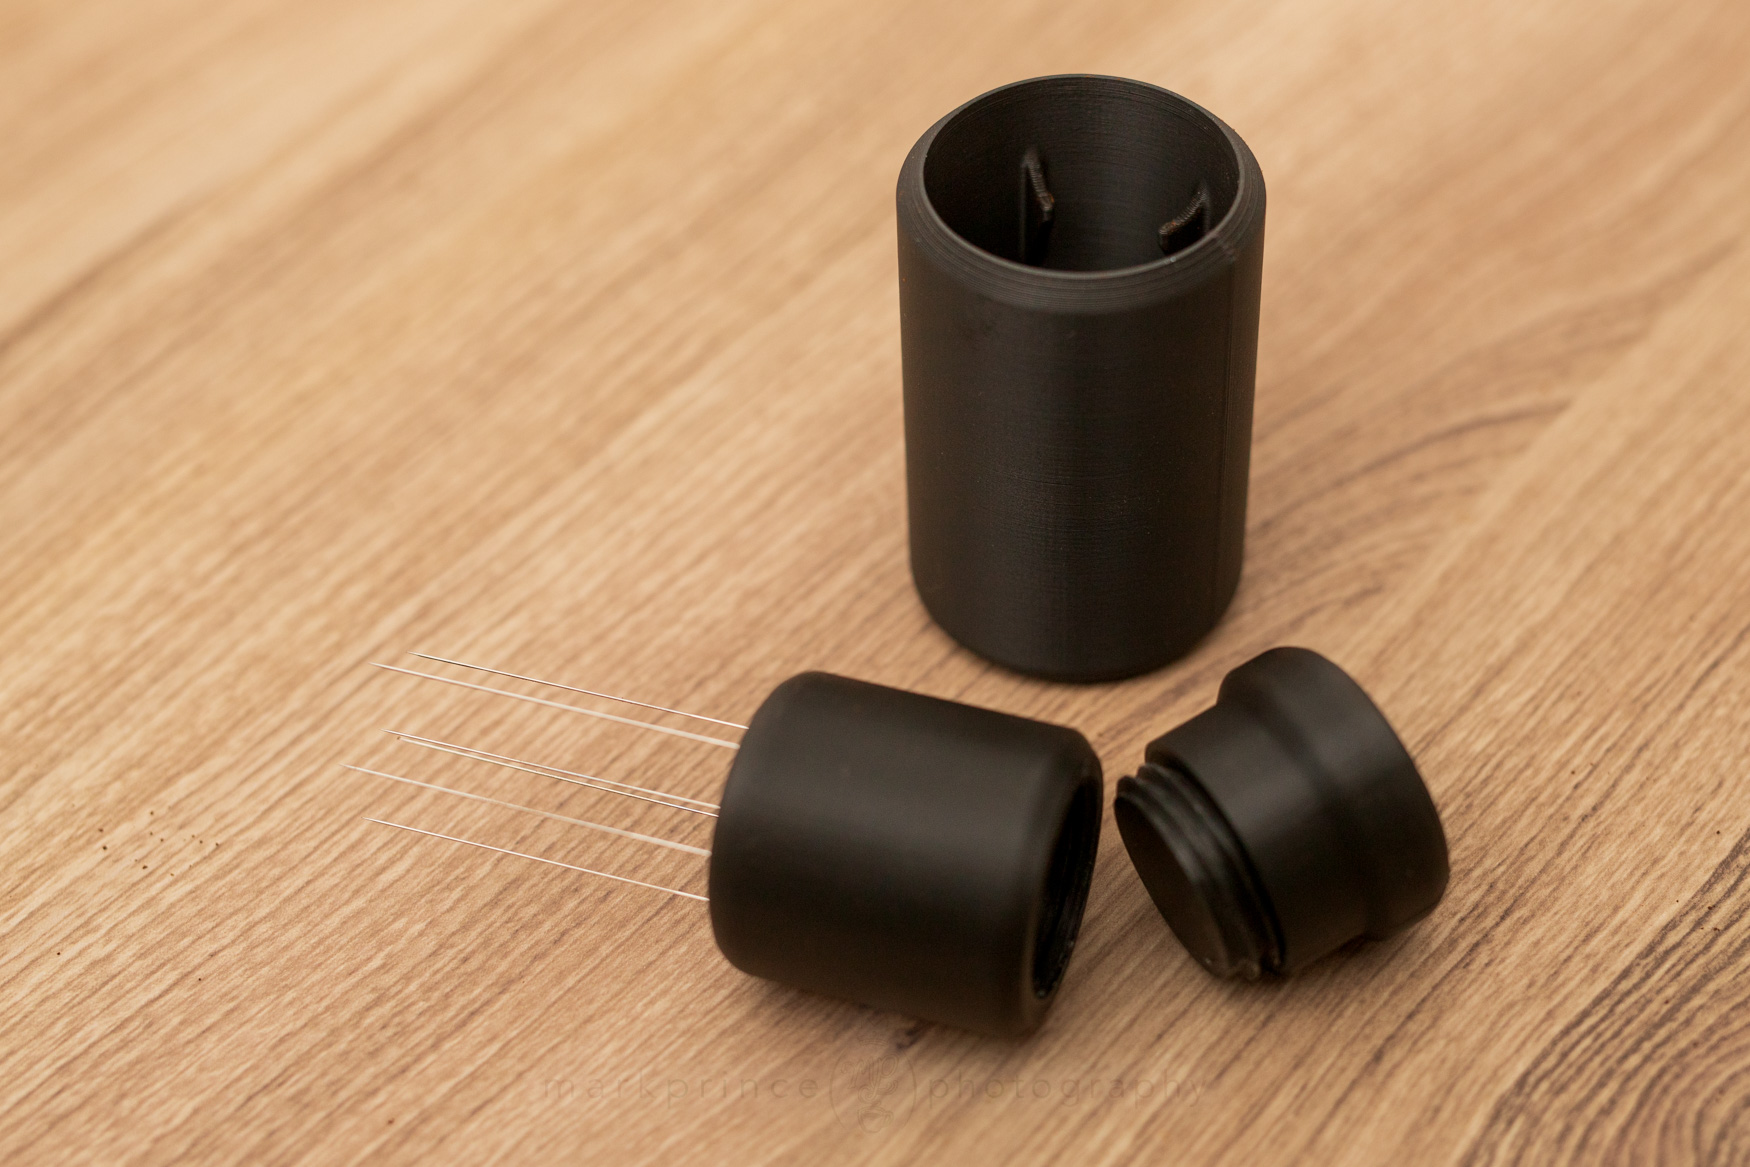
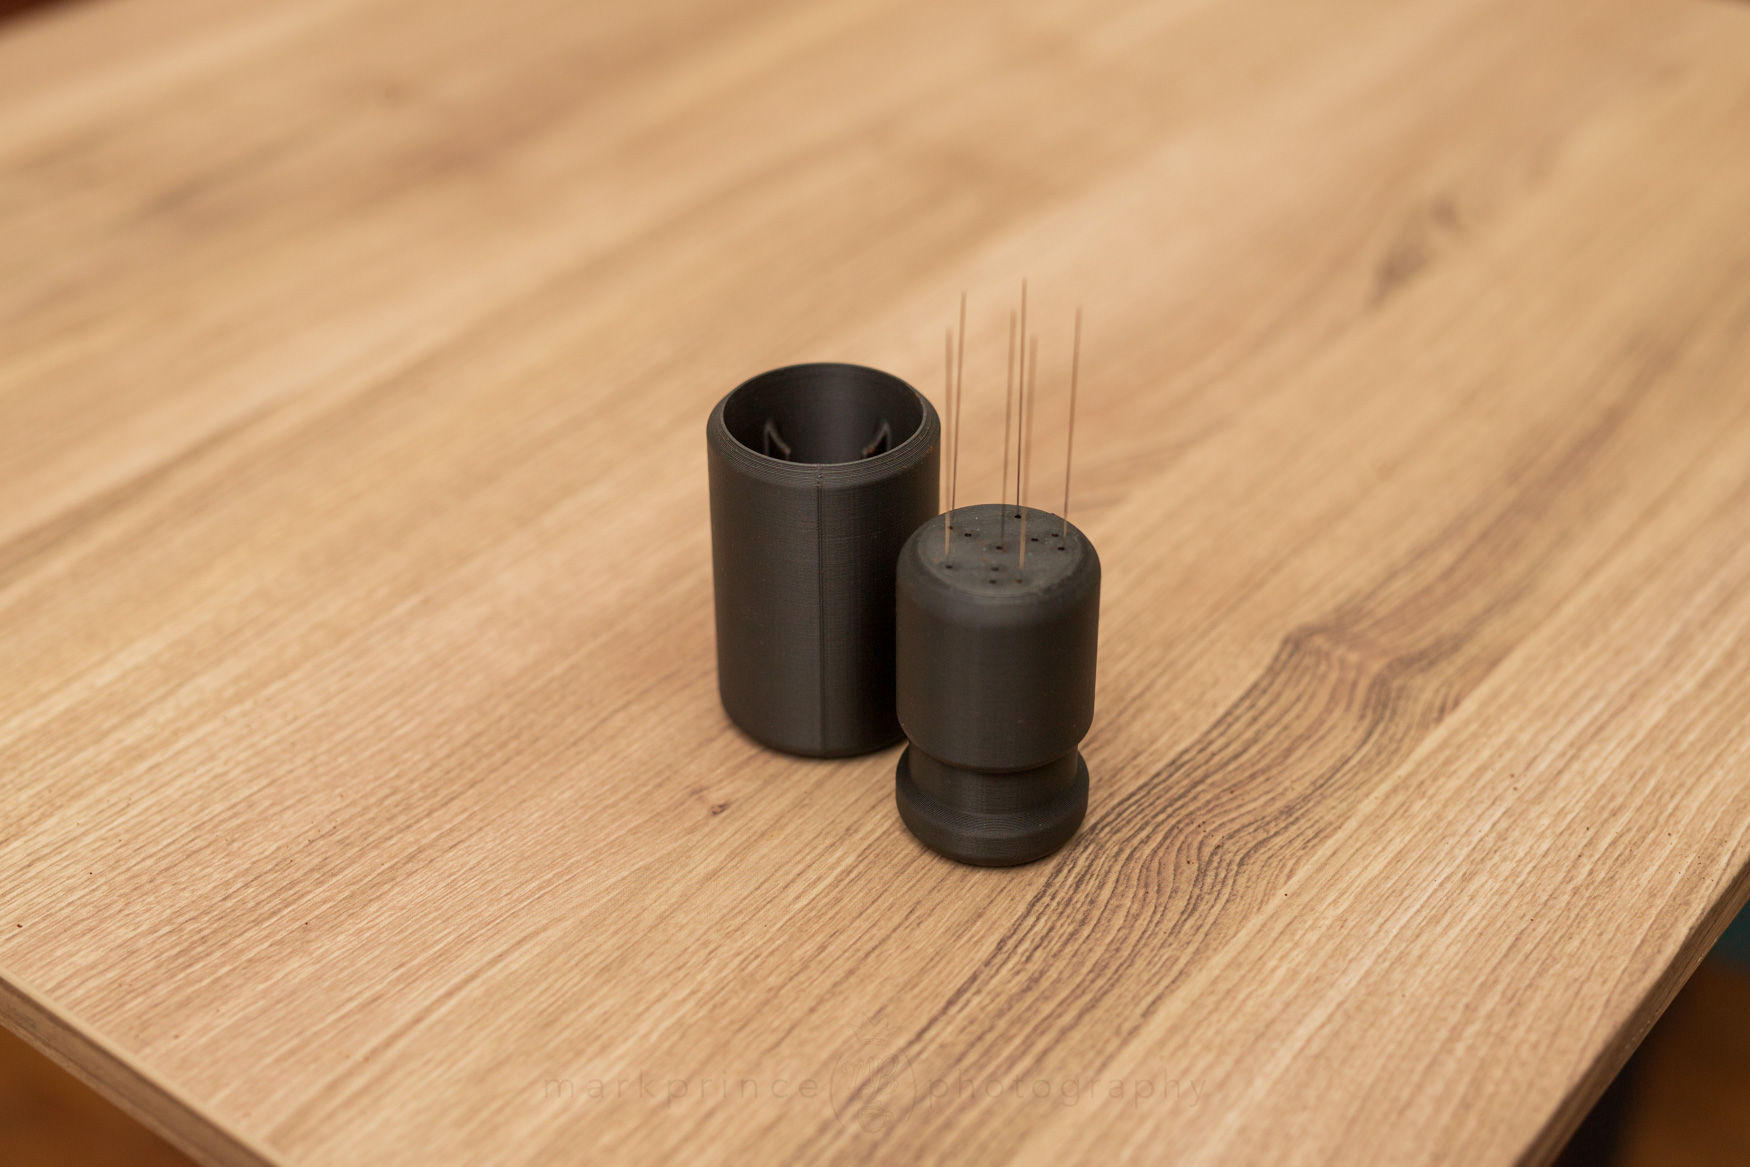
I’ve used this Classic tool for a solid 60 days before writing this review. I did manage to bend one needle when I was in a rush to seat the tool back in its stand. No problem, I still had 5 spare needles to use to replace.
I can say this tool has, in some cases, acutely improved my home espresso. Just to prove the fact, I pulled two shots back to back, one with the WDT method applied using this product, and one just with a hand levelling before tamping. It was no contest: the WDT Classic Tool shot was more even, better color and tasted way better. The other shot had over extraction, pale color earlier, and ran faster.
The closer competition is putting this sub $20 WDT tool up against my home toothpick / cork tool. To get similar bed results, the cork and toothpick gear took almost 75 seconds of application. It still didn’t look as even as the WDT Classic tool’s work did (and the latter only took me 20 seconds to do). The shot quality was closer, but the WDT Classic shot was still the winner in the cup taste.
Introvert Makes Classic WDT Tool
Introvert Makes Classic WDT Tool - just $16
If you enjoy and learn from this resource, please consider making a one time or recurring donation to help support our work and fund purchases for future reviews.
This sub $20 tool, along with a dosing collar (a must!) can provide you with a pretty big improvement in your home espresso quality. It all comes down to you, though, and you having the patience and learned skill on using this device. My partner, for example, cannot be bothered to use it, and thinks it is just a bit o’ fluffery.
Me? I’m glad to have this WDT Classic Tool from Introvert. It’s become a daily driver, must have, must use tool whenever I brew espresso.
This gets as close to 5 stars as I think is fair. It’s not pretty. It doesn’t give a sense of quality (spend the $70 on Introvert’s polished aluminum WDT tool if you want that!). But it gets the job done and has the unique feature of customizable needle patterns.
And the price is a no-brainer. Your espresso will improve. Dramatically in some cases.
If you enjoy and learn from this resource, please consider making a one time or recurring donation to help support our work and fund purchases for future reviews.
The Orb One, a successful kickstarter project, is a new take on the venerable stovetop moka pot brewer. Here’s our Snapshot Review of it.
Our fresh take on the best selling espresso machine on the planet, the Breville Barista Express. Is it still worth buying in 2024?
4 Responses
I suspect that stirring the grounds around just encourages more degassing. I use a collar and just give the portafilter a wiggle/shake to sort of level off the grounds, then poke straight up and down all over to break up any clumps before tamping. This has gotten me the better ratios than stirring.
What, no Weber Workshops Moonraker for a mere $475 USD?
Heh. Little known fact (mainly because Weber doesn’t tell people this and they have a huge social media presence): the moonraker is essentially a copy of several Etsy spirographic WDT tools, including this one (I verified they had a variant of it on Etsy long before the moonraker was announced). A lot cheaper too.
Plus, design for 3D printing of gear-driven spirographic WDTs is now available free on the printables site., if you’re into 3D printing.
I have the Etsy version and it’s great, even though it’s not the V4 model.