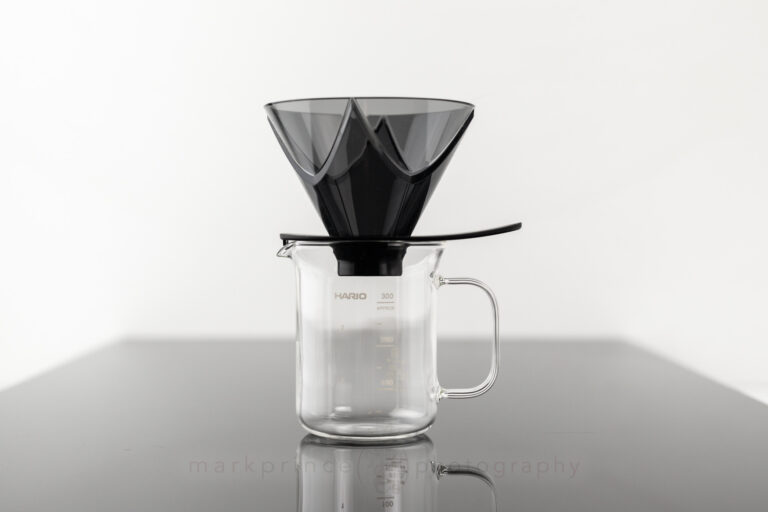
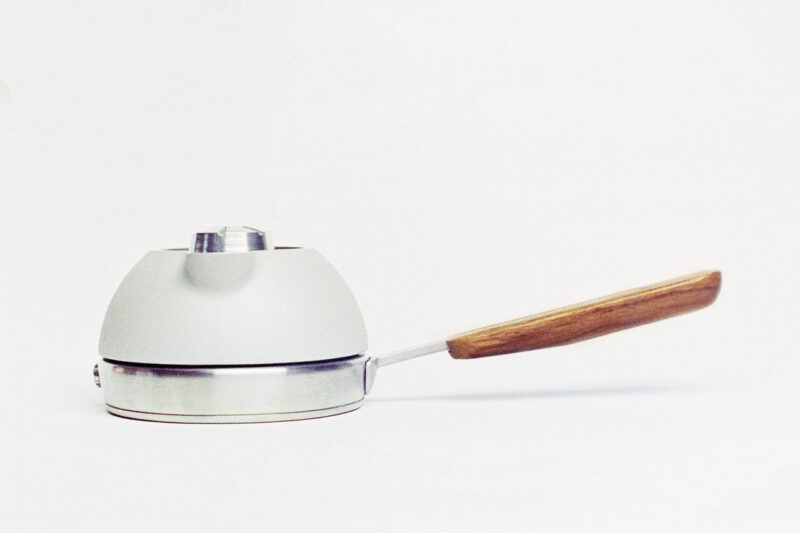
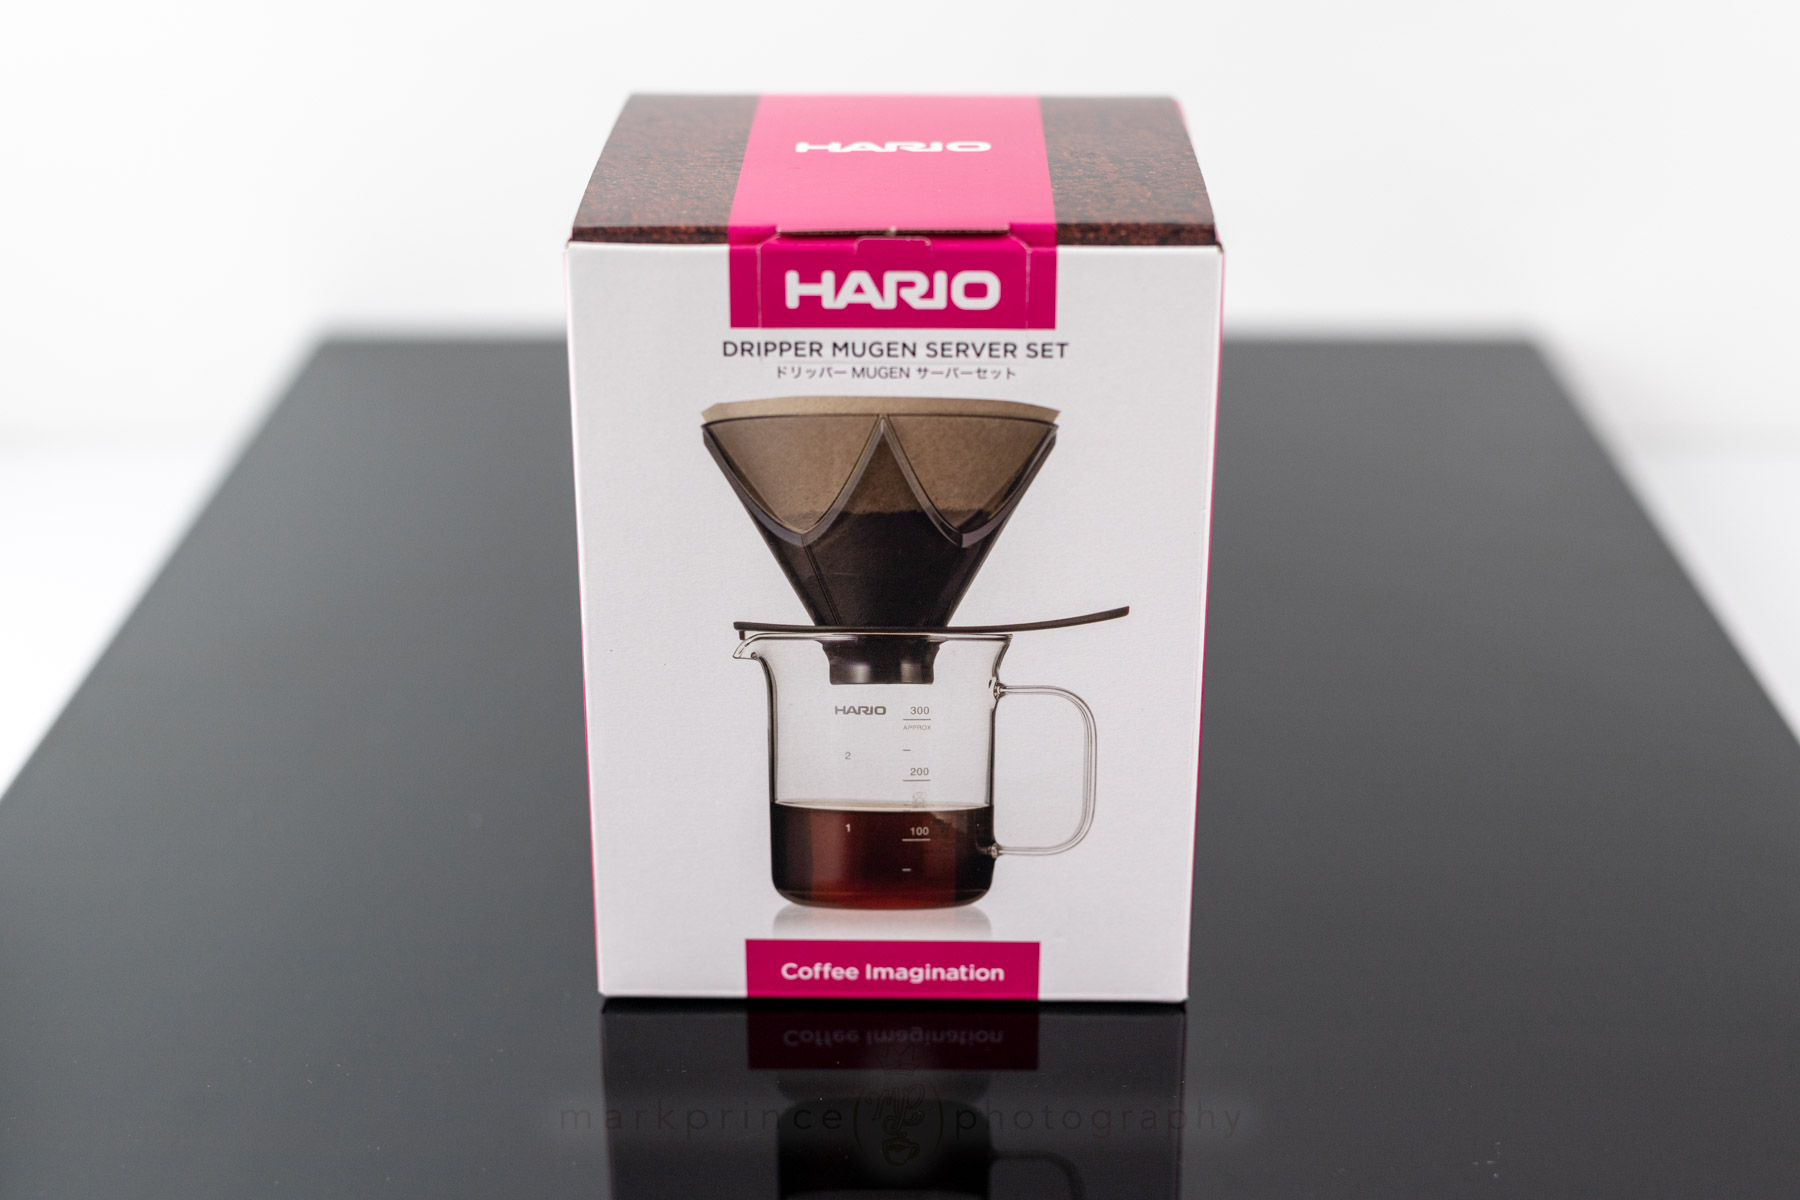
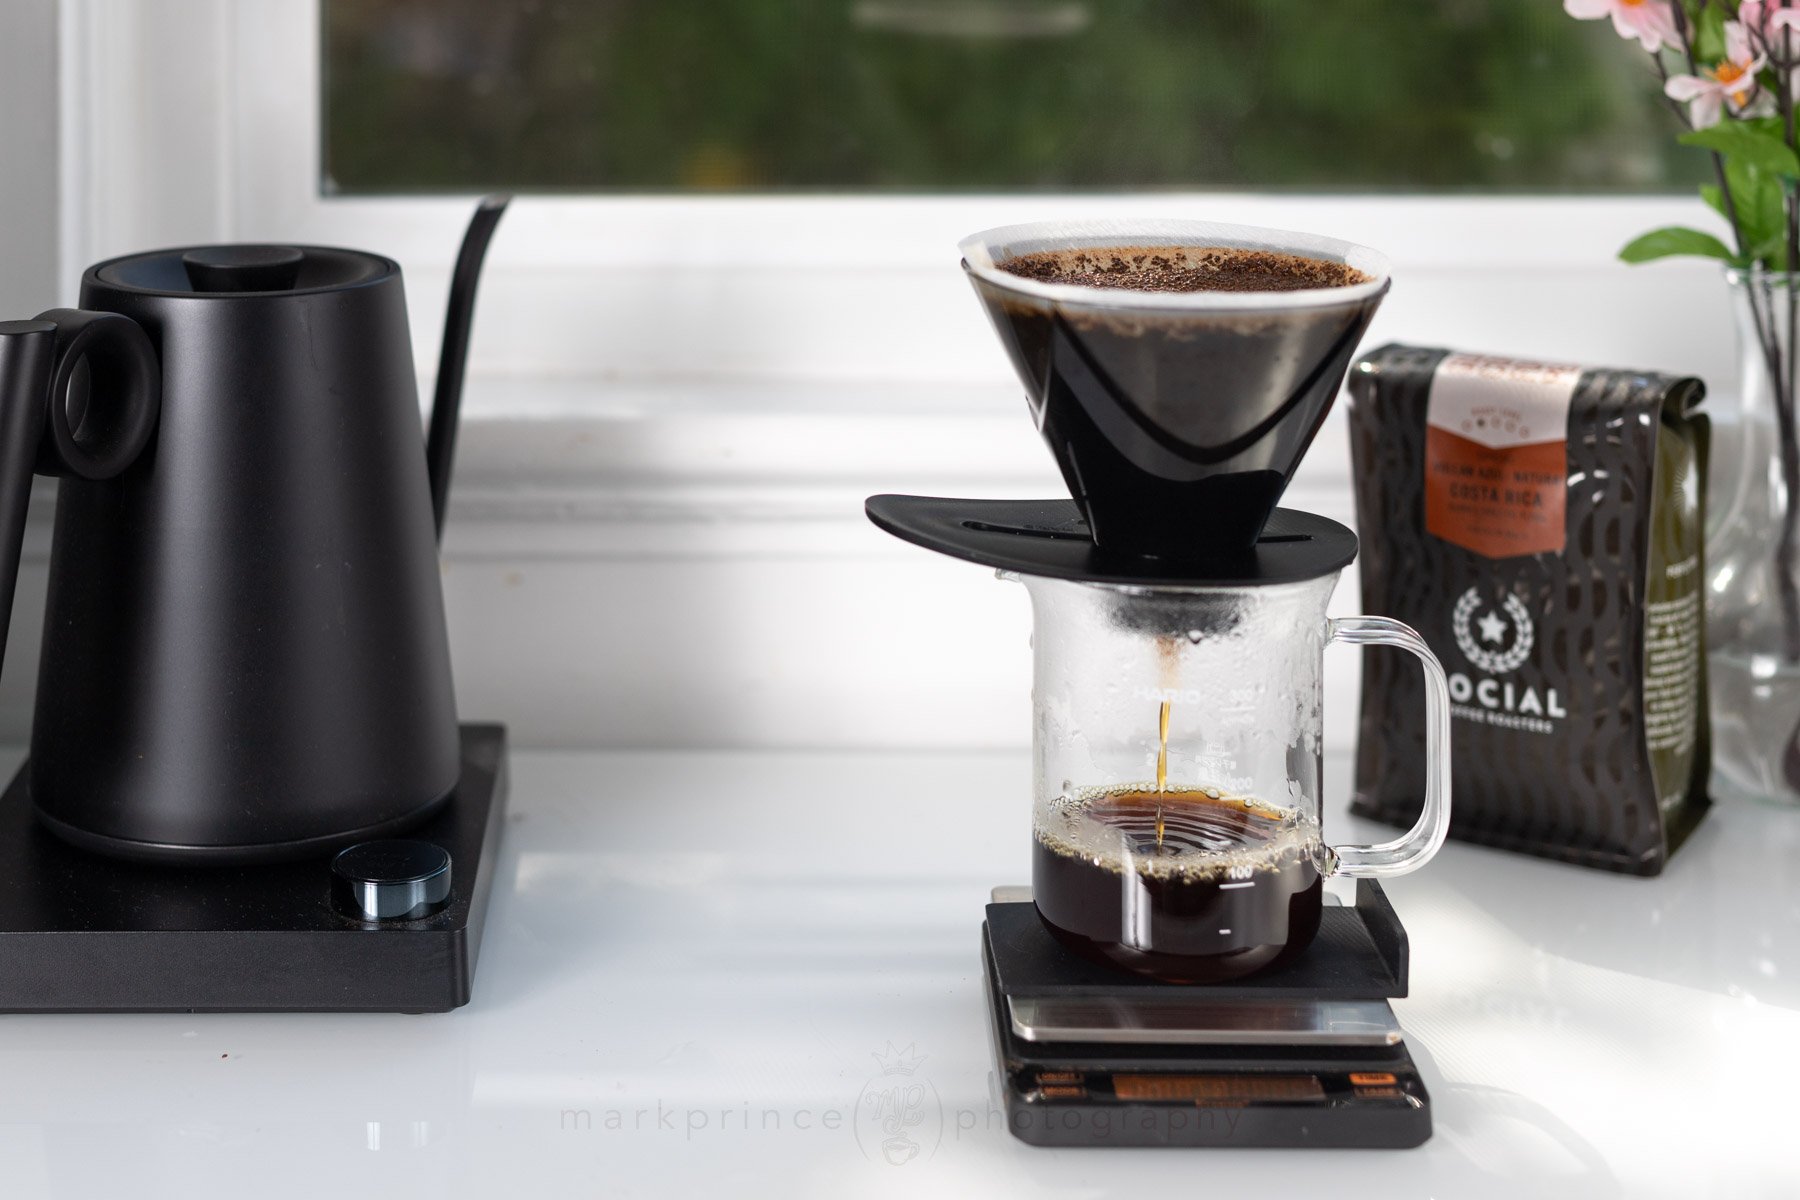
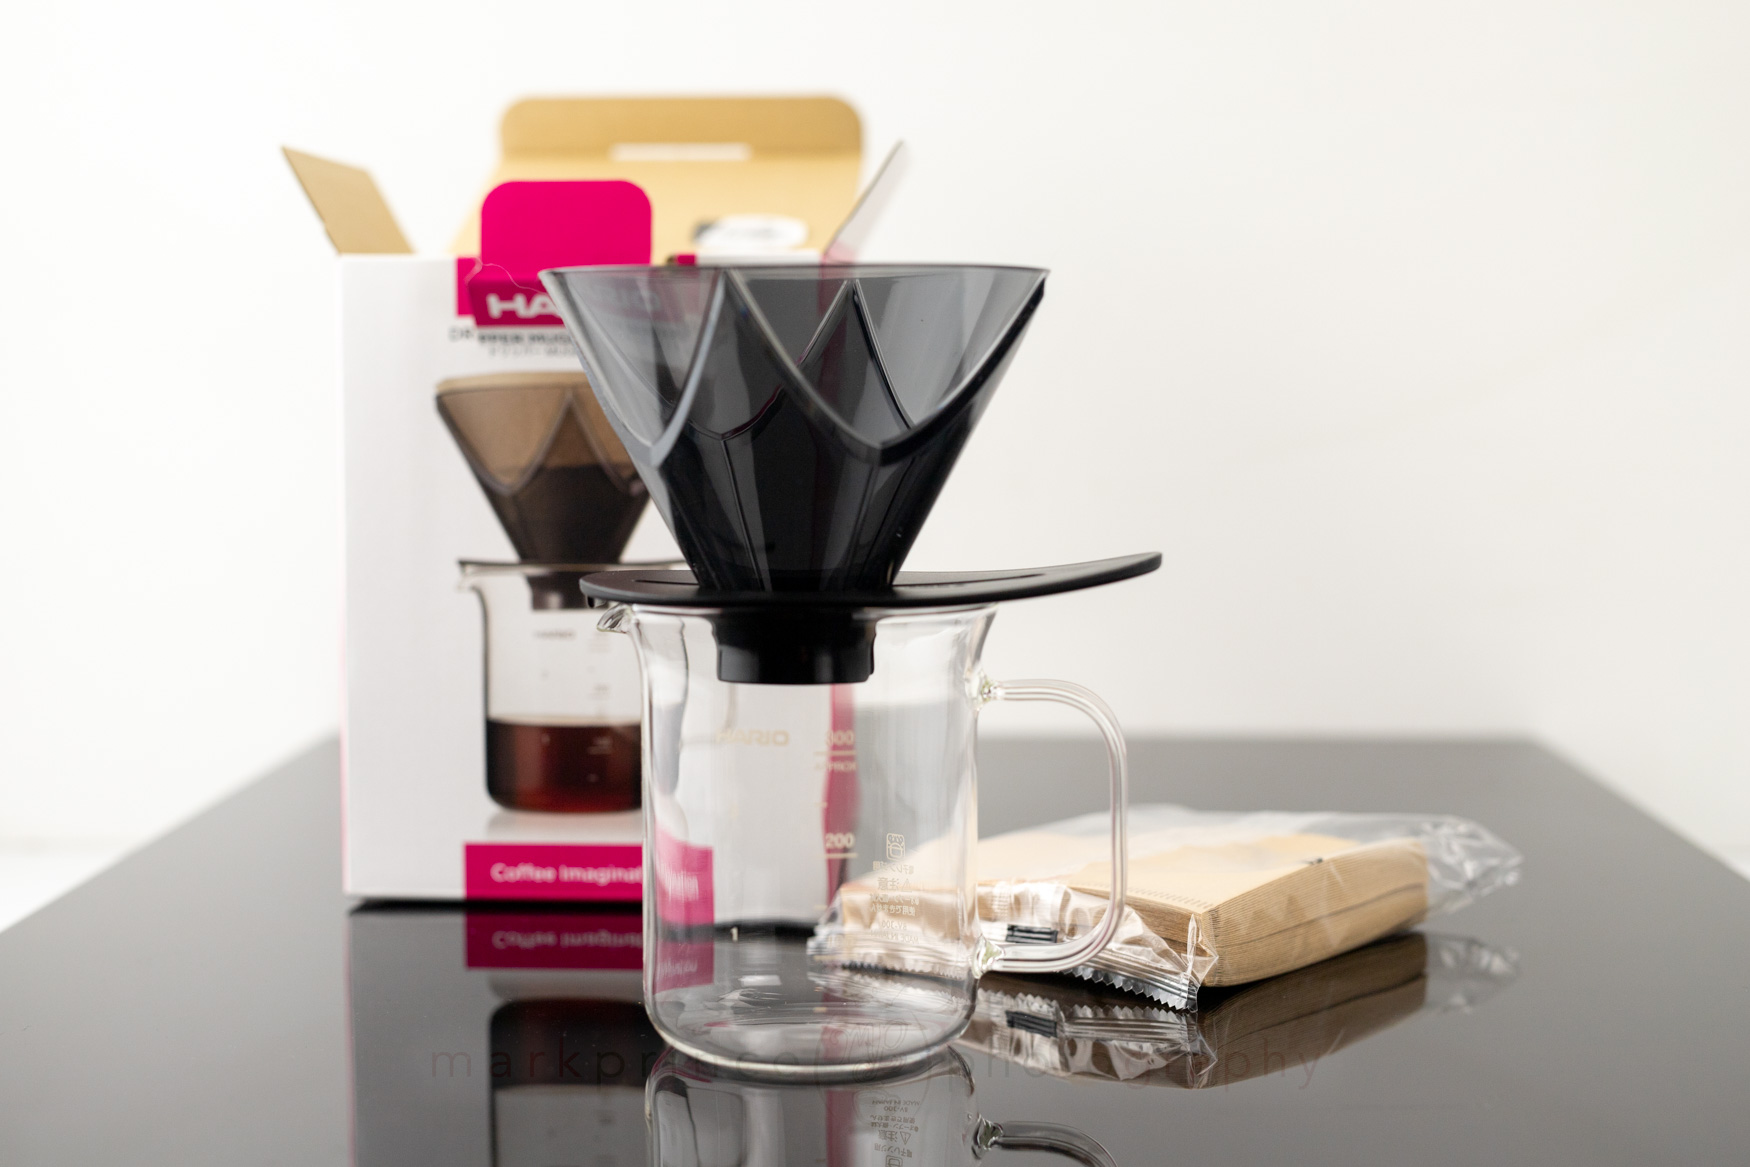
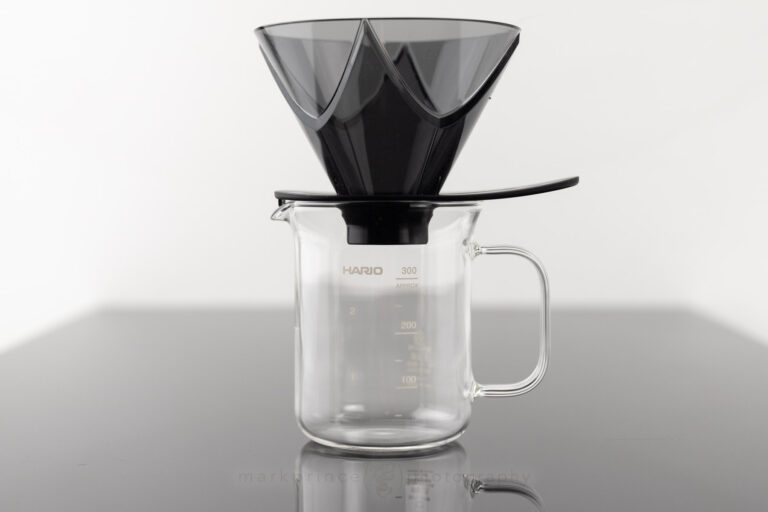
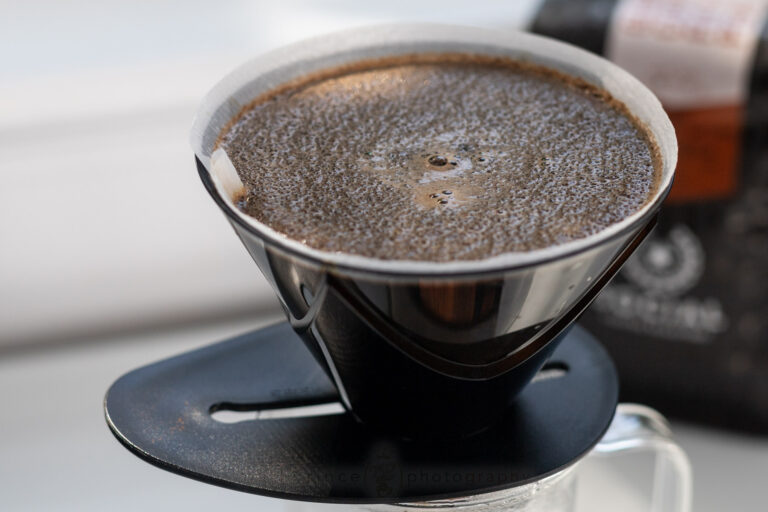
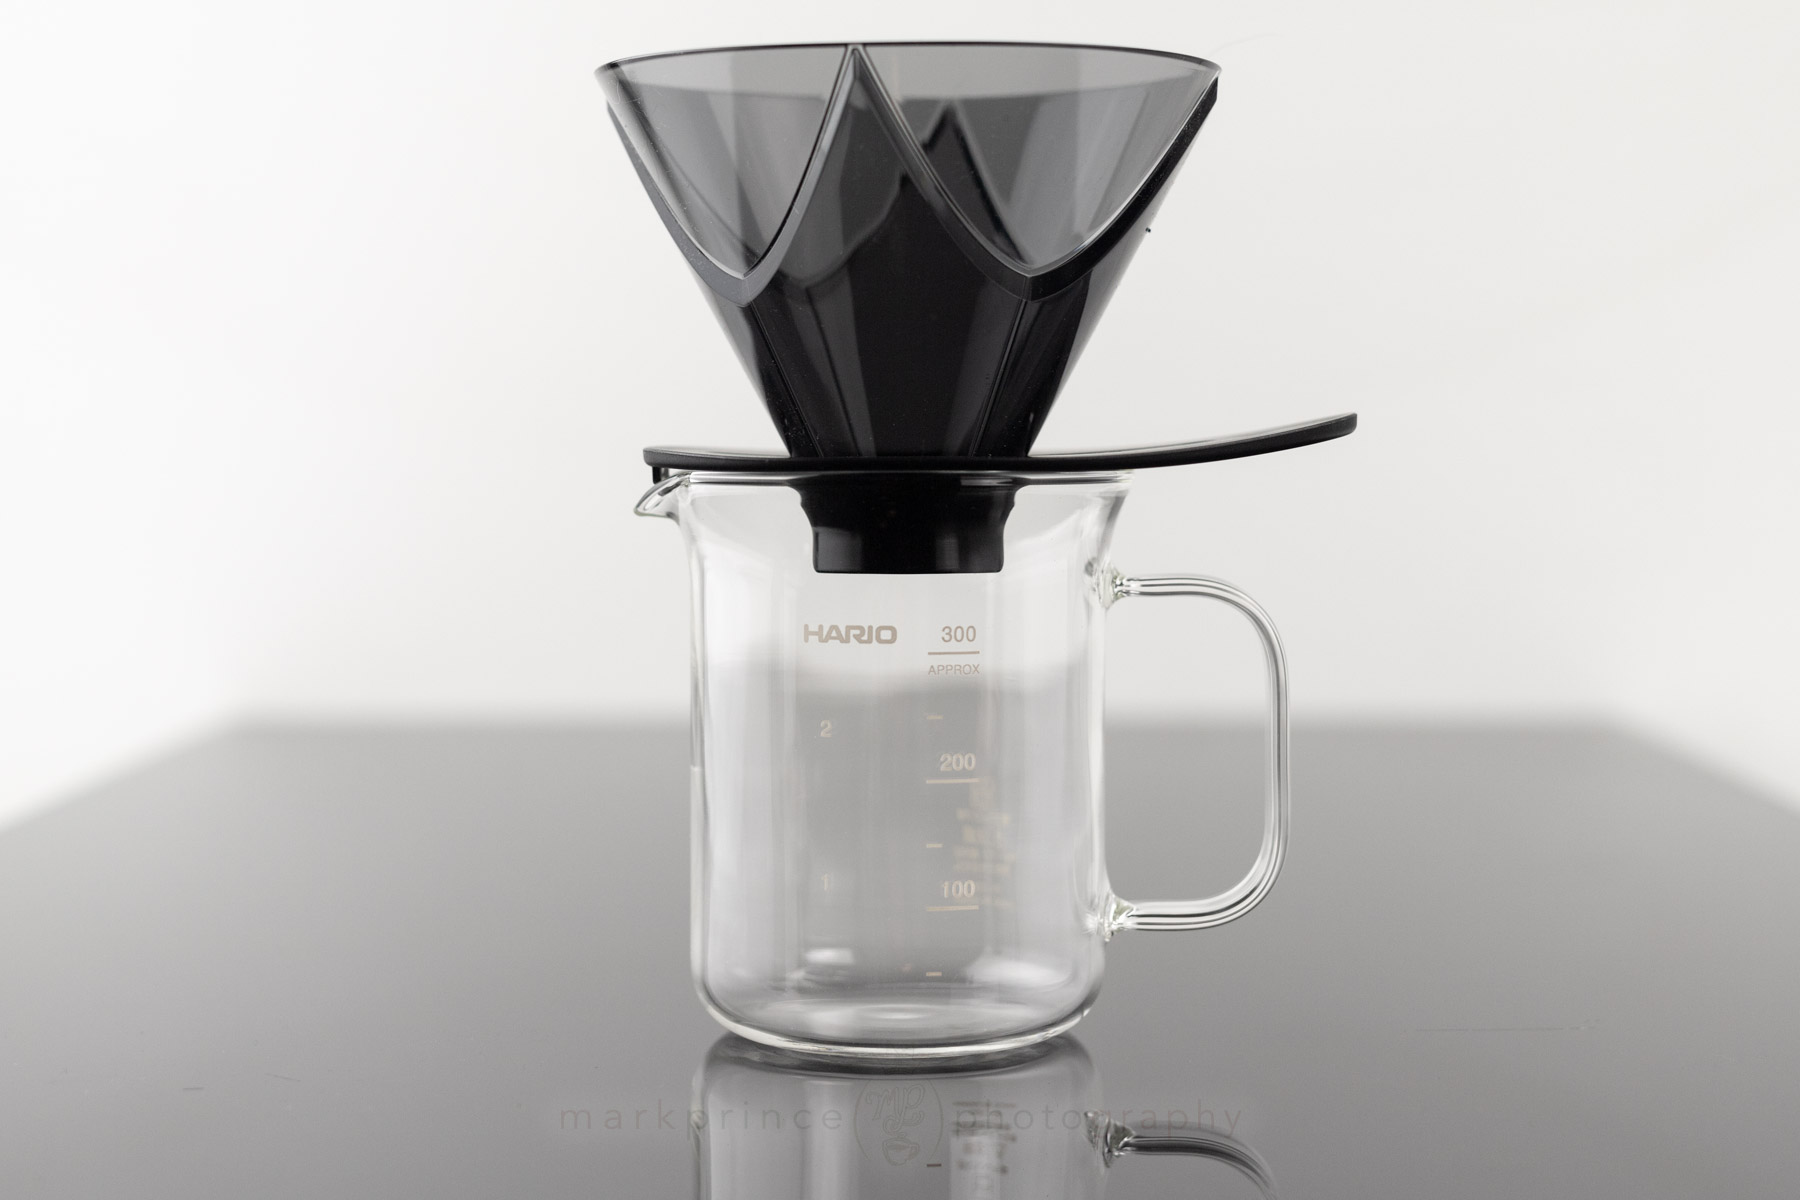
What looks like a Hario V60, but is in fact a Chemex / No-bypass brewer in disguise? Why, it’s the Hario Mugen dripper, the subject of this snapshot review!
It’s easy to think the Hario Mugen is just a variant of their popular V60 brewing system. After all, it uses the V60 filter papers. It looks at first glance like a V60 filter holder. And it’s from Hario. But the Mugen is a different beast. Hario designed the Mugen to provide a more fool proof, easy, hands off pour over coffee experience, where the most difficult thing you’ll do is fine tune the grind to meet specific brew times.
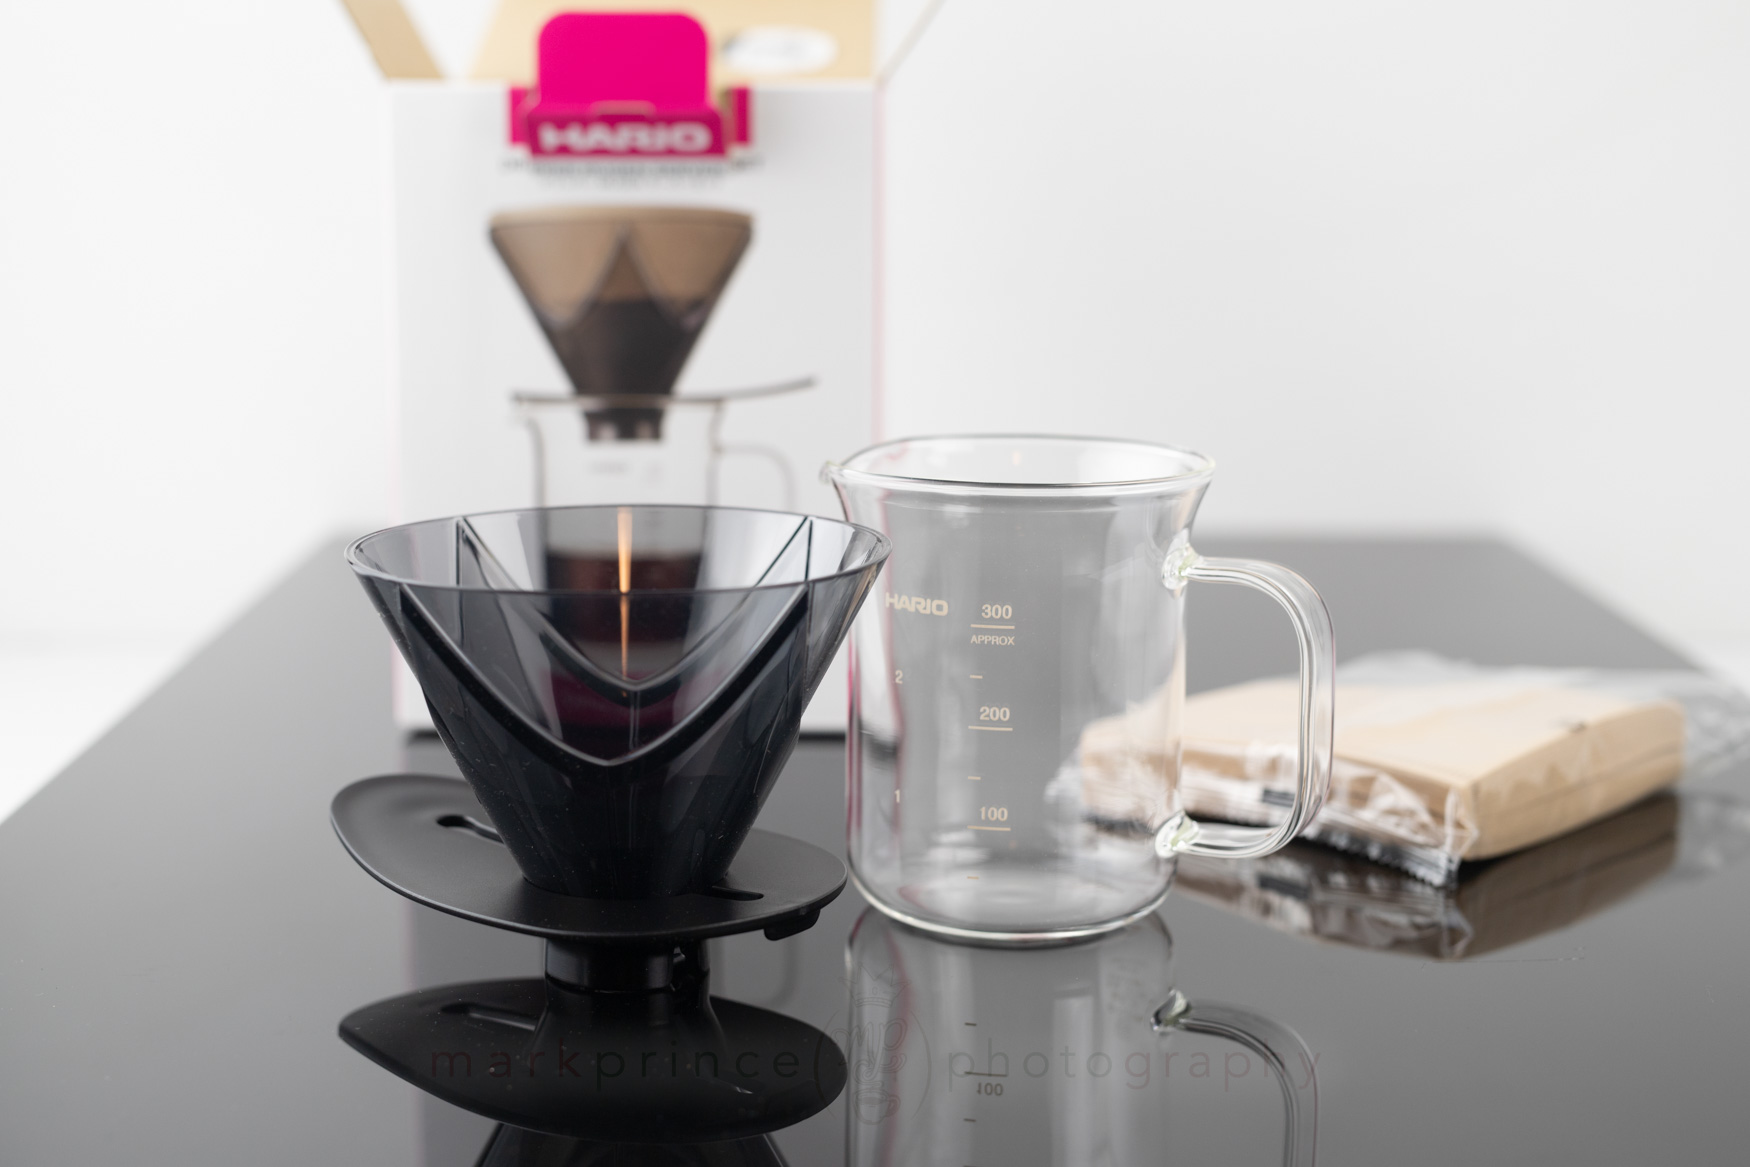
My own take is, they designed their own version of the Chemex. But perhaps it is also an accidental no-bypass brewing system as well.
Let’s dive into what this brewer is, but if you can’t wait for how we rate it, here you go!
We used several brewing styles and techniques to discover the best ways to use the Mugen. This included changing the grind, dose, and pouring techniques. We put the Mugen up against brews done with a Chemex 6 cup (brewing half batches), and played around a lot with a World Brewing champion’s “recipe” for this device.
At first glance, almost everyone thinks this is a variant of Hario’s V60 system. I made the mistake myself when first spotting it on Hario’s social media channels. But it is a different beast
The Mugen has mostly flat sides, so the Hario V60 paper will adhere to them when wet, limiting the flow through of coffee to the bottom of the cone. This is exactly how the Chemex works too, and that makes these two brewers a rather unique breed. Almost all pour over systems and designs, from Kalita to Melitta, feature ribs or accordion paper filters to promote sidewall flow and extraction of brewed coffee. Some brewing water also manages to bypass the full coffee bed in those brewers.
The Mugen (and the Chemex) don’t have this brewing style. Though Hario hasn’t specifically stated this, the Mugen also adheres (heh heh) a bit more to the current trend of no-bypass brewing.
What’s particularly interesting to me is this: Hario designed the Mugen for a more hands off, easy brewing style that doesn’t require a lot of hands on work. I have seen some folks online complicate up the brewing process quite a bit with the brewer, trying to do a typical V60 brew on it. That misses the mark a bit. I have not seen many talk about the no-bypass style this dripper can offer.
I have a lot more to say about the no-bypass elements of this brewer, and also modifying it somewhat by inserting it into a Hario Switch device to turn it entirely into an immersion, no-bypass brewer similar in usage and results to a NextLevel Pulsar. That is going to be its own article, based in our How To section, later this year.
For this review, we’re reviewing the Hario Mugen based on the way Hario designed it and how they say it should be used. That doesn’t mean you shouldn’t experiment with the brewer if you want to. It just means that Hario wanted to produce a bulletproof, “hands off” brewer, and we’re going to test it that way to see if they hit the mark.
The Mugen from Hario looks like a stylized V60, until you realise there’s no ribs inside. There are small air channels in the diamond pattern inside the brewer (a good thing) but no ribs. This puts the brewer in the Chemex territory, as a filter paper brewer that does all its extraction through the bottom of the cone, not the sides.
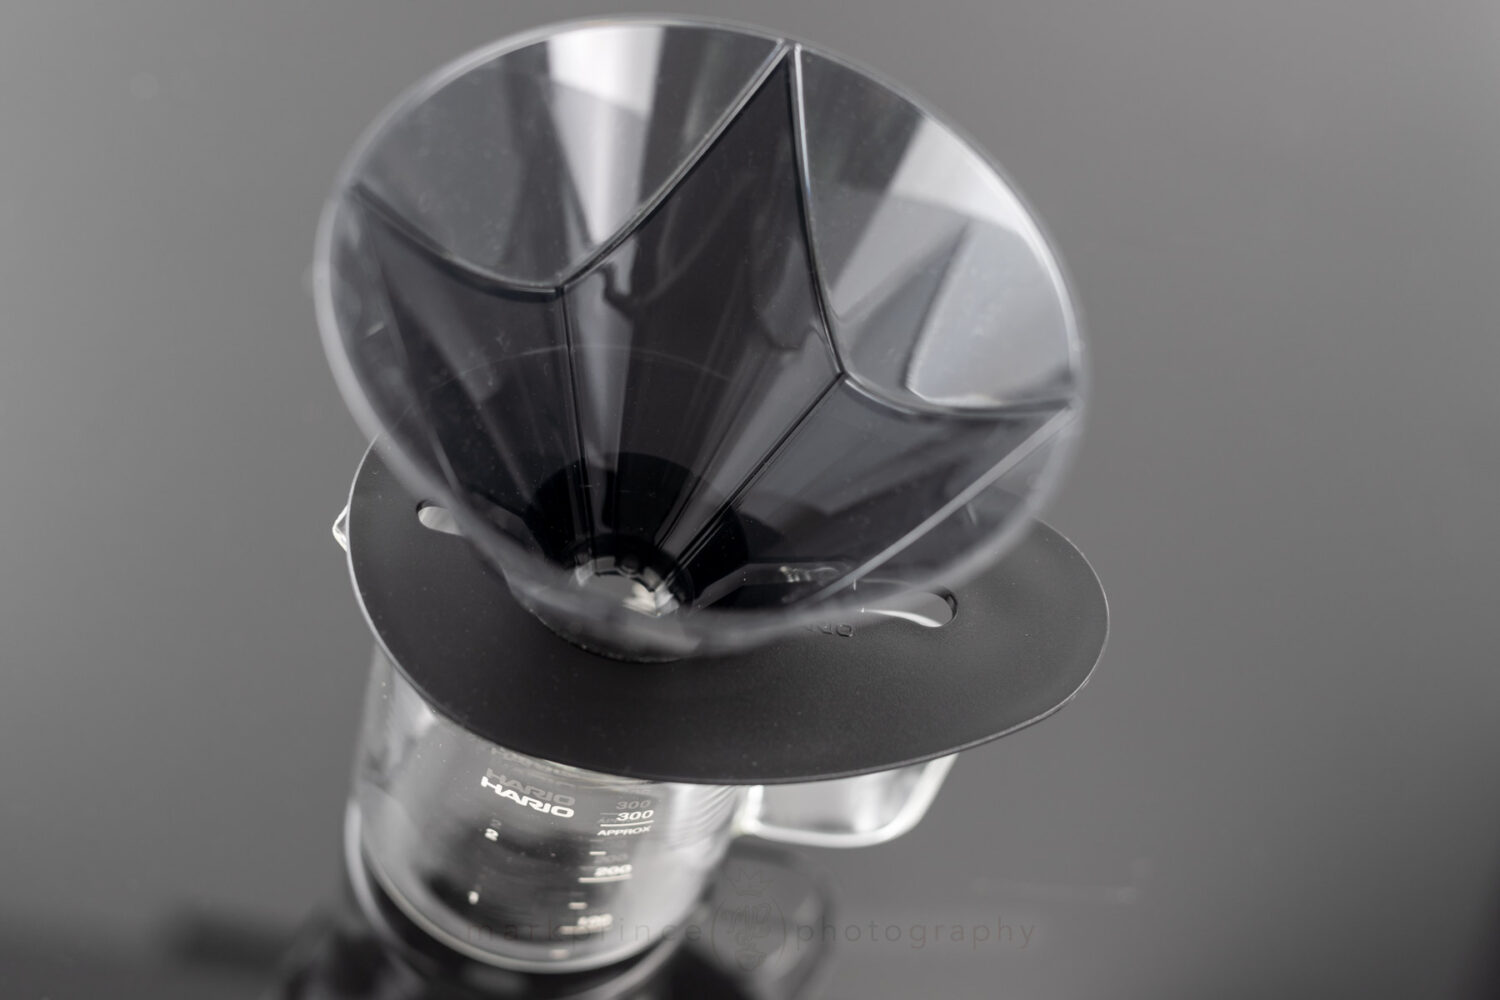
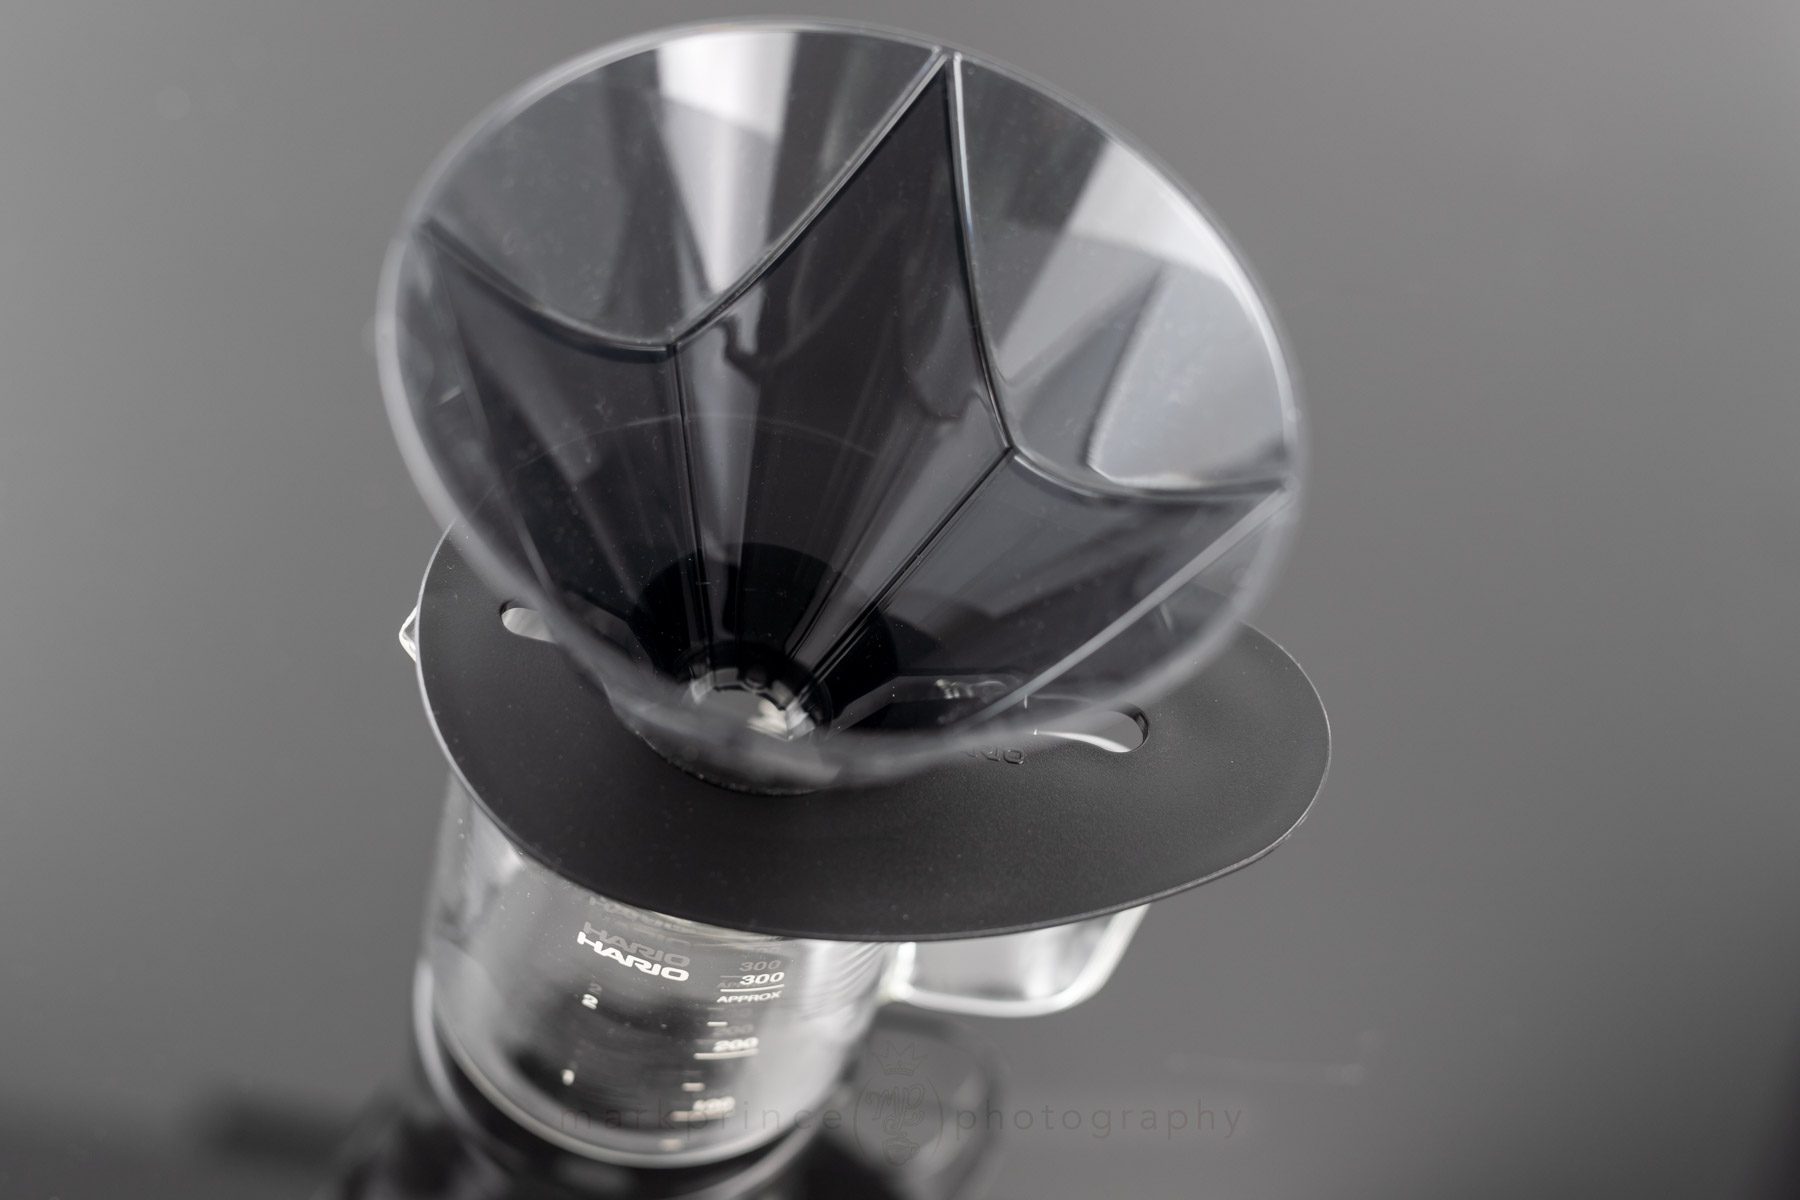
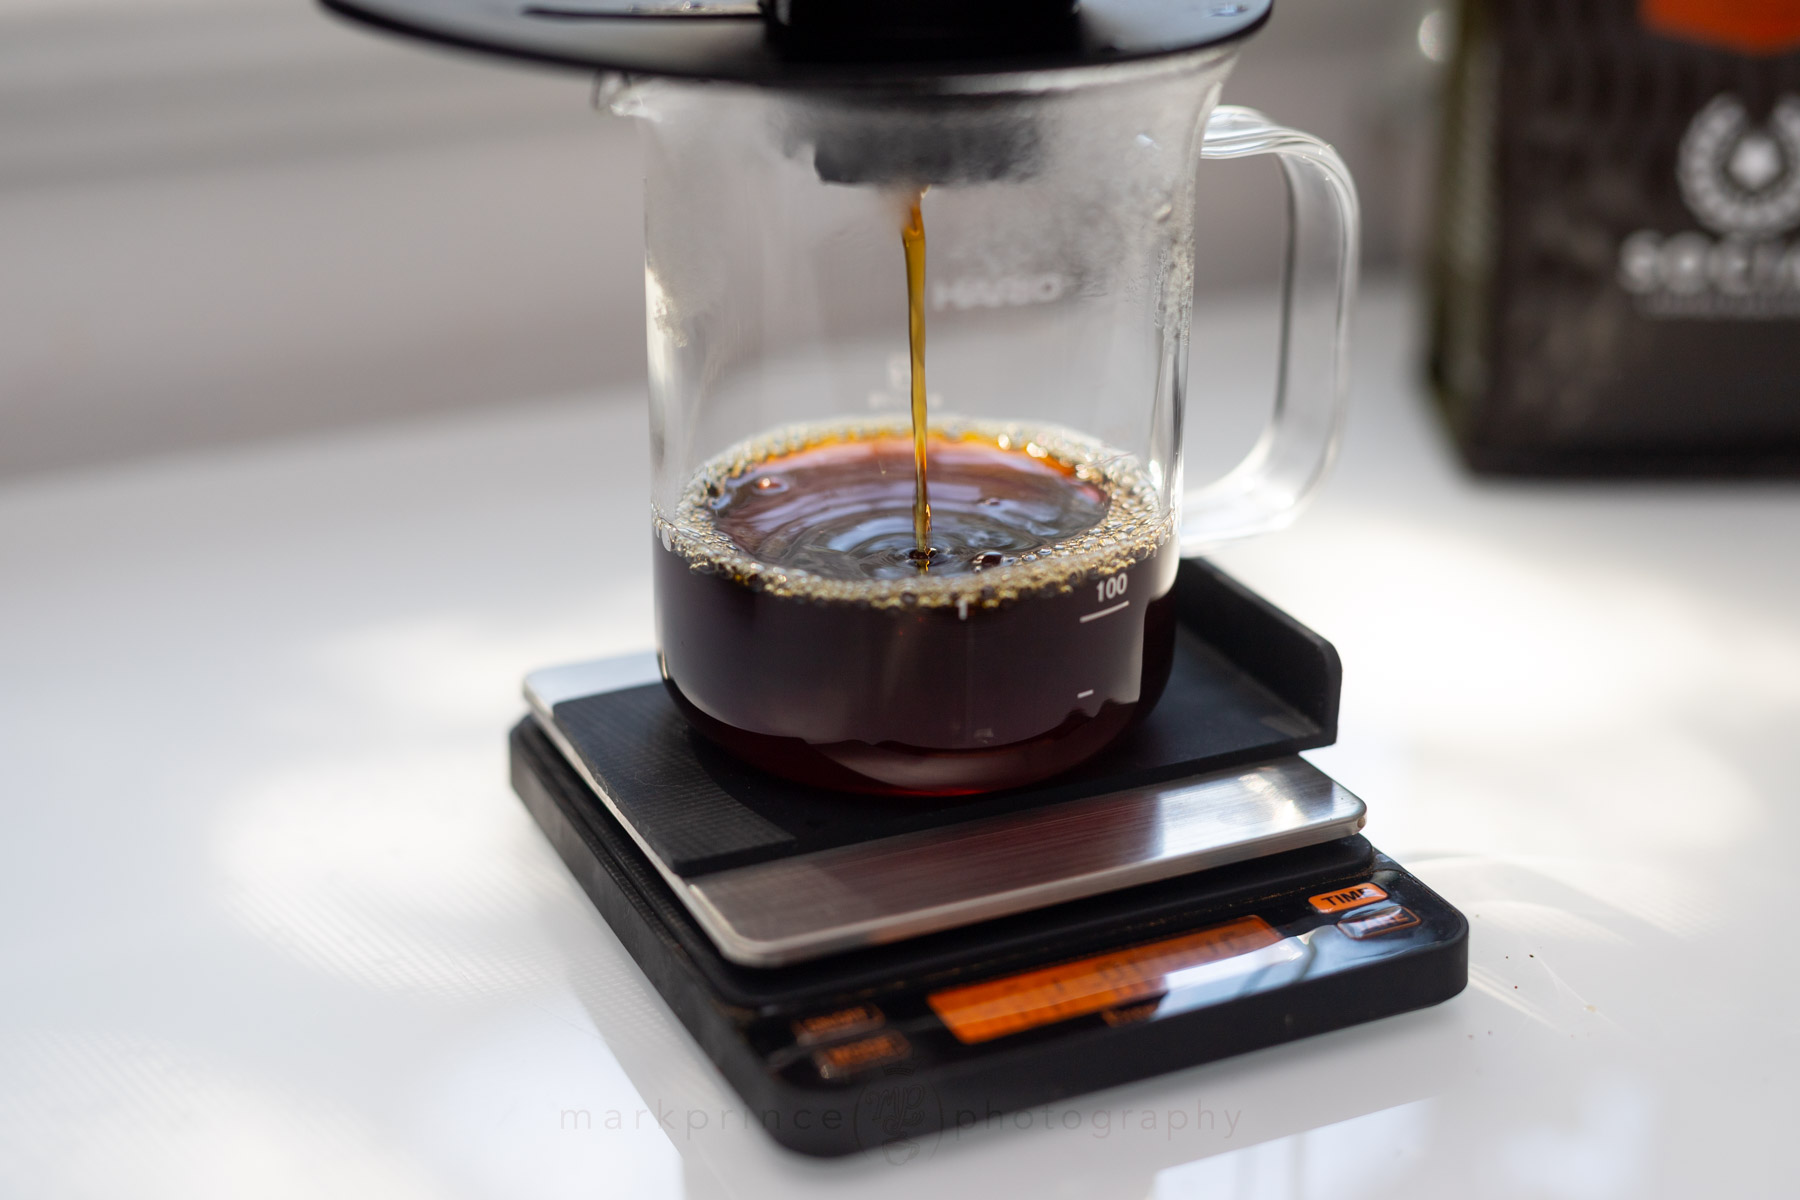
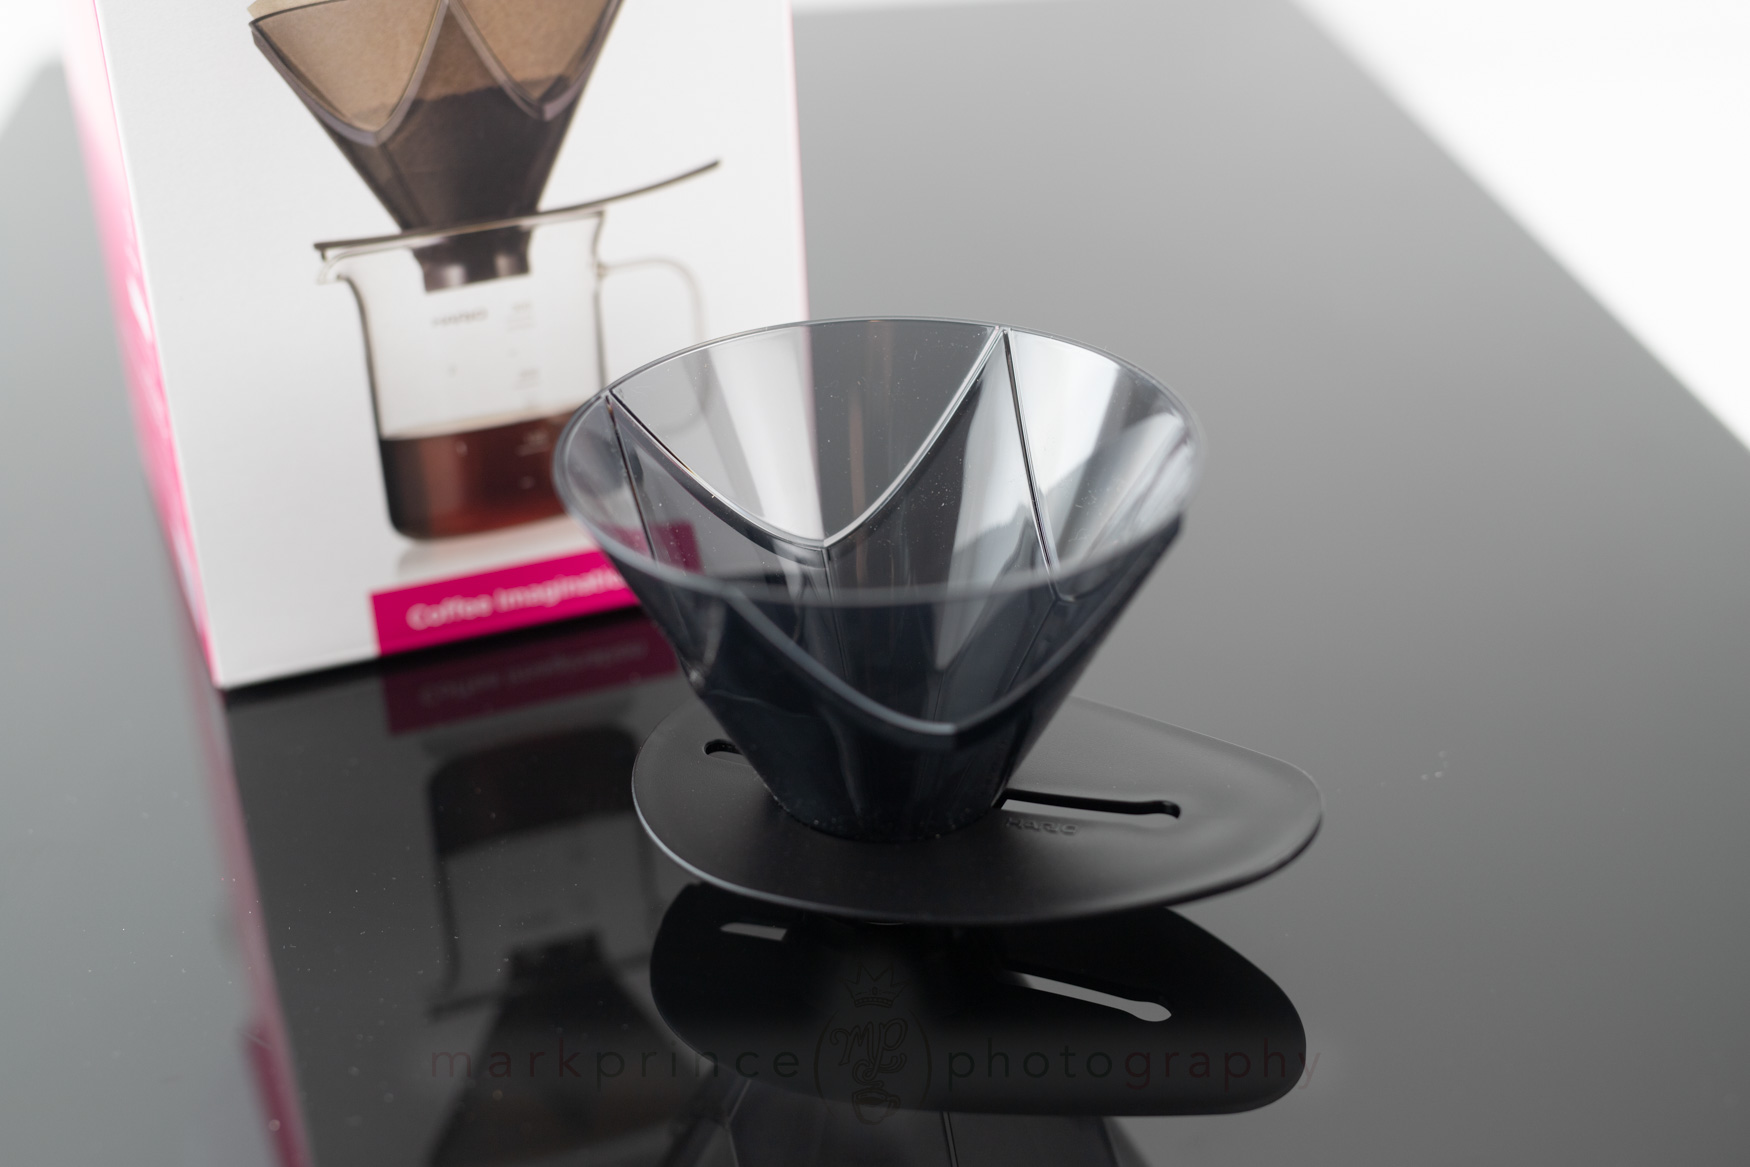
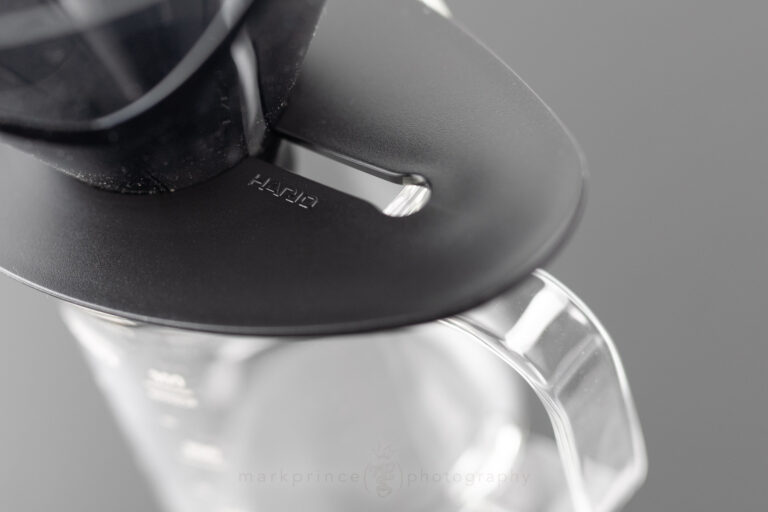
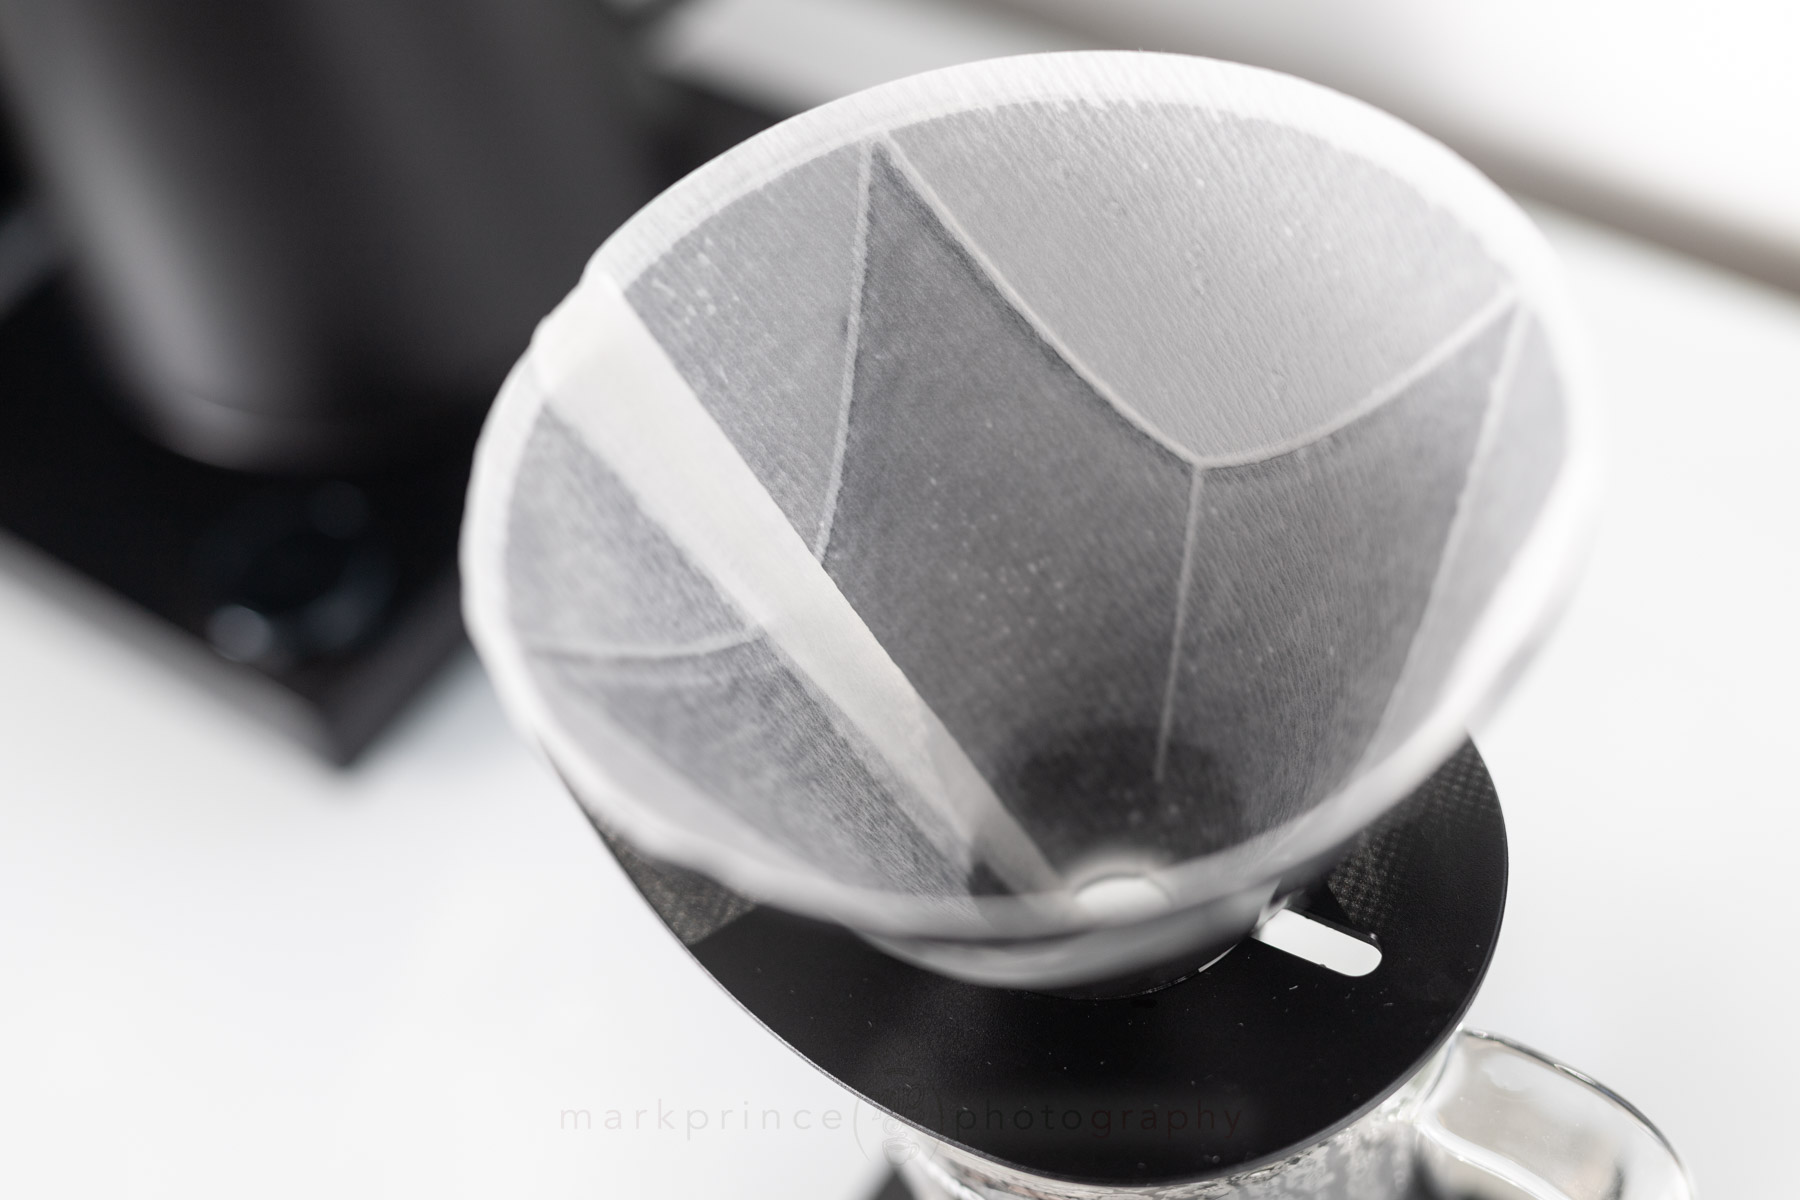
There's no ribs inside the Mugen, just very small air channels to help maintain coffee flow through the bottom of the filter.
Hario sells the Mugen in white ceramic as well as clear and and dark tinted polycarbonate resins. The ceramic model should retain more heat during the brew process, but I find Hario’s resin also work pretty well at retaining heat during a brew.
The funnel opening on the Mugen is a bit smaller than the Hario V60 models, which feature their ribs right to the funnel open, presenting a larger overall exit space. The diameter of the opening on the Mugen is only 1-2mm smaller than the V60s I own, but it’s a solid round hole with super tiny airflow notches, whereas V60s have the exposed rib ends.
The bottom plate of the Mugen is a new design from Hario as well, designed to be easy to handle and fit a wider variety of carafes, mugs and cups. It has a lip at the rounded end to latch onto the edge of the cup or carafe you’re brewing into. The dark resin model we have for testing is very lightweight, and very easy to clean.
If you enjoy and learn from this resource, please consider making a one time or recurring donation to help support our work and fund purchases for future reviews.
Hario is specific about the Mugen’s design ethos: it can produce a great cup of coffee without the need to do a bloom phase, or staged pours, or even stirs. They advise adding your coffee, pouring all (or most) of your brewing water in right away, and letting the brewer do its thing over a 2 minute period.
Hario’s Brand Ambassador, Tetsu Kasuya (the 2016 World Brewers Cup Champion, so he knows what he’s talking about) explains the technique and reasons for the designs.
Hario’s base formula for the Mugen is to use a finer grind than V60 (not much) and around 25g coffee for 300g of brewing water used. We followed that ratio, which is only slightly off the CoffeeGeek Ratio of 8g/100g for pour over (24g/300ml).
Also, if you were ever driven nuts by the meticulous super timed pours, stirs, pauses you see V60 aficionados do, the Mugen might be just right for you, because Hario advise pouring all your brewing water (yep, all 300ml) in about 15 seconds, aggressively covering all the grounds and creating agitation, then… just walk away and let the brewer drain out over the next one and half minutes. If you don’t see it fully drained out 90 seconds after you ended your pour, you ground the coffee too fine. If it drains in less than 90 seconds, you ground the coffee too coarse. Pretty straightforward.
It did take several tries to get our grinder dialed into Kasuya’s recommended 90 second draw down time; we had to go coarser on the grind, dialing in a bit more coarser than I even like to use with a V60. Once I got there the finished cup was… okay.
Based on the video, Kasuya looks to be using a darker roast than what we use, so my next step was to alter the grind to add 15, then 30 seconds to the draw down time, keeping the water amount and dose the same.
I found going to a 1:45 to 2:00 draw down time worked best for the coffee I was using (Social Coffee’s Volcan Azul from Costa Rica) Total brew time is up to 2:15, allowing for the 15 second pour. This got me curious – how could my timing tests be better than what a World Brewing Champion does? So I got some of Social’s darkest roast (Farmer’s Collective) and gave it a try. Sure enough, brewing it using Kasuya’s recommendation delivered the best overall cup.
So long story short – if you’re brewing lighter roast coffees, extend the contact / drawdown time by adjusting your grind, for the best results.
Lastly, I discovered you don’t really need a scale with this brewer if you’re following Hario’s recommended use. As long as you’re pouring rapidly, pouring all your brewing water into the Mugen within 15 seconds, just stop pouring once you’re about 3-4mm from the rim of it. That is roughly 300ml of water. You can skip a scale for the ground coffee too, if you want: just grind out 3.5 tablespoons (flat) of coffee, that’s roughly 25g.
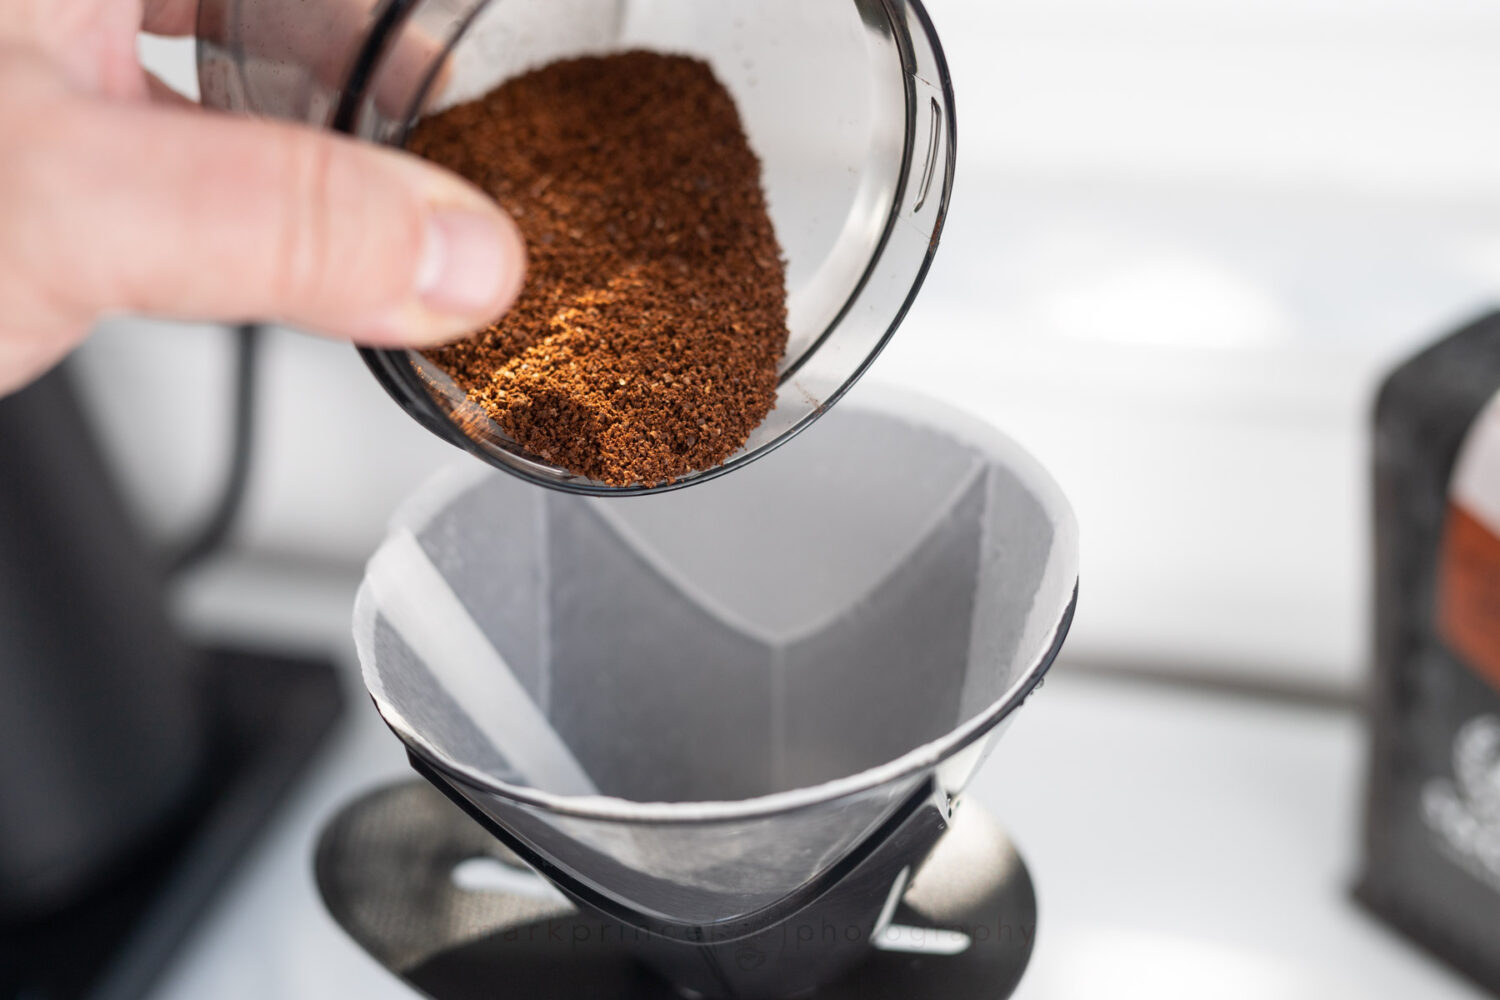
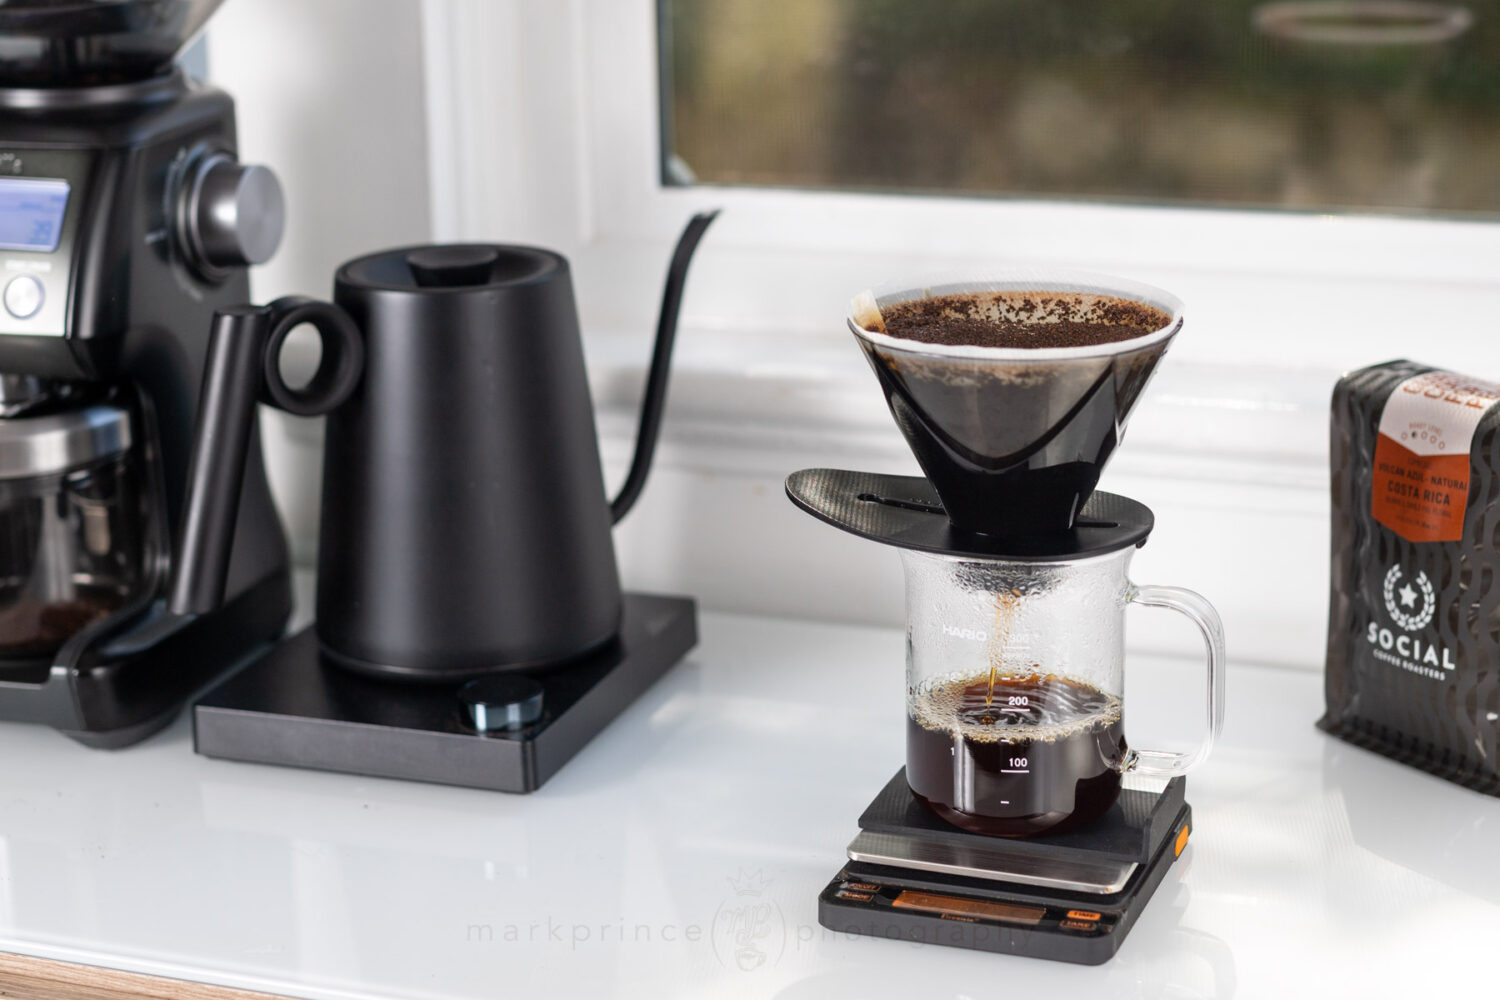
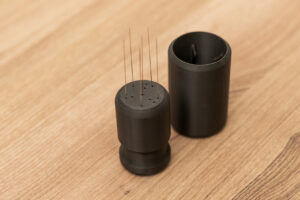
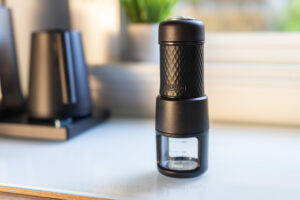
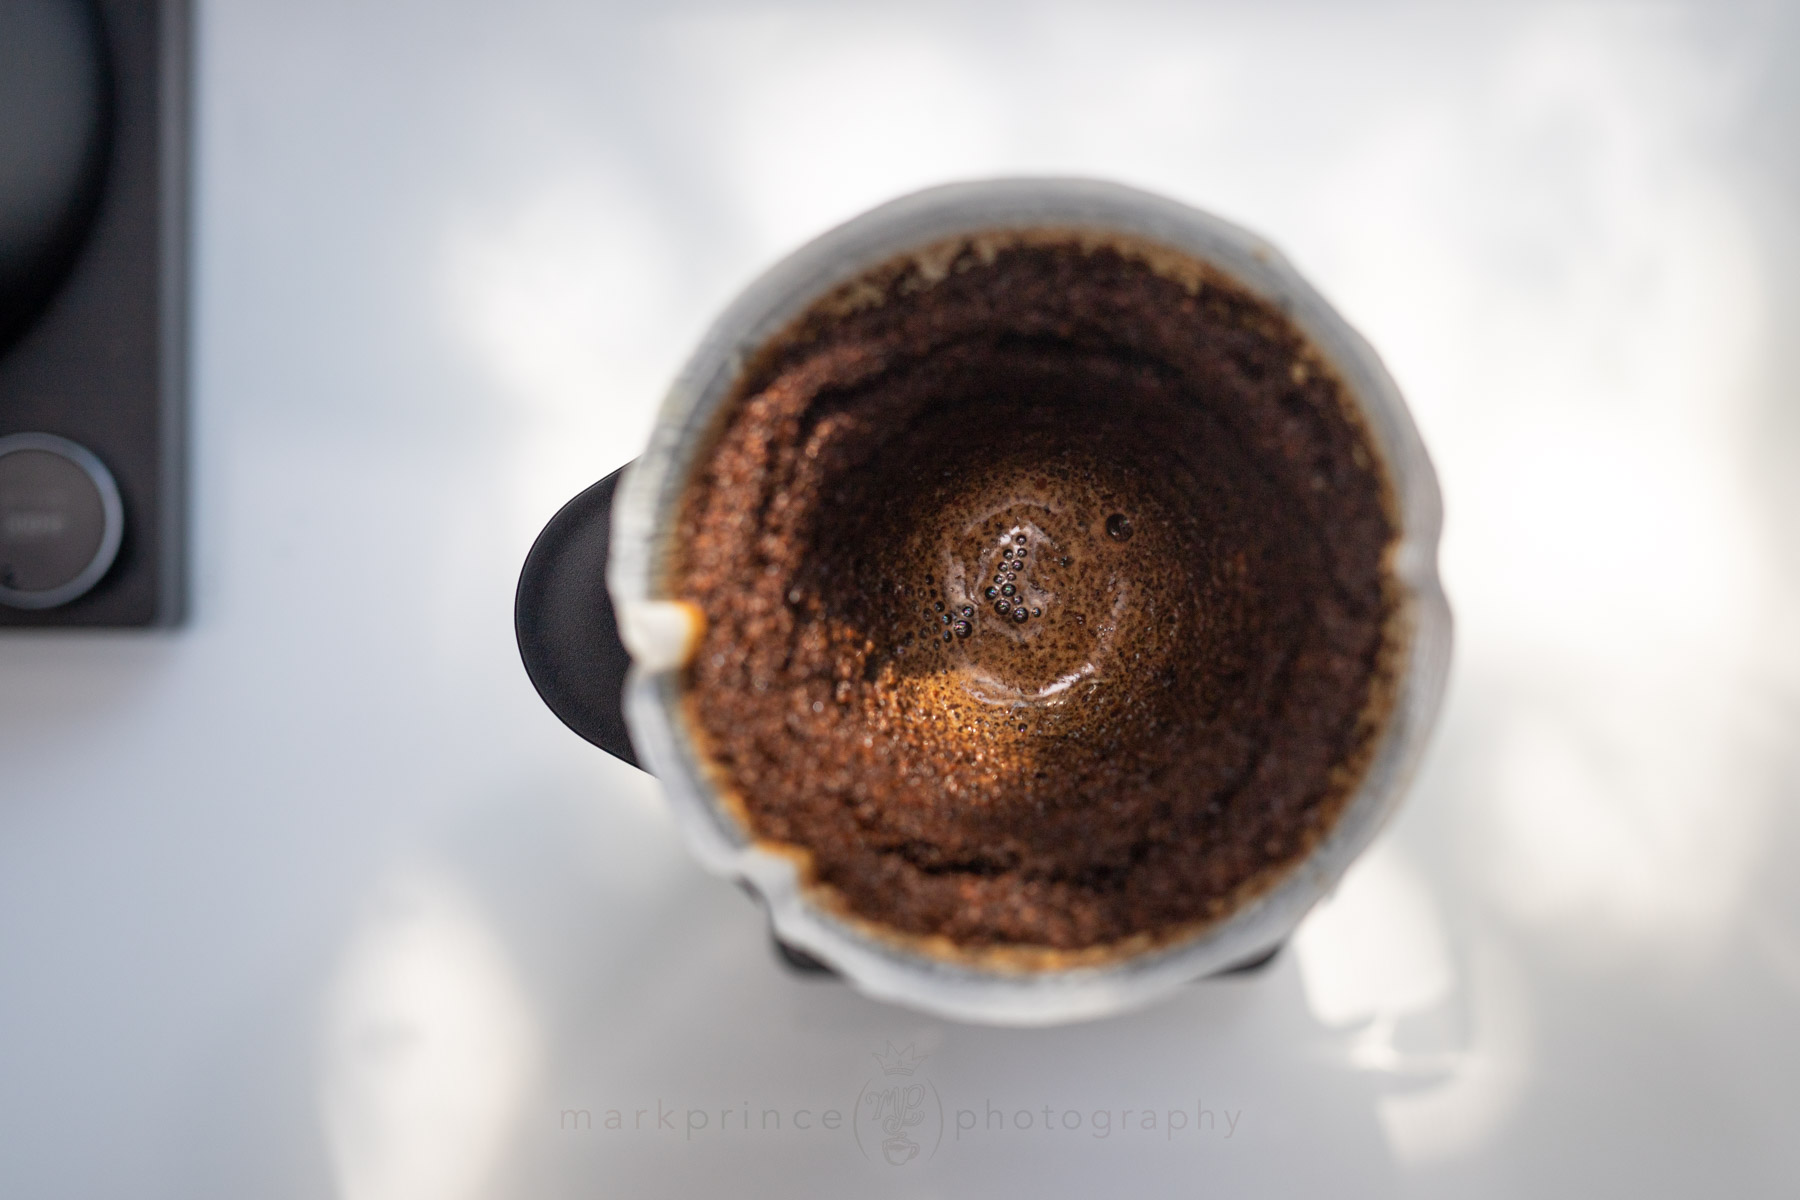
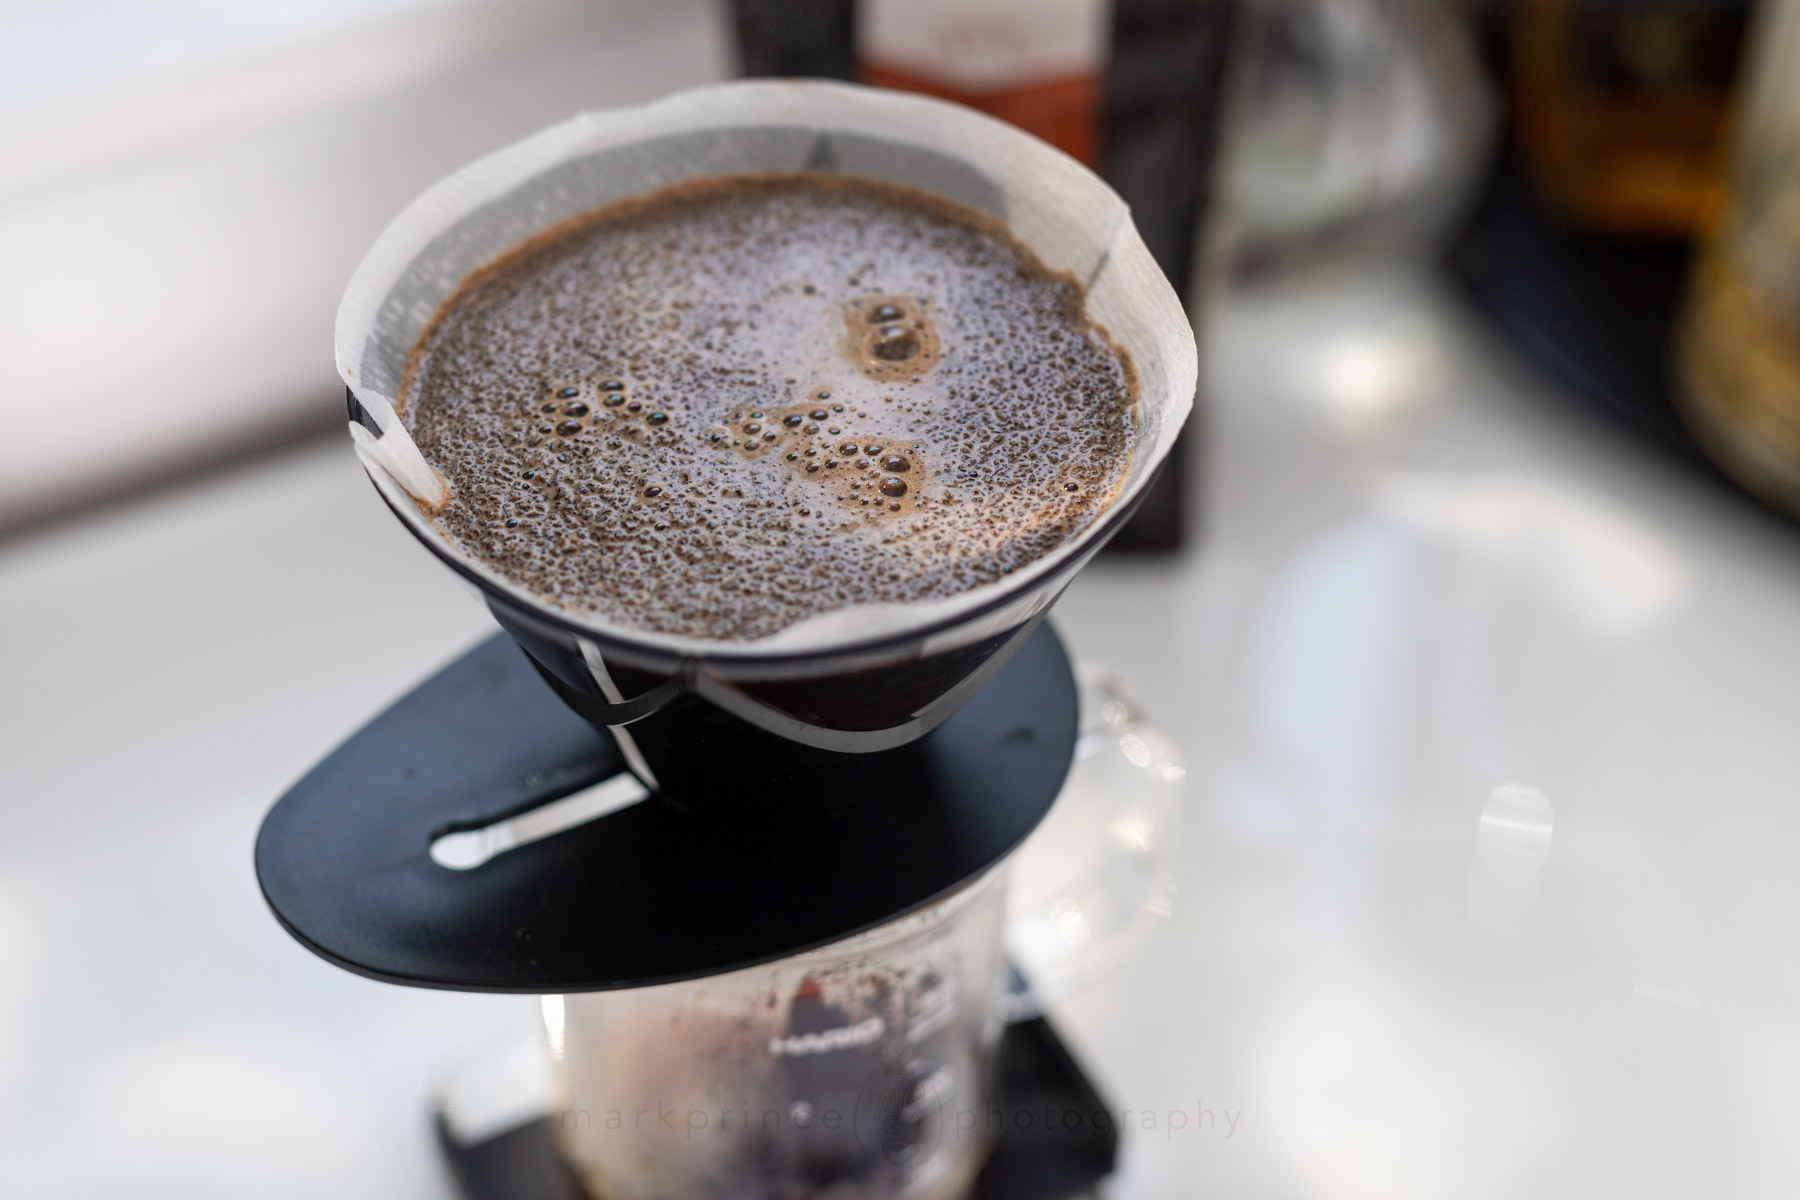
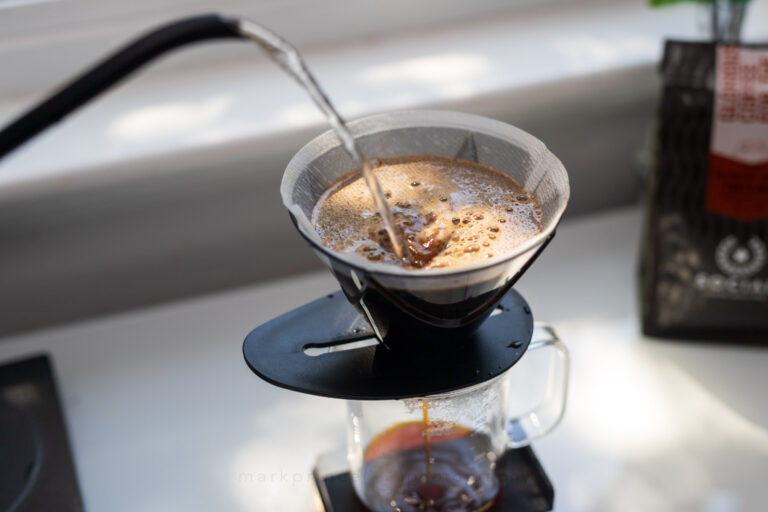
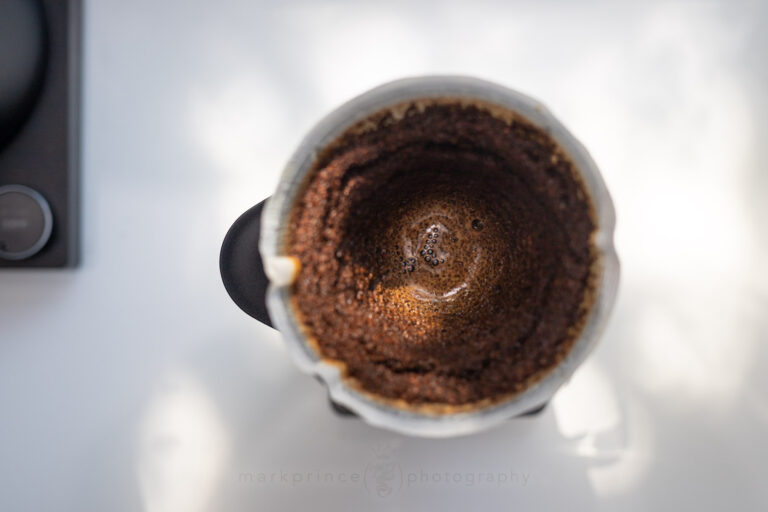
It took a bit to get the grinds right, but this is what they look like for a 2 minute drawdown with the Mugen.
After a lot of play and working with Hario’s method for brewing with the Mugen, we came up with a method that works well for lighter roast coffees.
25 grams of coffee. 300ml brewing water. 15 second pour. 2 minute drawdown. In this demonstration, we’re using Social Coffee’s Volcan Azul from Costa Rica.
If you enjoy and learn from this resource, please consider making a one time or recurring donation to help support our work and fund purchases for future reviews.
We put the Haro Mugen up against the Hario V60, using our standard technique (altering the water amount used and grind, but brewing with 300ml water), and the Chemex 6 cup, brewing with Kasuya’s Mugen technique, using the same coffee, same grind, and same water volume.
In short, the V60 produced the best cup. But it wasn’t a clear winner. It lacked a bit of sweetness that the Mugan brew had, but gained a lot in more flavour nuance to the cup. It also required a lot more hands on effort, and if my goal is the best pour over I can produce, sure, the V60 method is the clear choice. But if I want a really good cup of coffee without thinking about it too much (especially when waking up) the Mugen brew got the job done.
The Chemex was interesting. It comes down to the paper, but the draw down took a lot longer with the Chemex: about 2:45 in total (plus 15 seconds to pour). I did saturate the filter paper first with boiling water. The Chemex brew had more body and depth to it, but also had a bit more of the astringent flavours that come from over extraction. It all has to do with the extra contact time. If I ground the coffee coarser like I usually do for a Chemex, I’m guessing the cup quality would improve as the draw down time would be shorter.
Another test that we didn’t do, but would be interesting is matching up the Mugen to the variety of no-bypass methods out there for other brewers. We’ll save that analysis for a future feature on no-bypass brewing.
The Mugen is not the best drip coffee maker out there, but it doesn't require a lot of hands on work, once you have the grind dialed in. Produced better results than the Chemex, but the V60 beat it.
If you’re in Japan, a Mugen drip brewer costs you just $5 (688 yen). The ceramic one is $11 (1500 yen). That’s a steal. Especially considering the cheapest Chemex 6 cup is just shy of $50 US
In the US, the Hario Mugen is $14 for the resin model (or less – as I type this, it is $10!), and $22 for the ceramic. Still excellent value, and worth the price if only to experiment with it.
The best thing about the Mugen is the ease of use to deliver a pretty good cup of coffee. A practiced V60 method will almost always beat it for cup quality but you have to work at it to get there. If you just try using the Mugen brew method with a V60, you’re going to not be happy with the results.
Hario's interesting take on the Chemex brewing method is a decent performer.
Hario clearly intends the Mugen to be a foolproof, set it and forget it brewing device, and using their prescribed method offers good results. The biggest alteration might be the flow through timing: go a bit longer for lighter roasts (adjust you grind coarseness to do this adjustment) or a bit shorter for darker roasts. Otherwise, stick to 25g coffee used, 300ml water used, and bob’s your uncle.
Of course, it’s your coffee, so experiment as much as you want! But out of the gate, using the Mugen in Hario’s simplified, hands off way, it produces a pretty good cup of coffee!
If you enjoy and learn from this resource, please consider making a one time or recurring donation to help support our work and fund purchases for future reviews.
The Orb One, a successful kickstarter project, is a new take on the venerable stovetop moka pot brewer. Here’s our Snapshot Review of it.
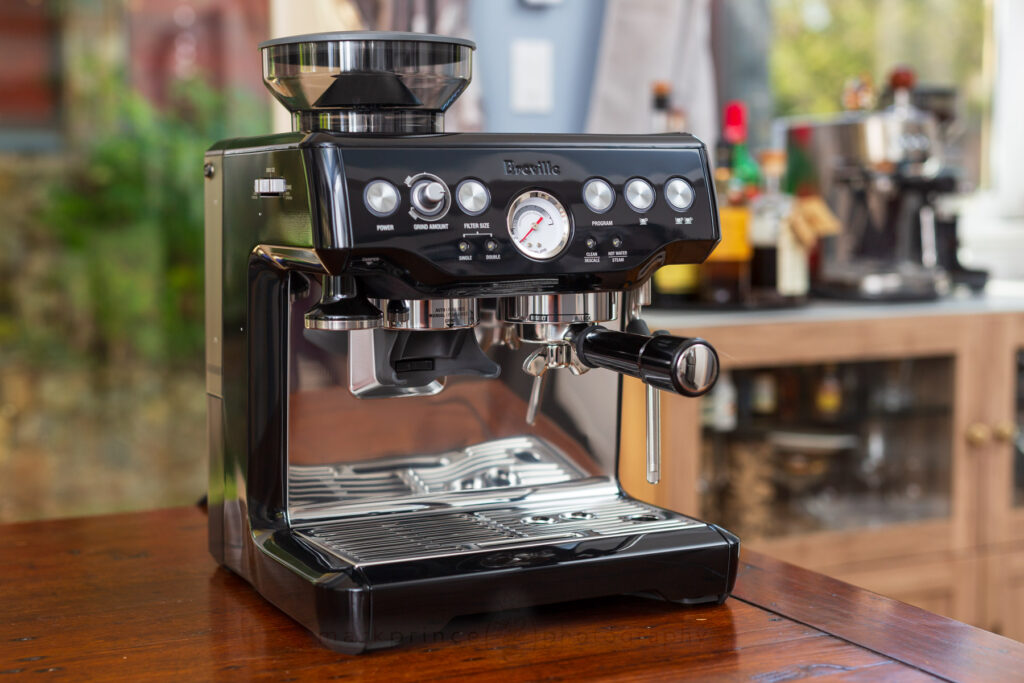
Our fresh take on the best selling espresso machine on the planet, the Breville Barista Express. Is it still worth buying in 2024?
4 Responses
There are many ways to brew coffee out there but for overall quality for ease of use it’s the Technivorm for me. No putzing around, great coffee every time.
Thanks, great article Mark! Love it when we encourage experimentation with no single “best” method after all coffee taste is subjective.
I bought this brewer not thinking of it as a Chemex so I’ve been using it as a V60 and enjoy it a lot as a replacement for my weathered resin V60. What if you adjusted your technique to a total 3min brew? Maybe then the coffee would be more than just “okay”?
I did some experimenting with this device, extending the brew time via a finer grind (but using Hario’s recommended brewing technique) and the coffee was over-extracted to my taste. I also tried stirs and pour, bloom, pour, pause, pours and again, I felt the resulting cup had too many bitters for my taste. There’s no side extraction at all, which most other pourovers (melitta, kalitta, v60, flower, etc) all provide. Typically, with a Chemex, you’d go even coarser, but you’re also brewing larger batches – up to 1l or more, so things balance out a bit.