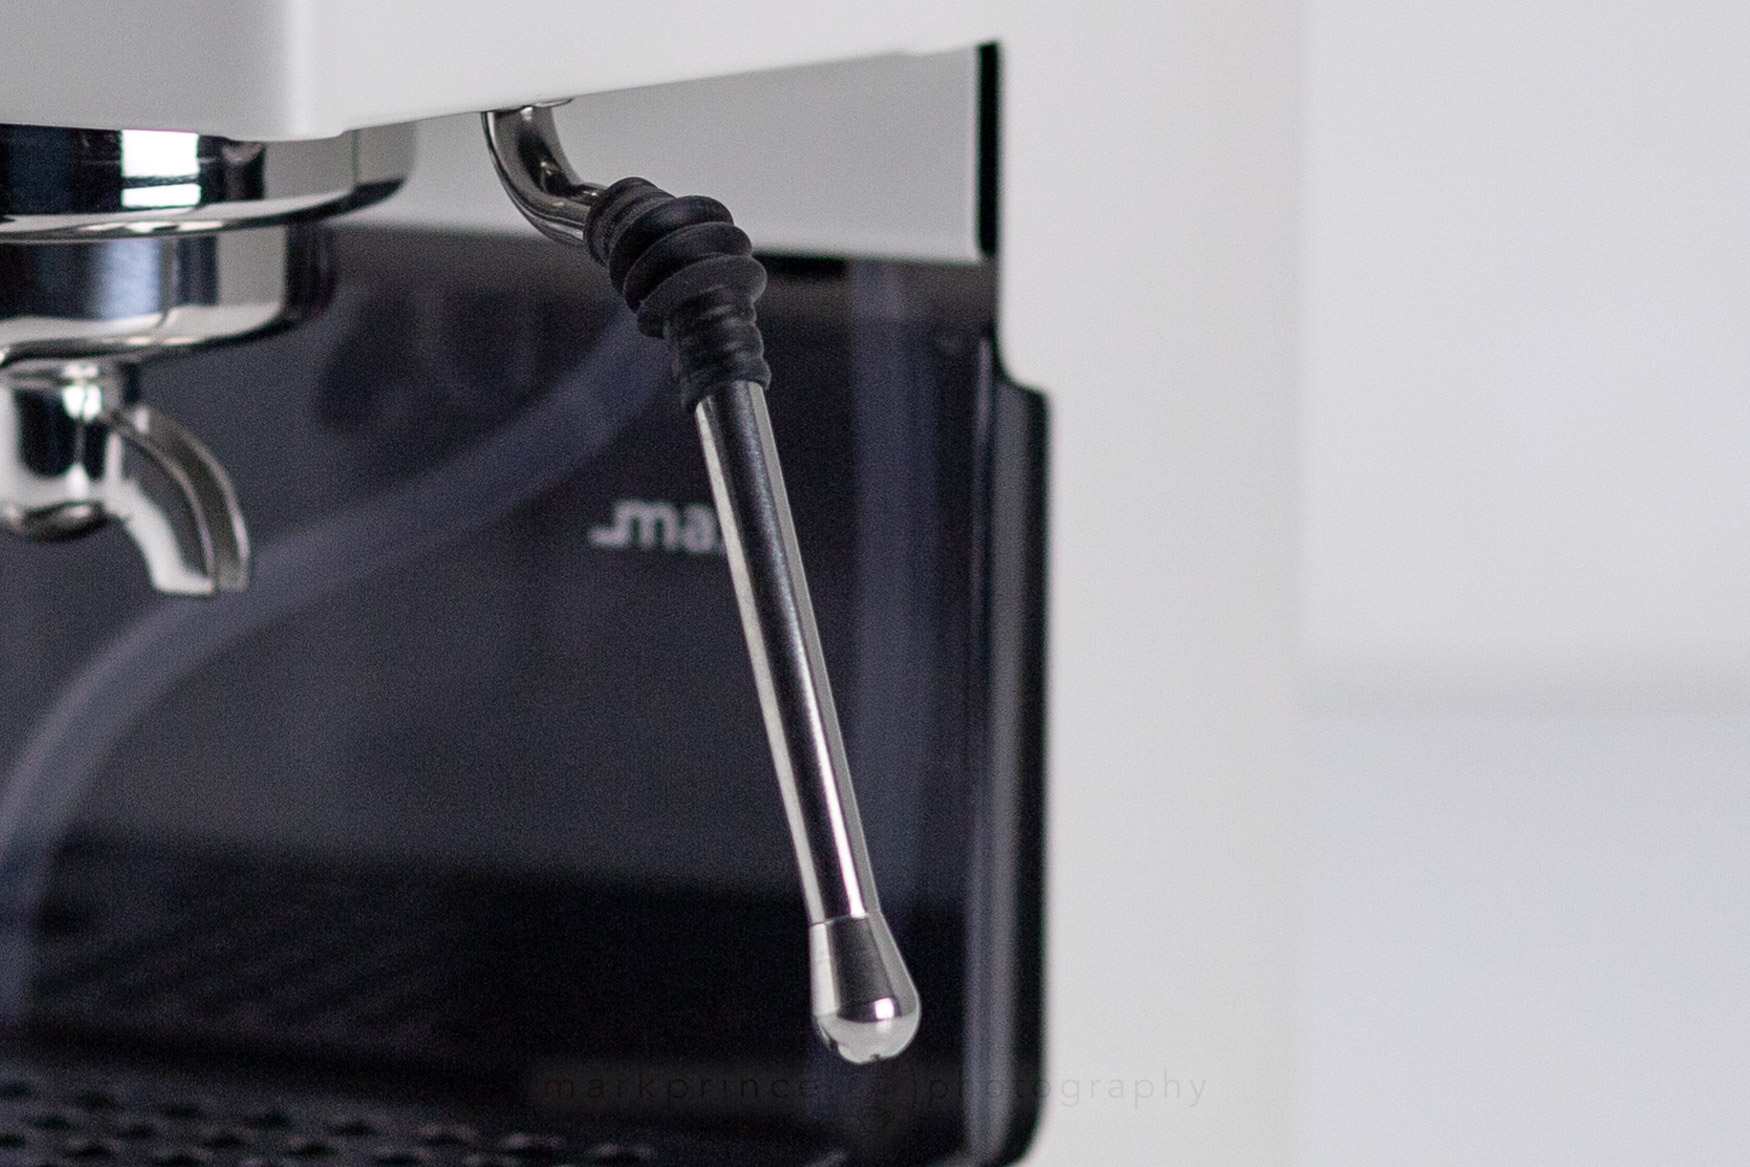
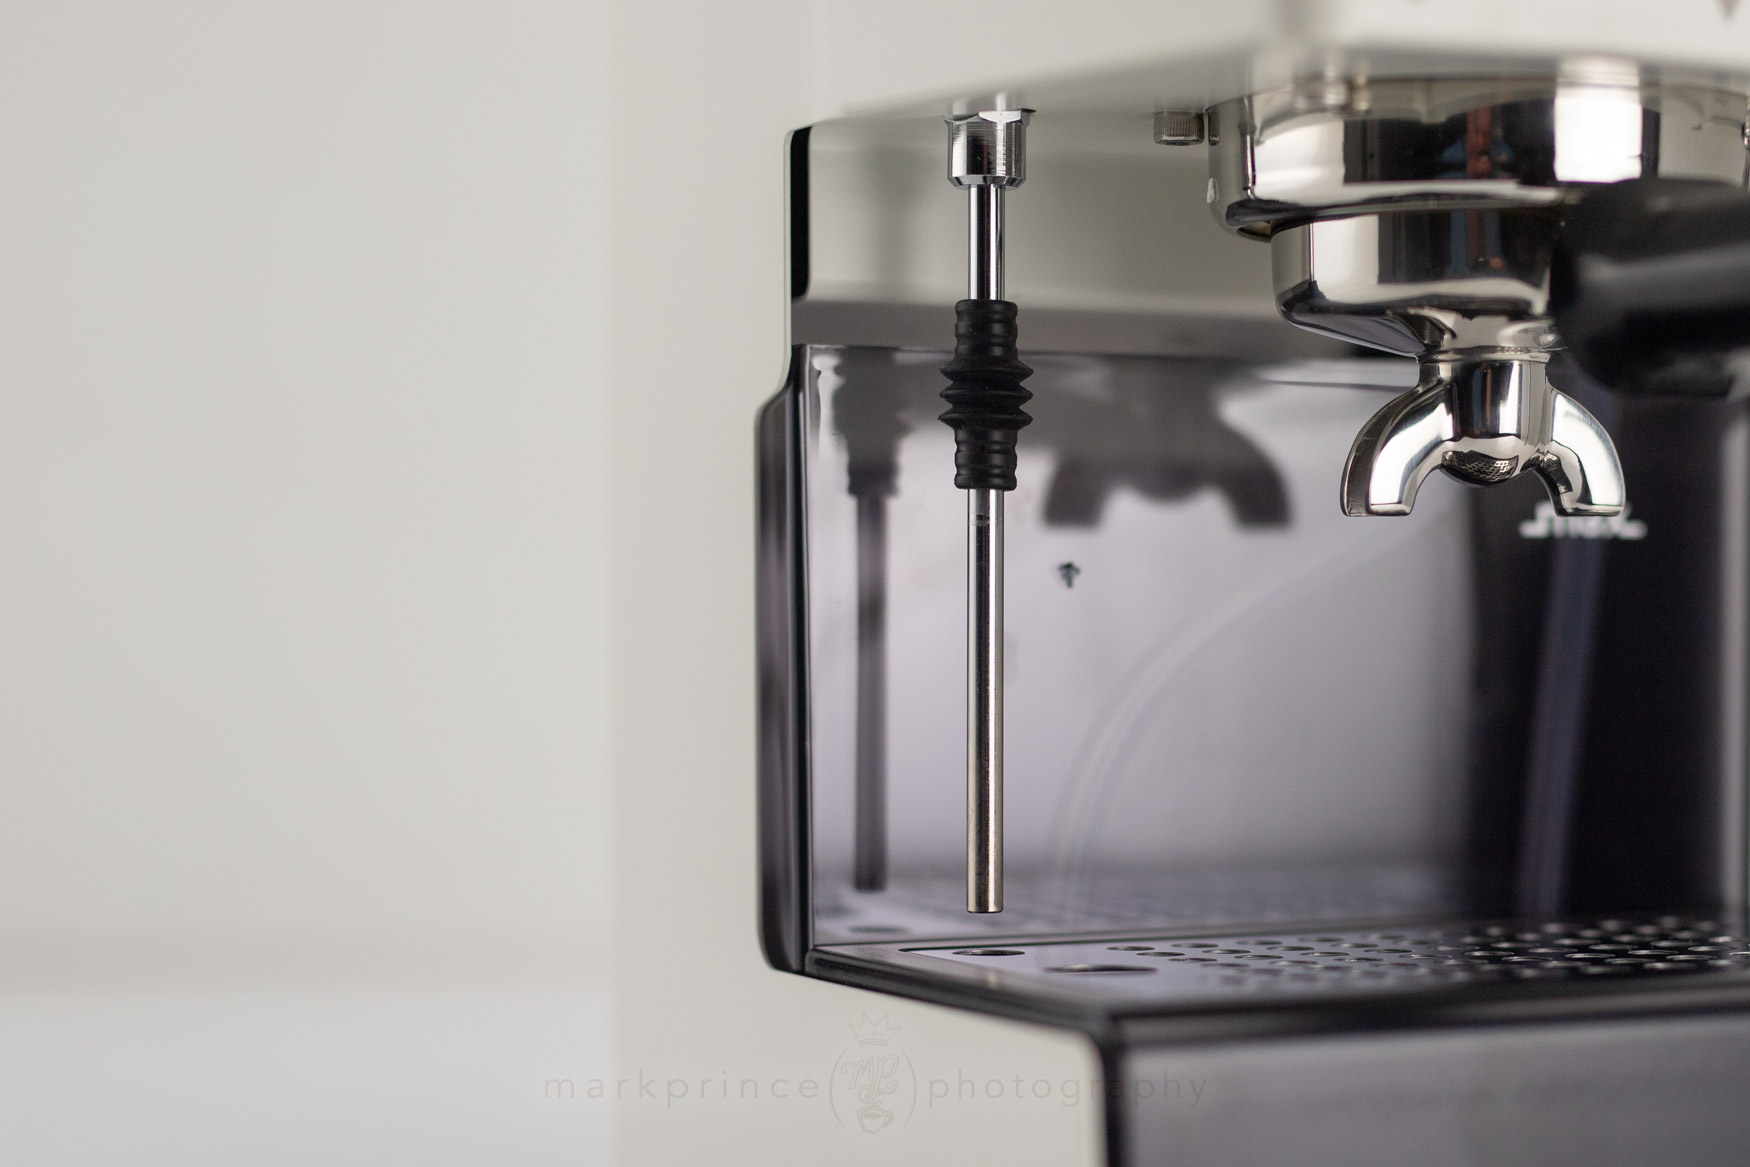
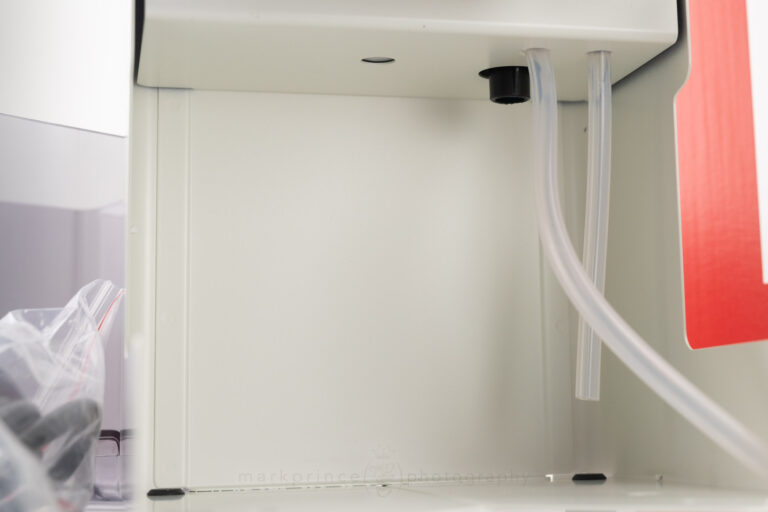
Out of the BoxClassic Evo Pro
Even though Gaggia has gotten the memo on environmental care with some design changes in the new Gaggia Classic Evo Pro (more on that below), they definitely have not understood this with their machine packaging.
The Classic Evo Pro ships with lots of styrofoam inside the box, and a full painted box. I understand completely that the heavy weights of these machines and shipping can be a challenge, but every company in the coffee and espresso sphere needs to do their part in making their packaging as environmentally friendly, and recyclable / reusable as possible.
Opening up Gaggia’s shiny red and white box, you find the instruction manual on top, with the first layer of styrofoam protection. Remove these, and the machine is visible. Kudos to Gaggia for not wrapping the entire machine in another layer of plastic bags.
The machine lifts out of the box at this point, and you find it with a smaller cardboard box stuffed into the grouphead and drip tray area. All the machine’s parts and accessories are in the box and the machine’s water reservoir. The reservoir is wrapped in protective plastic.
In the small box you’ll find the drip tray cover (perforated steel, covered with a protective film), the portafilter with the pressurized filter basket installed, a 1990s era plastic 58(ish) mm tamper, a coffee scoop, and two additional filter baskets, a single and double. In the water reservoir sits the Gaggia Classic’s power cord, and the extension pipe for the machine’s 3 way solenoid valve water release (which gets fed into the machine’s drip tray).
The stuff in the box was flopping around a bit, including metal on metal contact with the filter baskets and portafilter. It didn’t mar the finish on our test unit, but it could happen.
Assembling the machine is pretty straightforward, save for one part: there’s no instructions in the manual about how to insert the 3 way solenoid valve discharge tube, or even that you should have to. If you didn’t know what the part was, it would be a mystery. Plus, the first time you install it, it requires some force to wedge up into the holder.
Other than that, getting the machine set up and ready to use is extremely easy and straightforward. Let’s look at the machine, top to bottom and back to front.
Right up top is the polished stainless steel cup warming tray. It is passively heated by the boiler below, and Gaggia claims it gets to 120F (50C) for cups after 30 minutes. Towards the top back of the machine sits the reservoir fill area, including a cap. This is one of two ways you can fill the Gaggia Classic Evo Pro. The other is by pulling the reservoir out of the machine to fill it at your tap.
The entire body and construction of the machine is metal; on some units, polished or brushed steel, and on ours, painted steel. The fit and finish is… really good. The paint seems durable, has texture to it, and everything seems to fit together really well. The Gaggia doesn’t have the kind of creaky, paper thin metal feel of some other budget or entry point espresso machines that are plastic bodies with a hair-thin wrap of metal plate around them.
On the front of the machine sits the controls: three very nice tactile touch rocker switches. Seriously, these feel great, and reminiscent of some mechanical keyboards I’ve used, including the one I’m typing on (Keychron K3 Pro if you’re intrigued). Little things like these switches can really alter your impression and perception of an appliance.
The left rocker switch powers the machine on or off. The middle switch is the pump activation switch, which works in both brew and steam modes. The third switch is the steam heat activation switch for the boiler, but it also triggers a solenoid inside to prevent water flow to the grouphead, directing it through the steam wand if you also activate the middle pump switch. More on this later.
Below each switch are activation lights. The left light always stays on when the machine is powered up. On the Gaggia, when the middle or right side light is on, it means the machine is “ready” and heating elements in the boiler are not engaged. When the light is off, the heating elements are active. It’s important to note this because some other brands of espresso machines will turn their indicator lights off when the machine is in ready or standby mode, and light them up when the heating elements or pumps are running.
Moving down the machine, you find one of the first visible changes between the 2019 and 2023 models of the Classic. The grouphead is now just brass (losing its chromed finish), and the wrap around it is stainless steel. Gaggia removed all chrome from the 2023 Classic Pro Evo for environmental and safety concerns. Apparently chroming things is the 2020s version of applying asbestos, in that the process has long term health concerns for those applying it.
This is also where another change is visible: the 2023 Gaggia Classic has an all steel portafilter, a big and welcome change from the 2019’s chromed brass portafilter. For me, this is one of the better improvements on the machine.
One more change, invisible to us unless you remove the grouphead’s dispersion screen: Gaggia went to an all steel grouphead dispersion plate. This is a beefy metal part behind the dispersion screen that aids with temperature stability and direction of the brewing water. It used to be aluminum. No longer.
The steam wand is a traditional, two hole wand that is slightly updated from the 2019 model, and a massive improvement over the previous generations of the Gaggia Classic, which had a froth aiding wand system. It has a rubberized grip at its main bend for handling. It rotates 360 degrees on one plane, but does not articulate in or out, like you find on some other machines in this price range (including the new Gaggia Espresso machine, available only in Europe right now).
Moving further down in front you come to the drip tray which hasn’t changed since the 2019 model. It is still made of plastic with a steel perforated top plate (removable) and still holds a fair amount of liquid before needing to be emptied. This is both a good and bad thing. Good in that it holds a lot of liquid. Bad in that the cup clearance between the spouted portafilter and drip tray is really low. The good news is, relatively cheap low-profile drip tray replacements (that fit the Gaggia perforated steel top plate) can be found on Etsy for $20 or less.
The right side of the machine sits the steam knob valve, which does allow for some control on the speed of the steam. It has no texture and can be a bit “slippy” in some situations. I’ve seen some end users wrap grip tape around it.
There’s a trick accessible via this steam wand while you’re brewing espresso, very much undocumented by Gaggia. That knob allows you to “pressure profile” your shot pulls somewhat, because when the machine is in brew mode, opening up the steam knob redirects some of the pressurized water from the grouphead to the wand, effectively lowering the brewing pressure in the grouphead. More on this below.
The removable reservoir sits behind the drip tray, and holds over 2 litres of water. It has two hoses you must place inside of it (it can get a bit tricky when sliding the reservoir in and out of the machine), one for the overpressure valve bypass, and one to draw water to the pump. The Classic’s reservoir level is notoriously difficult to view the actual level of water in, because the plastic is smoked and a bit opaque; in 2019, Gaggia added side cutouts to the machine to make it a bit easier to see the water level. An LED inside, even a weak one, would be even better.
Photos of steam wand knob, reservoir, side cutout for reservoir, etc.
The back of the machine is interesting; specifically where the power plug connection ends up being. Because the water reservoir abuts right up against the back of the machine, there’s no path for any cords or electronics to get to the bottom of the Classic. Because of this, Gaggia’s power connection sits way up the back of the machine, much nearer the top than the bottom. Fortunately, the connecting cord they use is angled, letting you sit the machine close to the wall. It still looks a bit weird if you have the machine free standing on your open concept kitchen counter.
Back of machine photos, power cord.
The Gaggia Classic Evo Pro sits 36cm tall, is 20cm wide (not including steam knob) and 24cm deep not including the power cord (14.25” x 8” x 9.5”). It weighs 9.2kg bone empty (20lb) including the portafilter. The boiler max capacity is 140ml, operating capacity is 105ml (3.5oz). The water reservoir holds 2.1l of water (72fl.oz), and the drip tray capacity is 475ml (16fl.oz). The machine draws 1425W on 110V, 15A power, with 1375W of that going to the boiler at max capacity. That’s a lot for 100mls of water.
The Copper Insert
Removing the copper insert from the Expedition Brewer
Subscribe to
Coffee Pulse
Delivered twice monthly, CoffeeGeek's premier newsletter dives into a specific coffee topic each issue. The Pulse also occasionally features contests and giveaways. Subscribing is free, and your personal information is never shared.
By submitting this form, you are consenting to receive marketing emails from: CoffeeGeek. You can revoke your consent to receive emails at any time by using the SafeUnsubscribe® link, found at the bottom of every email. Emails are serviced by Constant Contact
Support CoffeeGeek
If you enjoy and learn from this resource, please consider making a one time or recurring donation to help support our work and fund purchases for future reviews.
First UseClassic Evo Pro
The first Gaggia Classic I owned was a 1998 model, so I am familiar with the machine’s methodology and build. That machine is long gone, but I still have all my notes and photos from the review we published on CoffeeGeek back in 2003. I reviewed those notes before diving into this machine, and you know what? Not much has changed in the big picture; a lot of little things have changed however, almost all for the better.
Side by Side
From our initial Gaggia Classic review published on CoffeeGeek over 20 years ago, here's a 2002 era Rancilio Silvia next to a 1998 edition of the Gaggia Classic.
After giving the machine a good cleaning including soapy water for all plastics and metal bits that touch water, I ran a full reservoir of water through the machine, alternating between grouphead and steam wand. Always a good practice with a new espresso machine.
Next, it was time to build my first drinks. I know, from experience, you should “temperature surf” a Gaggia Classic, but I decided to not do that on the first ten shot pulls, just to see where the machine was at, temperature-wise.
Long story short, things got a little sour. If you just approach the Gaggia Classic Evo Pro without paying attention to the indicator lights, your shot pulls will be a crapshoot, with some ending up on the sour side because of too-low brewing temperatures.
However, this is extremely easy to remedy, and it doesn’t require complex tricks and timing. Simply flush the group until the light turns off under the middle button. Grind, dose, WDT, tamp your coffee. By this point, the machine’s ready light is back on. Load it up and pull your shot into preheated cup. Bob’s your uncle. It may not be “perfect”, but the temperatures will be just fine and will decline over the shot pull, which is a good thing.
The trick is to time your shot pull to start literally within a few seconds of seeing that indicator light under the middle switch turn on. That means the boiler’s heating element has cycled, and reached the top of its temperature range (around 98-99C internally). As you run your 25-30 second shot, room temperature water from the reservoir gets introduced to the 100ml operating capacity boiler inside, and cools down somewhat (the water is also heated up by all the metal’s heat conduction, so there’s a balance going on), and declines the brewing temperature towards the end of the shot. Scace’ing this machine shows a grouphead start of around 94C (201F) once stabilized, and a decline to 89C (192C by the 25th second. Trust me, this is a good thing.
You can get even better results by actually temperature surfing the Gaggia Classic Evo Pro; it requires activating the steam switch for about 5-7 seconds as soon as the middle boiler lamp turns on. This will heat the water up past 100C inside (around 105C all told), but with the temperature leeching of the coffee bed initially, starts your shot process around 95F (204F) and only drops it to around 91C (196F) by the end of the shot. But that’s more advanced use. Wait until I tell you how to pressure profile this machine.
Back to the first use; out of the box, pulling shots whenever had predictable all over the map results. Pulling shots right after the boiler’s heating element cycled produced really nice espresso, which should be good enough for most owners of this machine.
A double shot being pulled on the Gaggia Classic Evo Pro during testing.
Hot Water
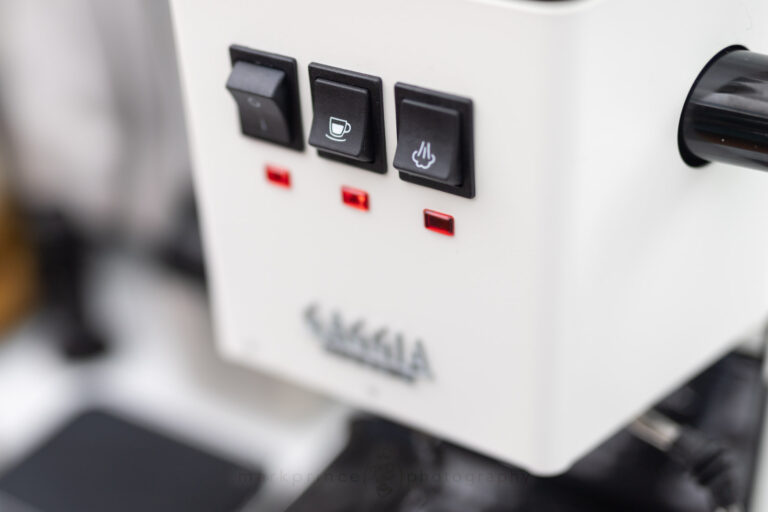
I like my americanos, and the good news is, the Gaggia Classic Evo Pro delivers piping hot, steamy water for those americanos (or for tea usage). I read complaints from people on the coffee forums that they think the Classic is busted somewhat for hot water delivery. “I open the steam wand and run the pump, but water comes out both the steam wand and grouphead! And it’s not hot enough!”.
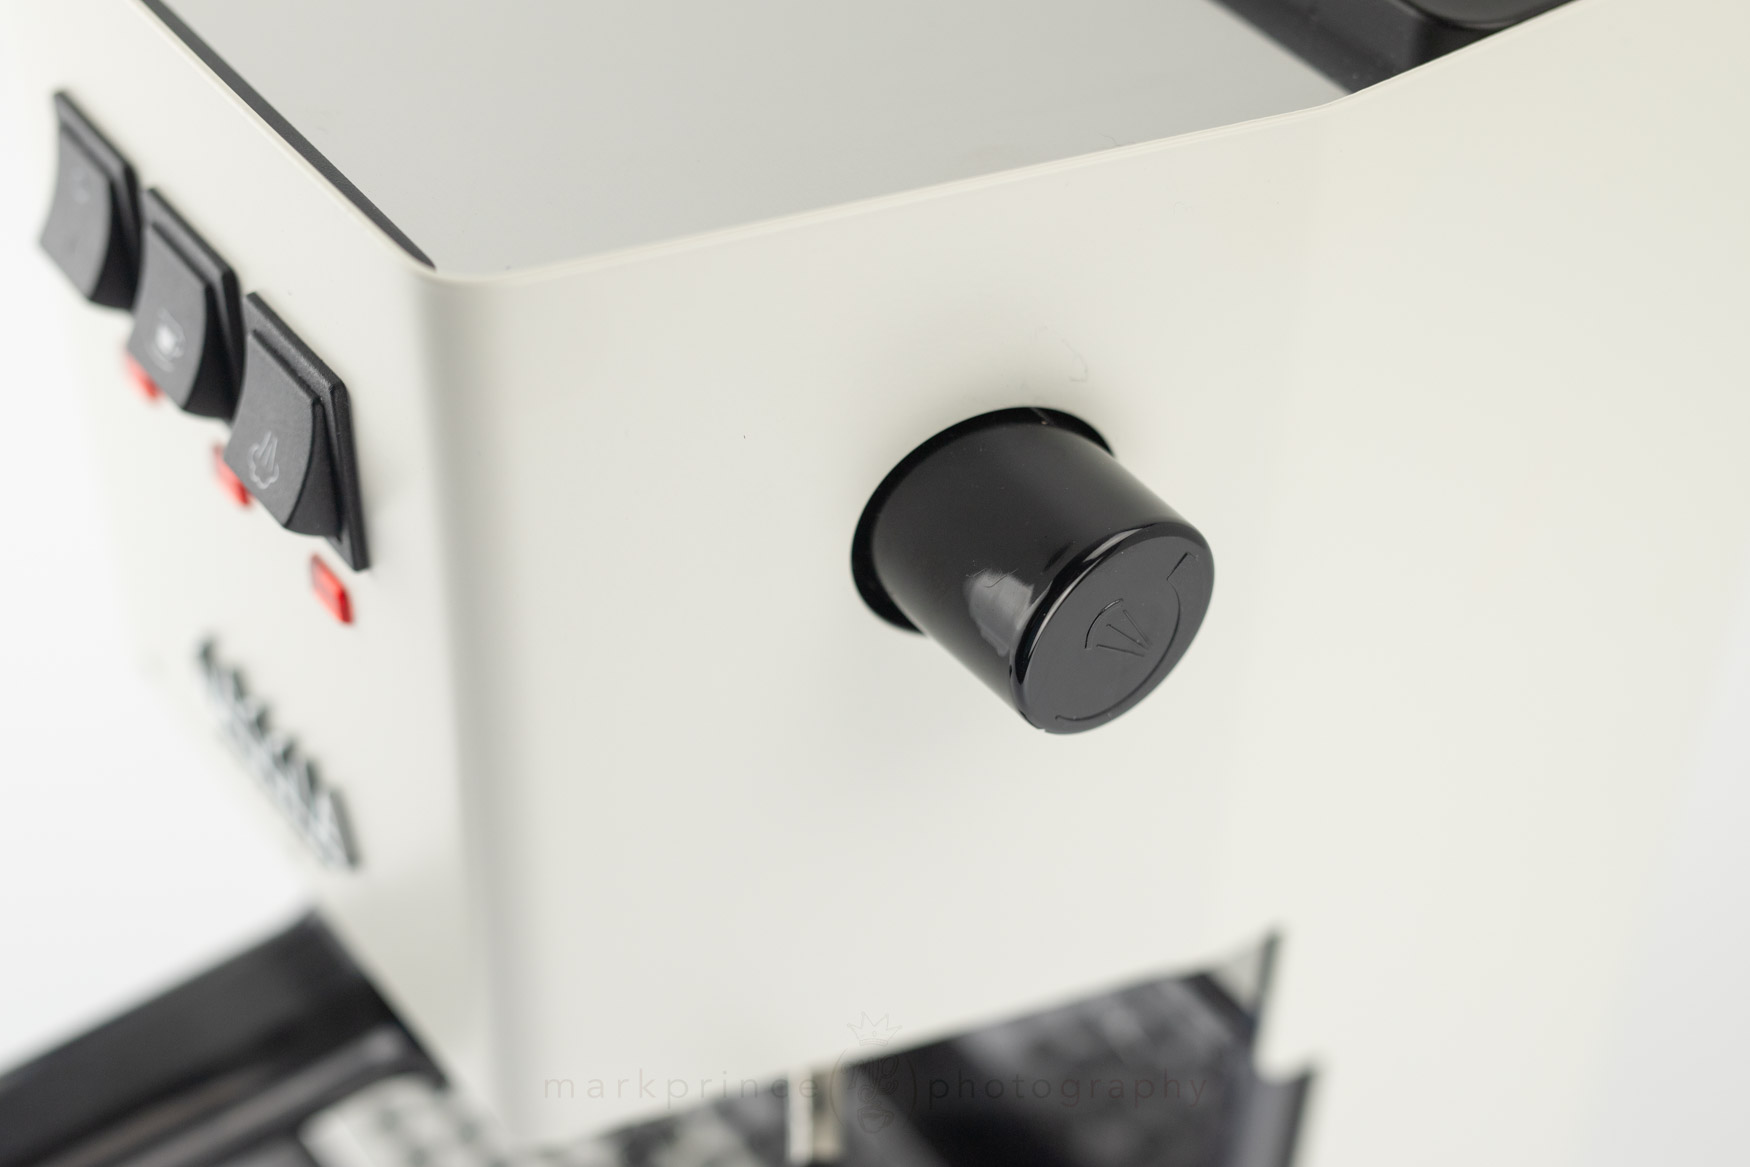
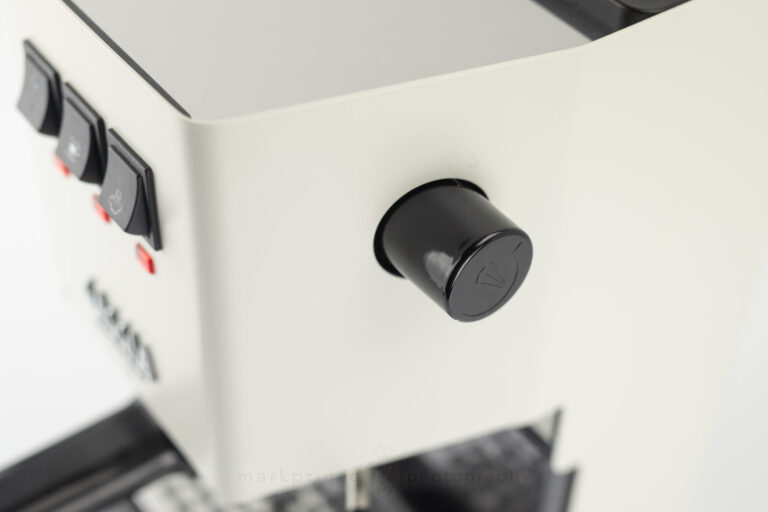
They aren’t doing it right. The proper way is to flip on the steam switch before drawing water. This electronically closes the flow valve to the grouphead and only allows water to come out of the steam wand when the middle pump rocker switch is activated. Do it all immediately to get nice 90C water. Want it hotter? Flip the steam switch, wait 5 seconds, then open the steam knob and run the pump switch. The water is around 100C coming out of the wand (and sputtering quite a bit so be wary of burning yourself from any splashes).
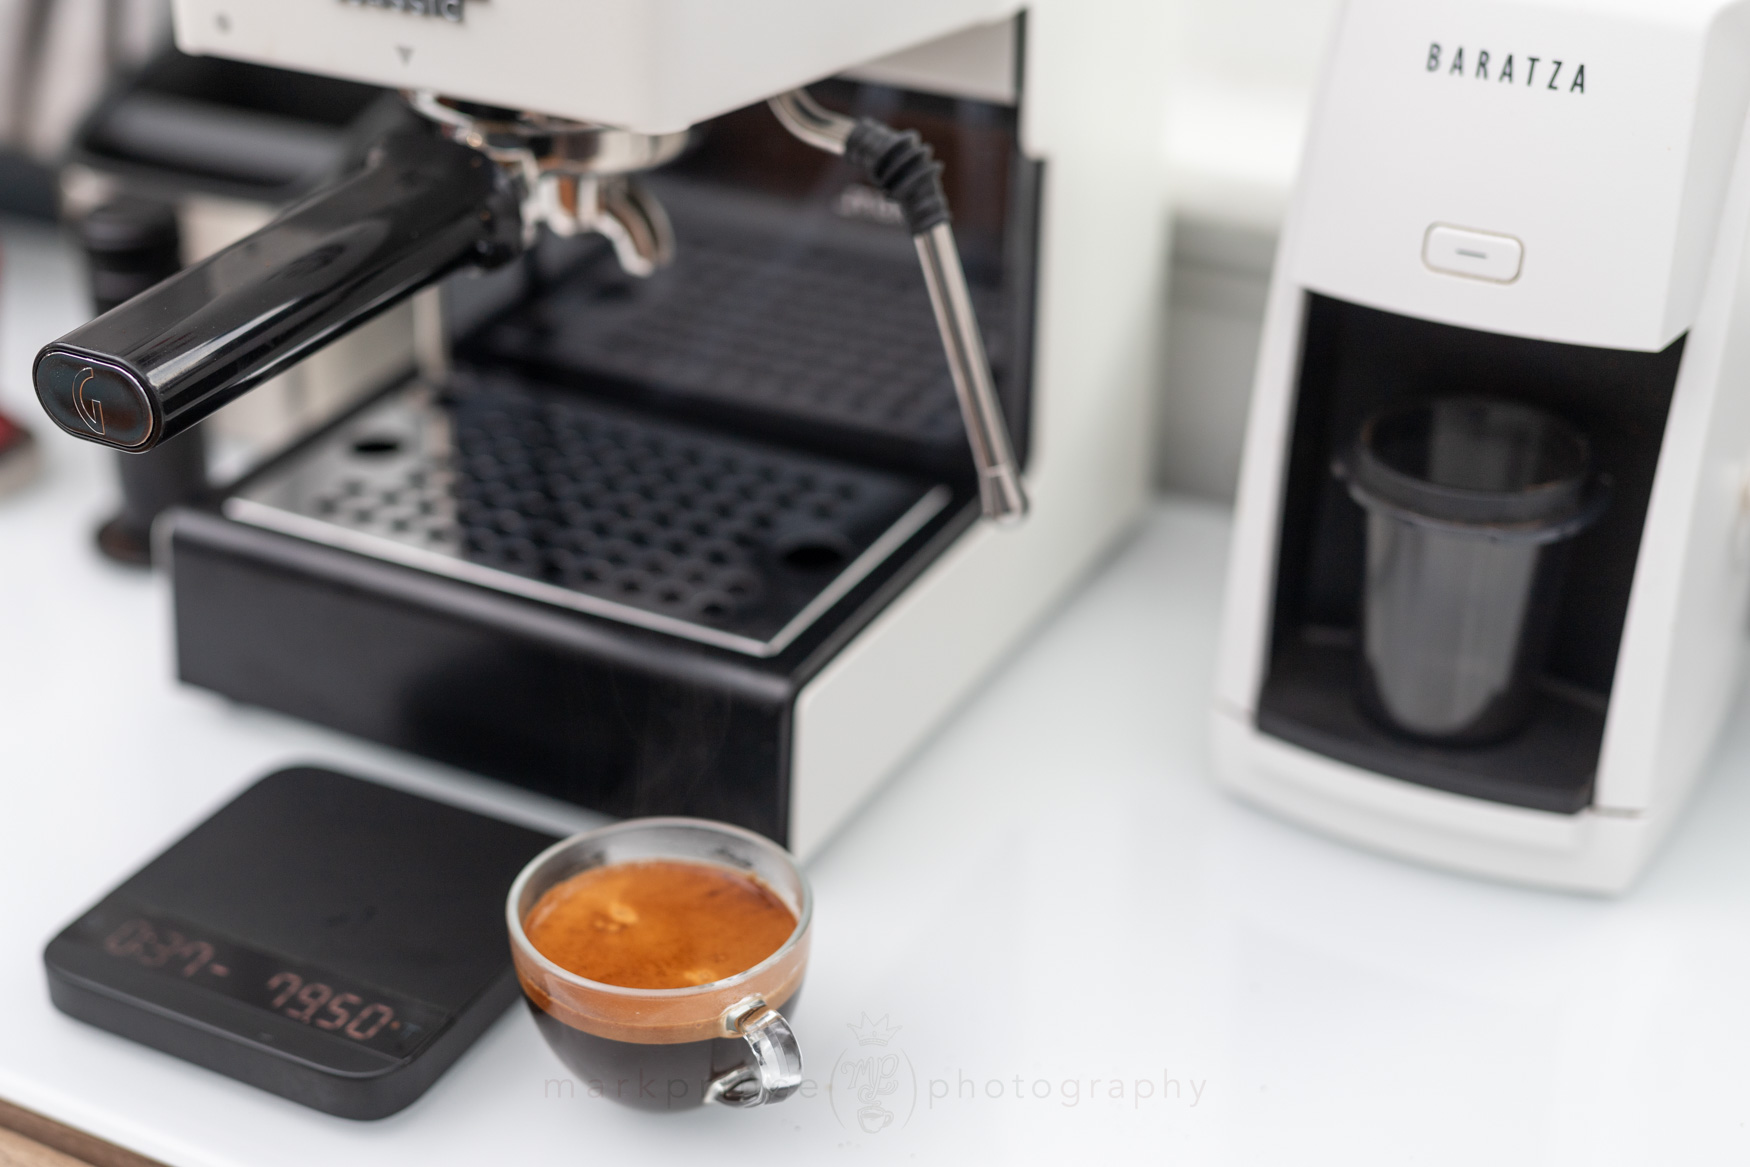
Another long story short, this machine is really good at providing hot water on demand, for heating cups, for americanos, and for your tea beverages. But it will cool off dramatically if you’re drawing more than 3 or 4oz.
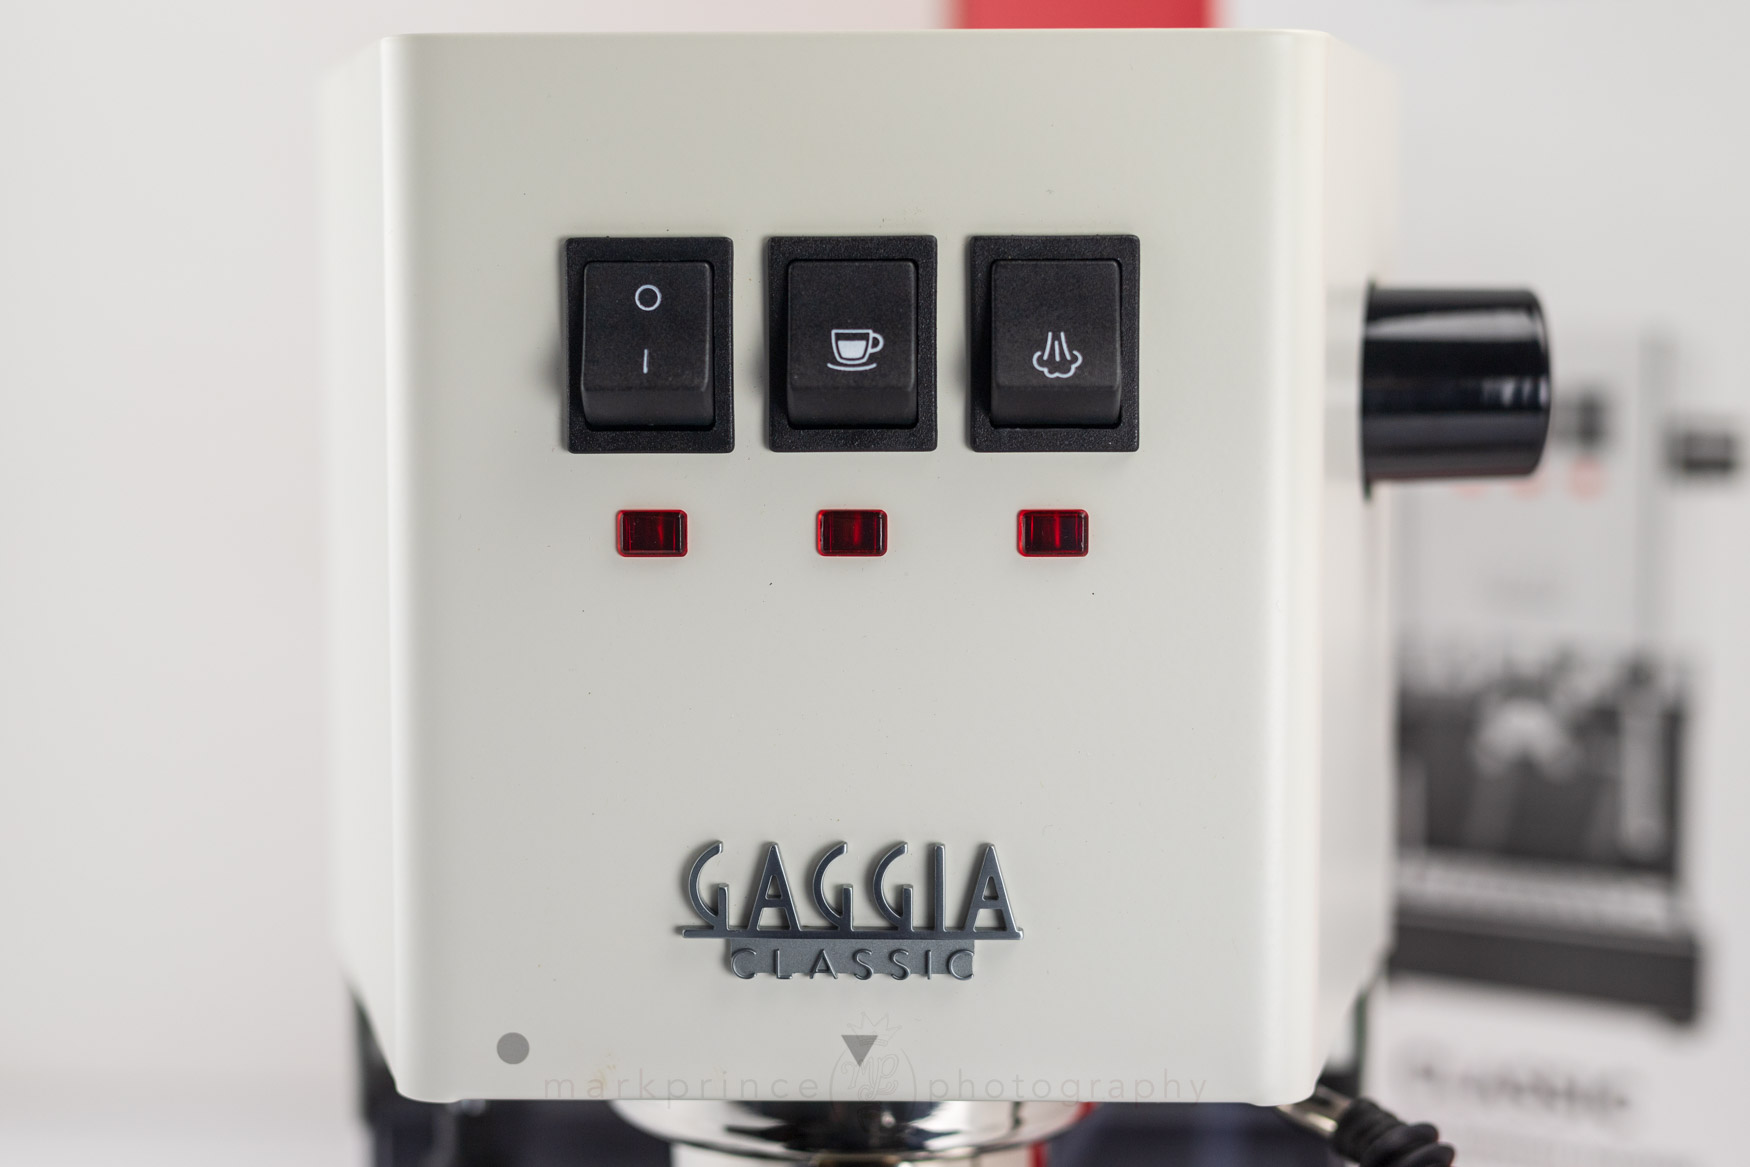
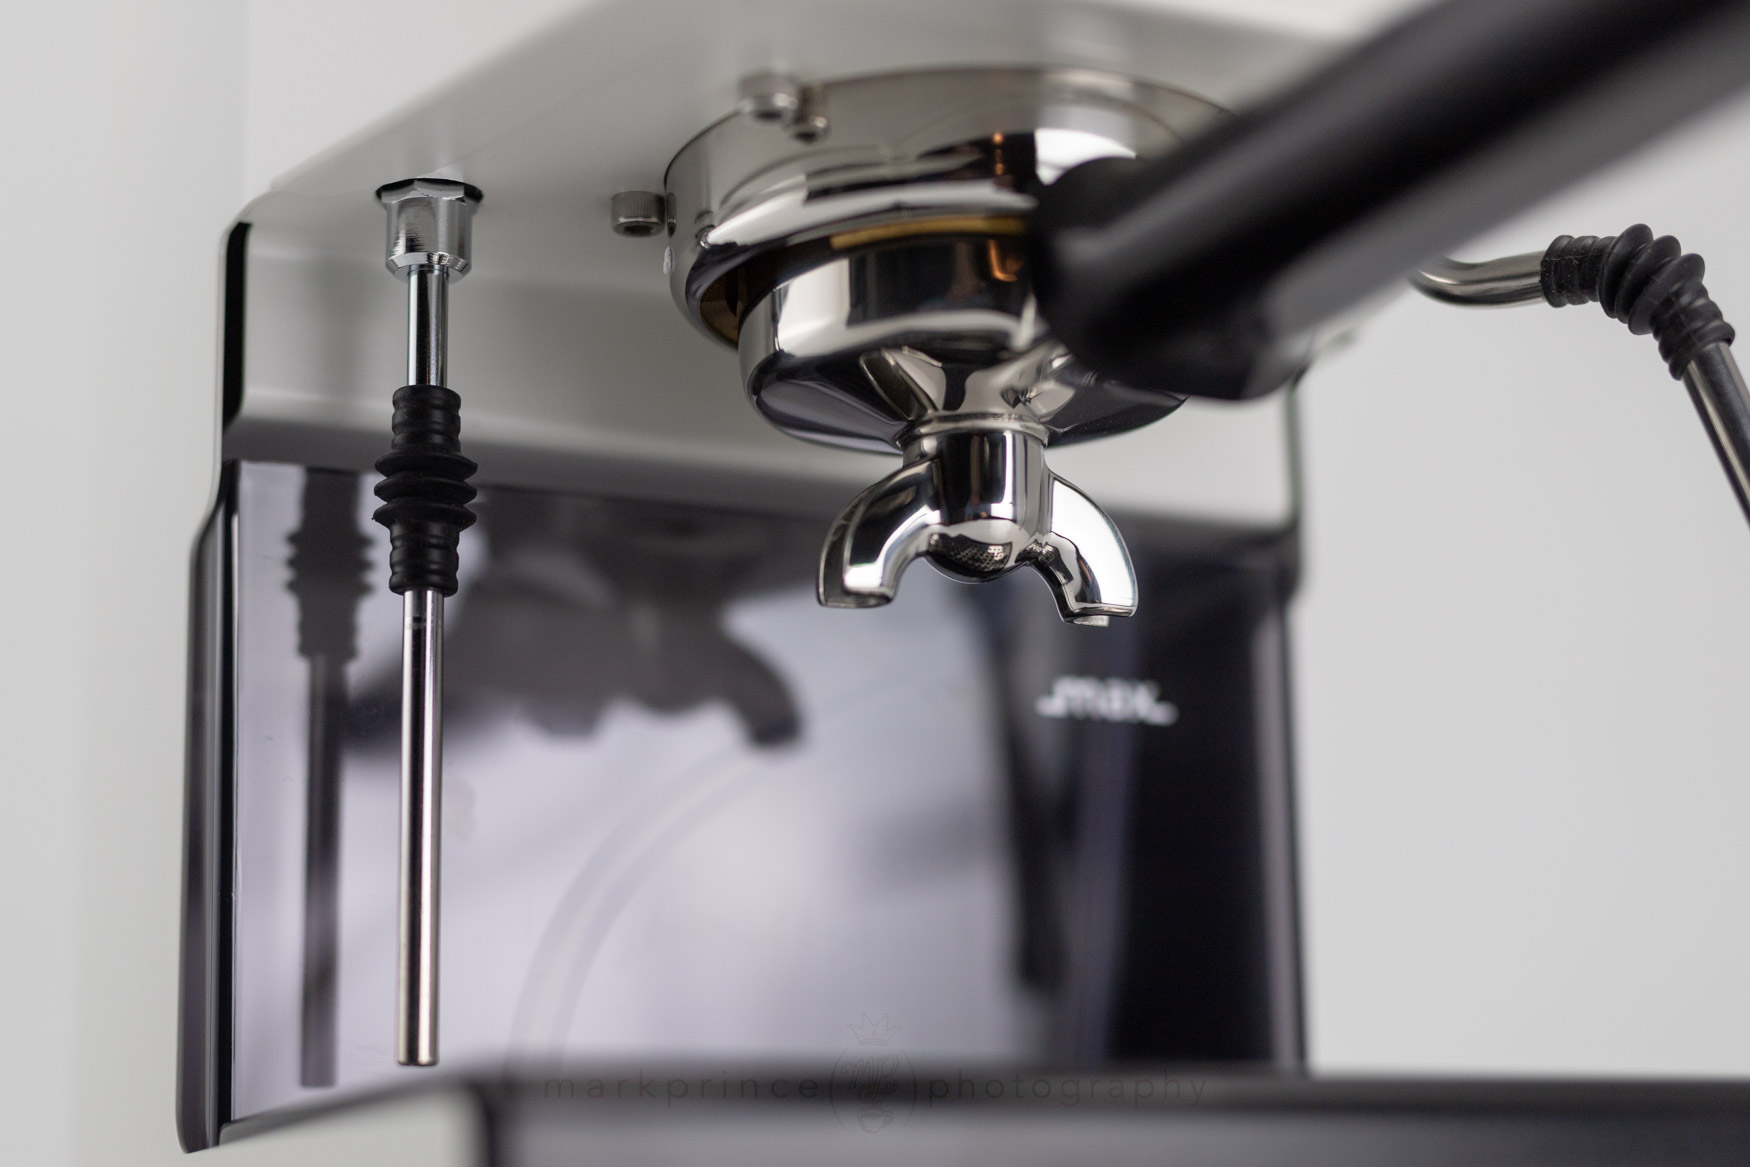
Steaming Milk
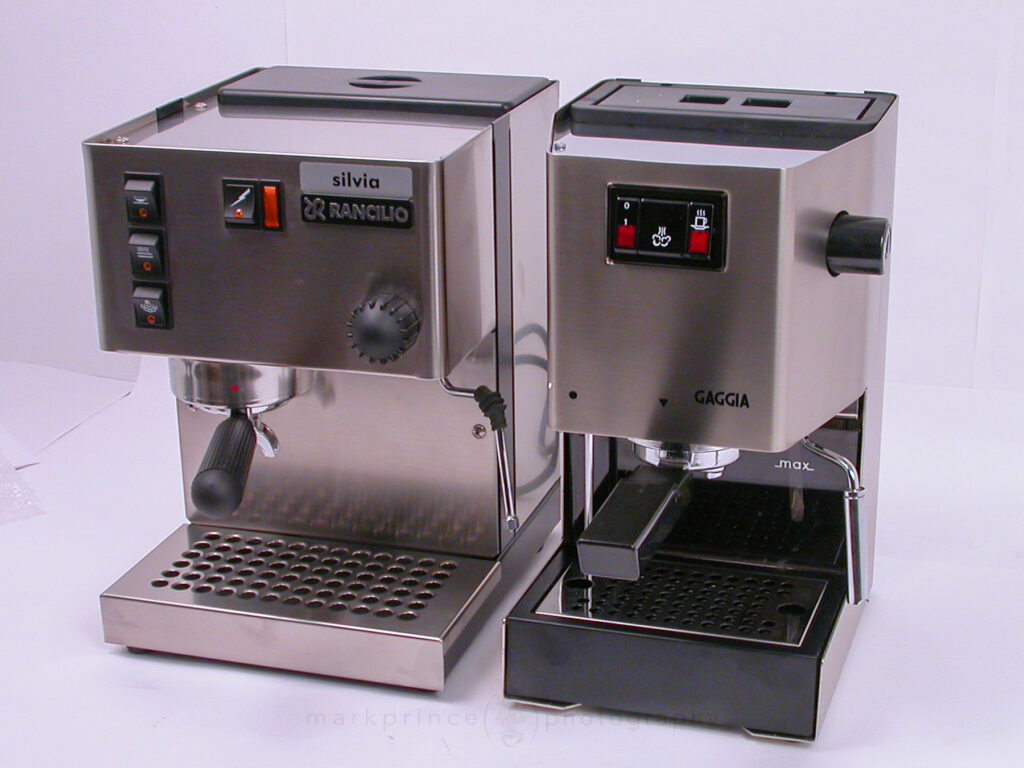
So, I remember the 1998 Gaggia Classic being horrible for steaming milk; the only way it beat the Rancilio was in the shorter time it took to transition between brewing temperatures and steaming temperatures (makes sense – one had a 100ml boiler, the other had a 350ml boiler).
Count me pleasantly surprised to see the 2023 Gaggia Classic Evo Pro handles steaming much better than I remembered. It takes about 45 seconds to transition from brew to steam ready lights. Then another 40-45 seconds to steam 180ml (6oz) of milk up to 65C (150F). Honestly, that isn’t horrible. Not fast, but the machine produces steam through a nice two-hole tip that in my literal first go I was able to produce near perfect microfoam with.
But 40-45 seconds is still slow. There’s a trick, one I remember from the 1998 Gaggia Classic, to steam a lot quicker with this machine. The trick is to not let the steam ready lamp turn on. When it turns on, the heating element turns off. You don’t want that. You want it firing away while you steam.
After using the Gaggia Classic Evo Pro for a while, you’ll get to know various timings on it. Time for the boiler to cycle in brew mode (about 8 seconds). Time for the boiler to transition from brew mode to steam ready mode (about 40 seconds, but longer if you flush the wand of any liquid during the heat up, so about 45-50 seconds in that case).
So with that in mind, I activated the steam switch, counted to 20, and flushed the wand. Counted another 15 seconds, and started steaming the milk. Lots of nice, powerful steam, and I could get the 180ml milk up to 65C in around 30 seconds. All with luscious, paint-like microfoam on top. Very acceptable times and performance. I imagine the Gaggia might struggle a bit with larger milk volumes, but a quick blip on the middle pump switch to replenish the tiny boiler with water will probably give you longer steaming ability. I’ll cover that in the full review.
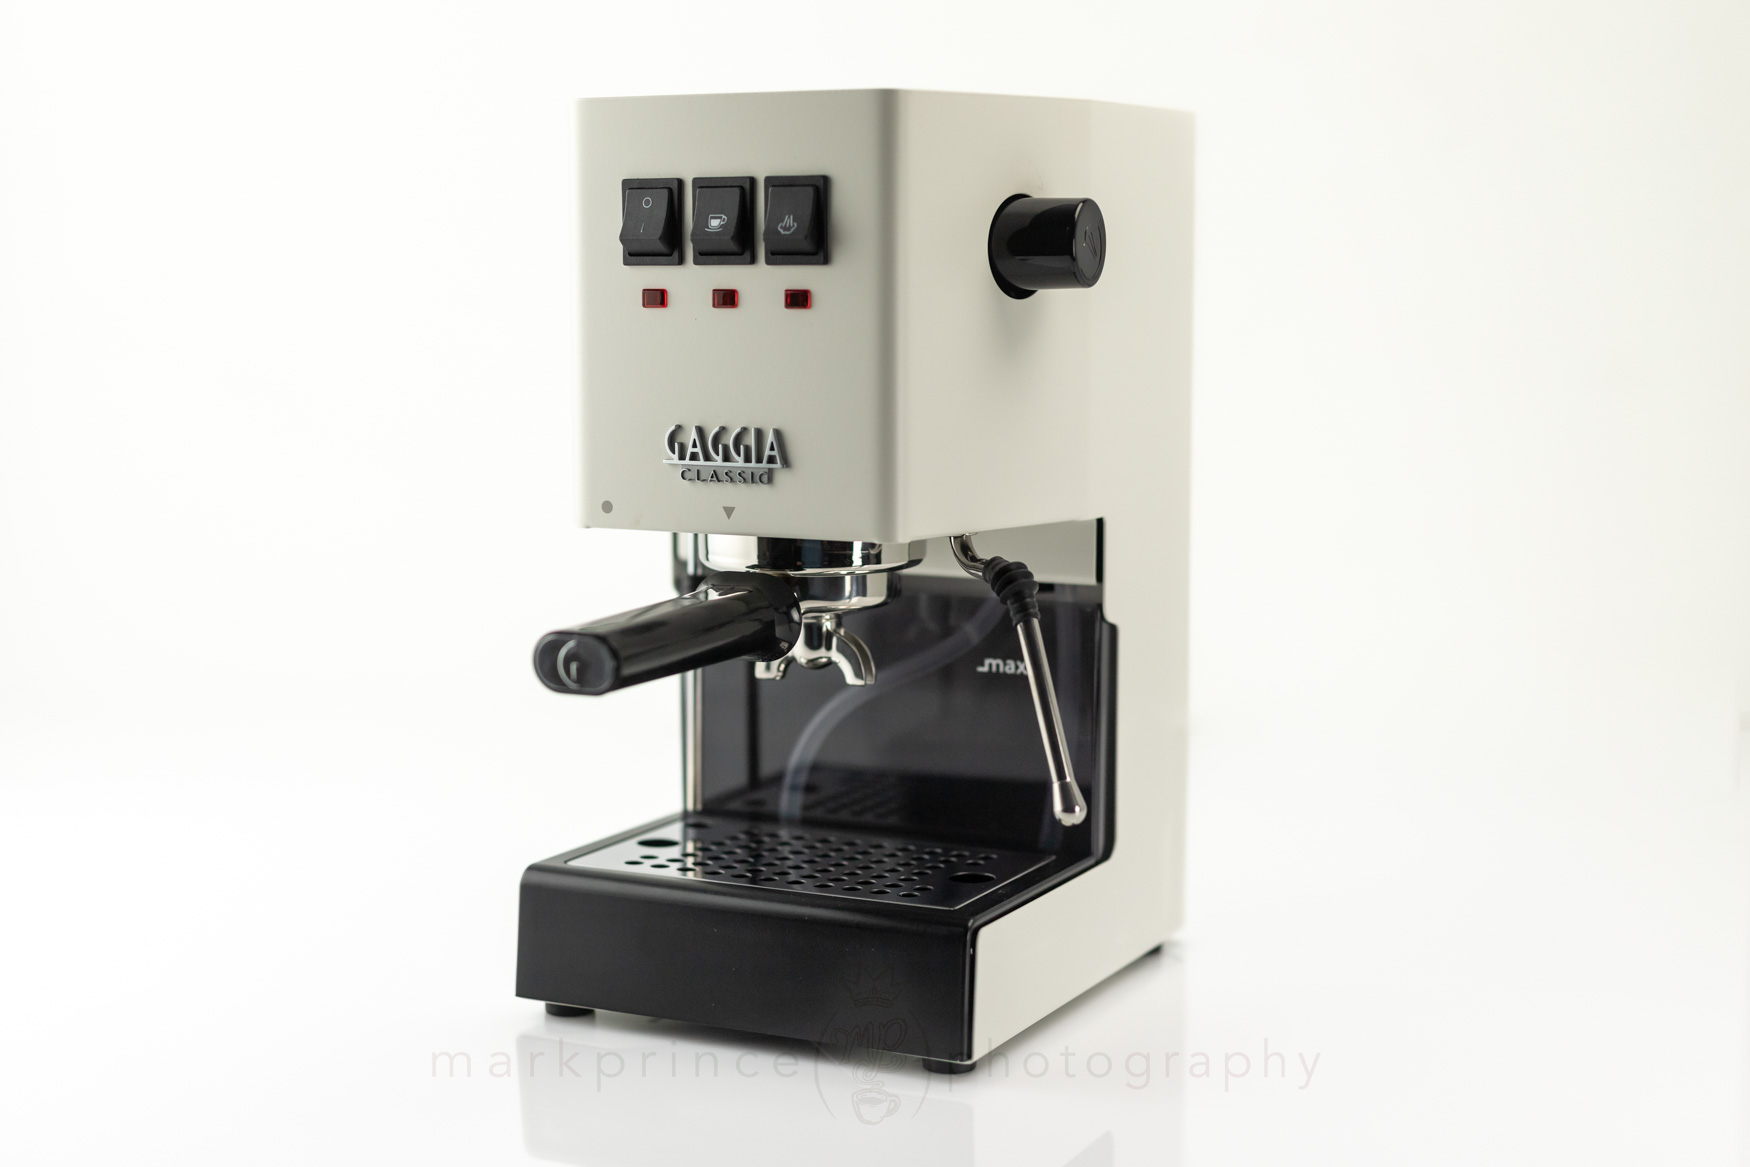
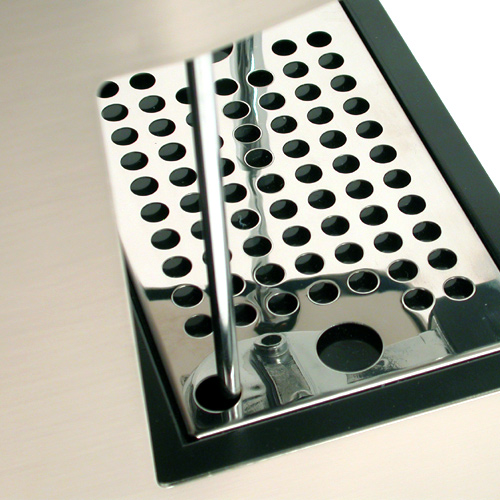
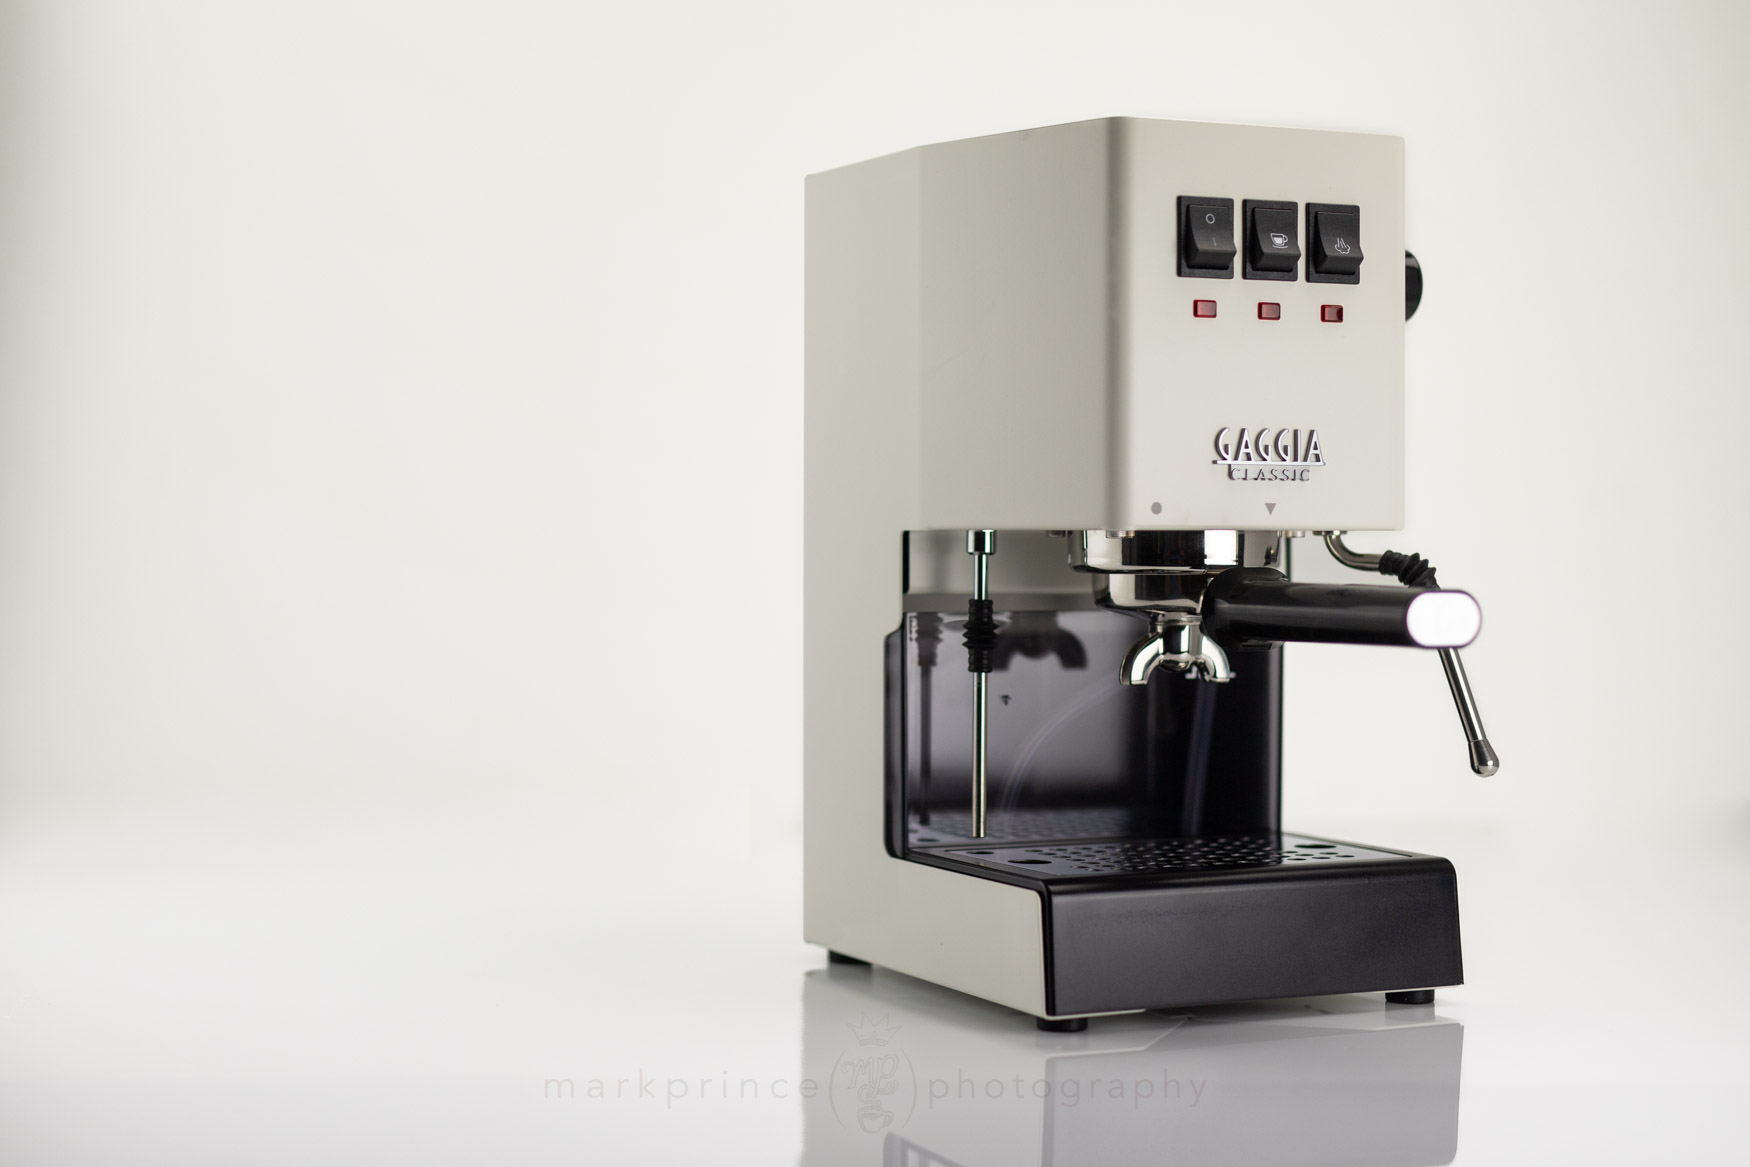
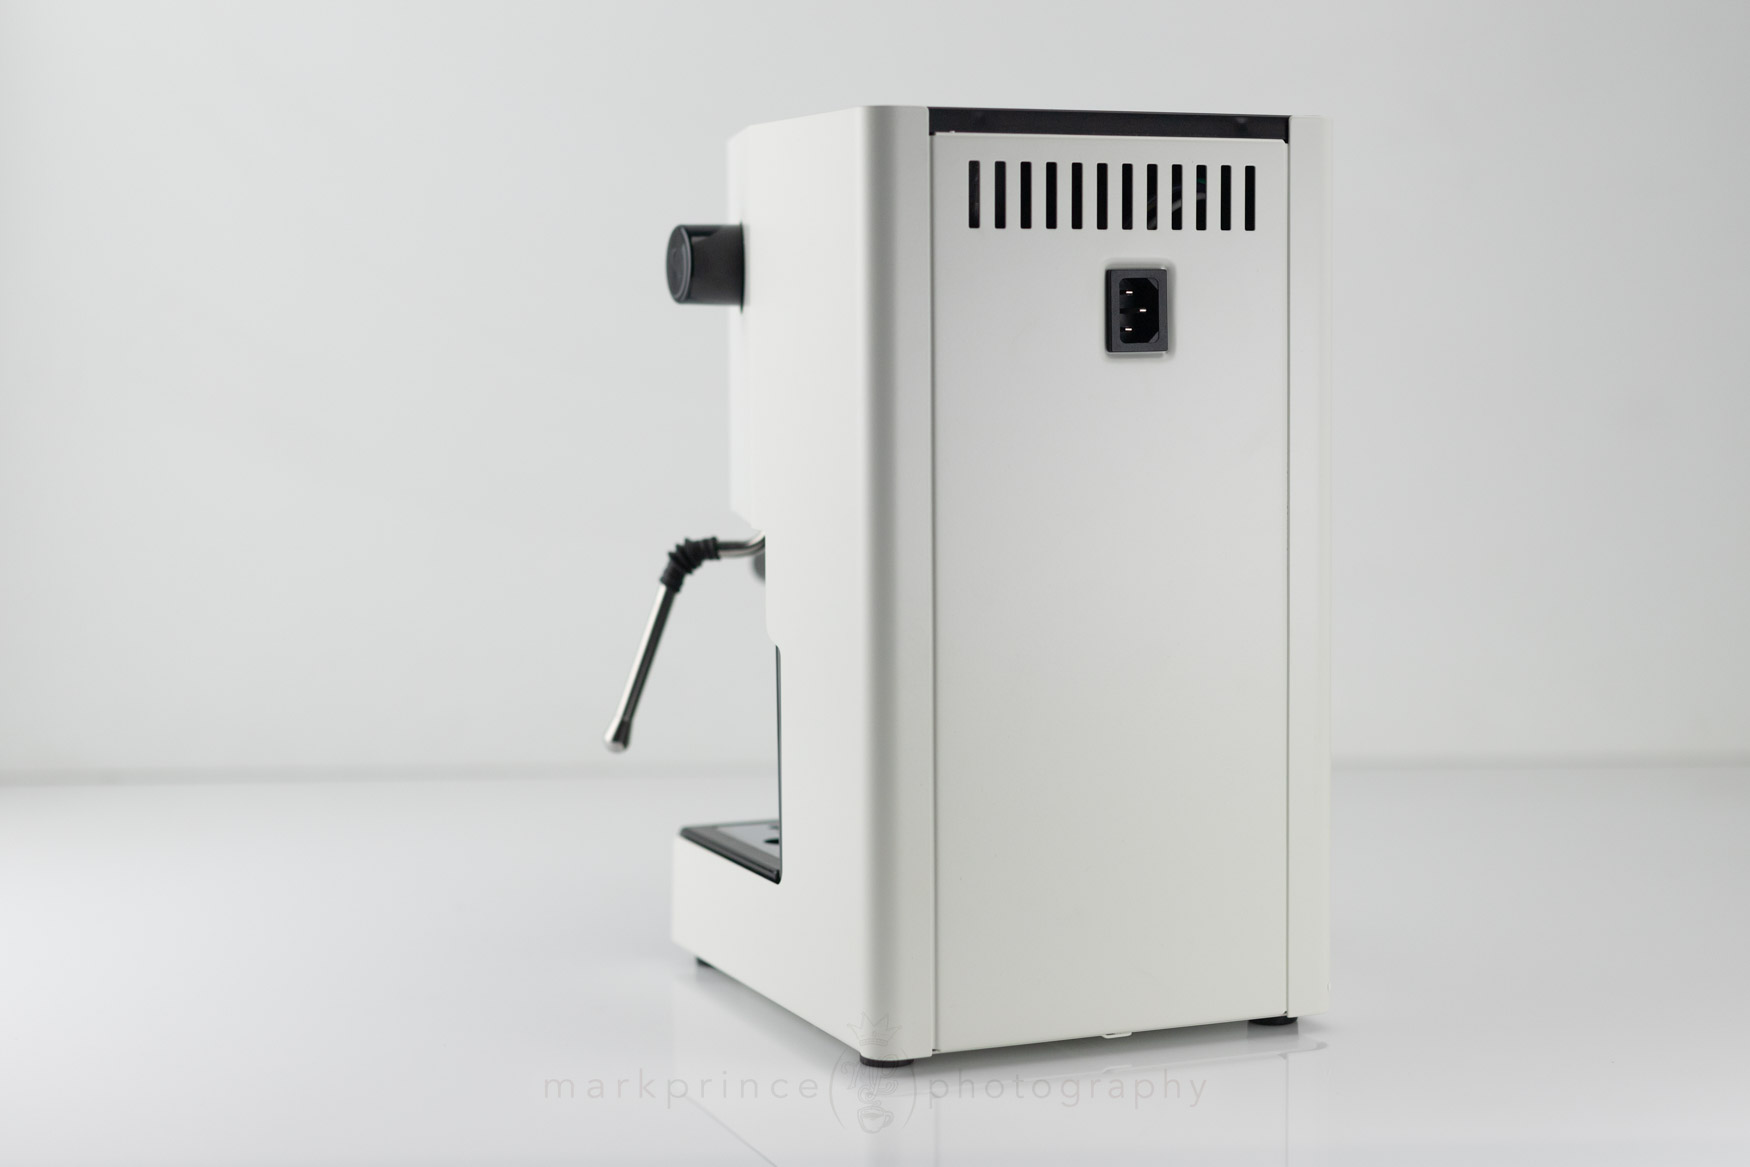
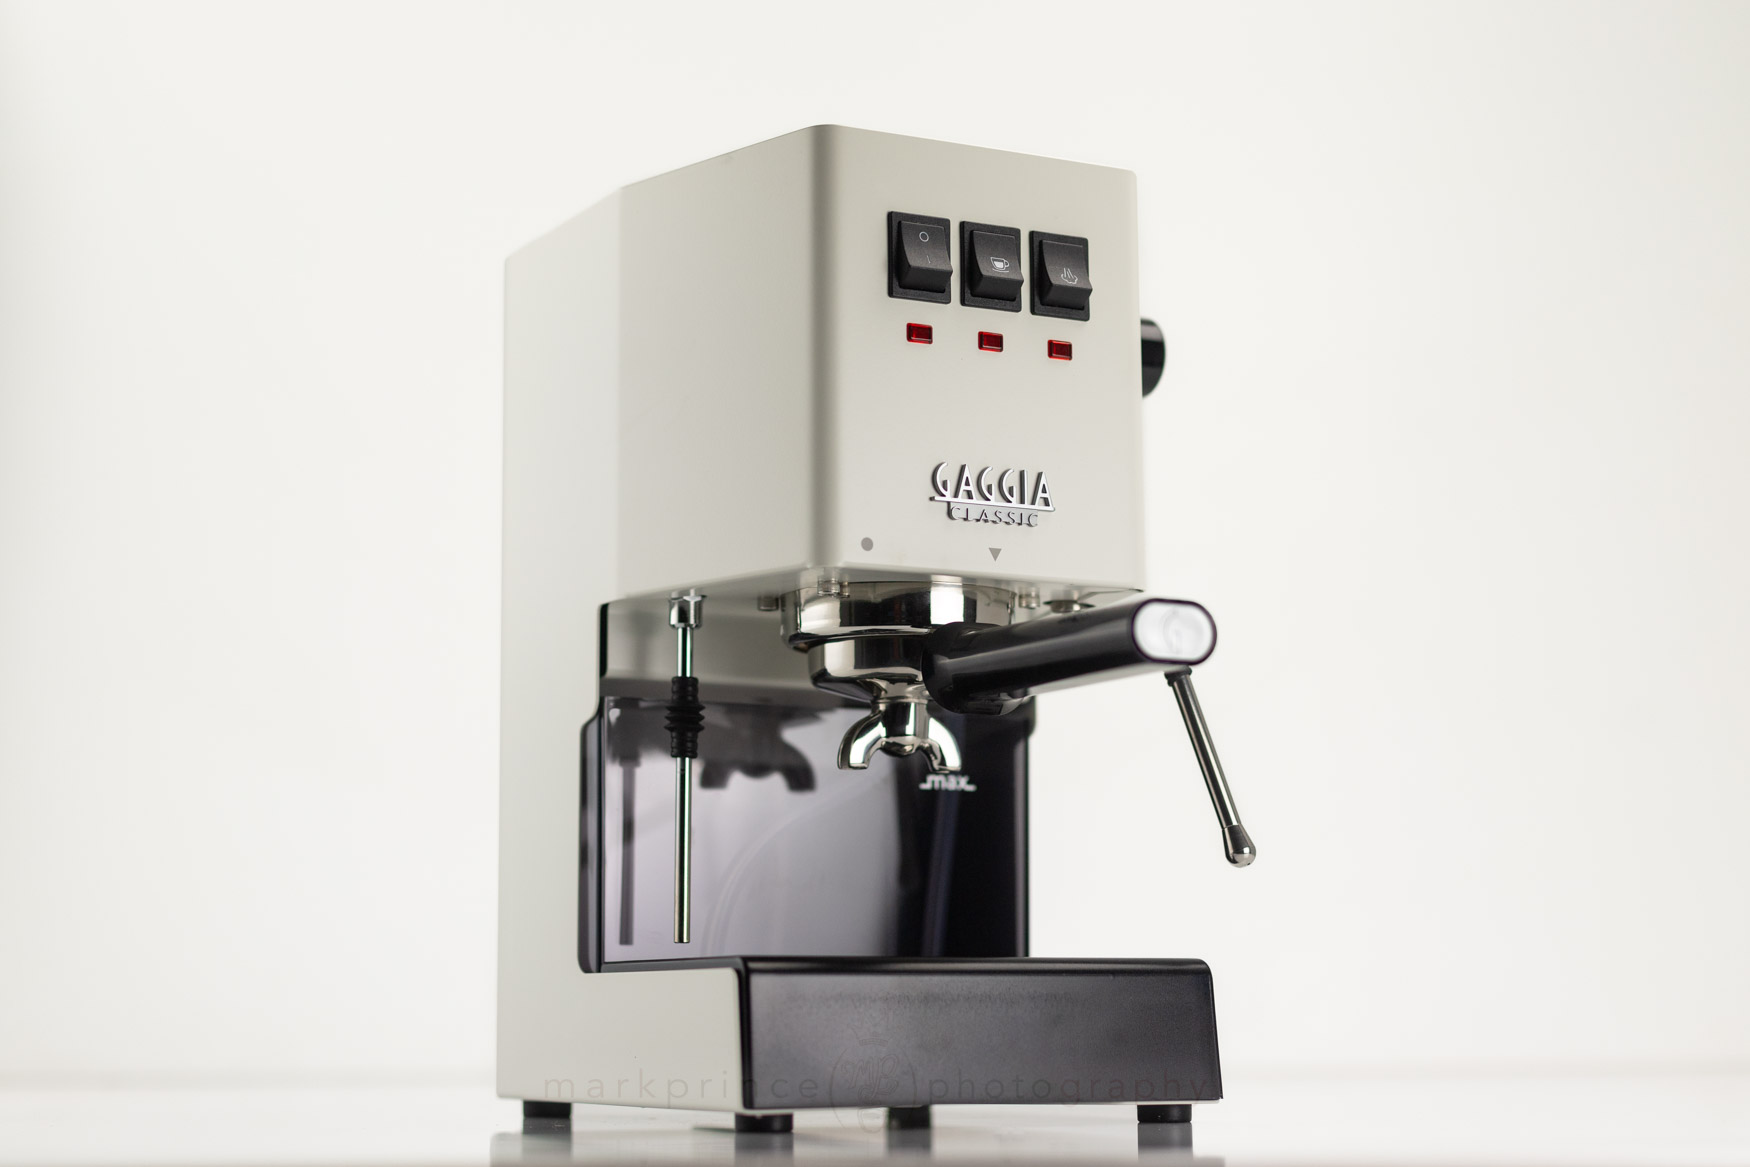
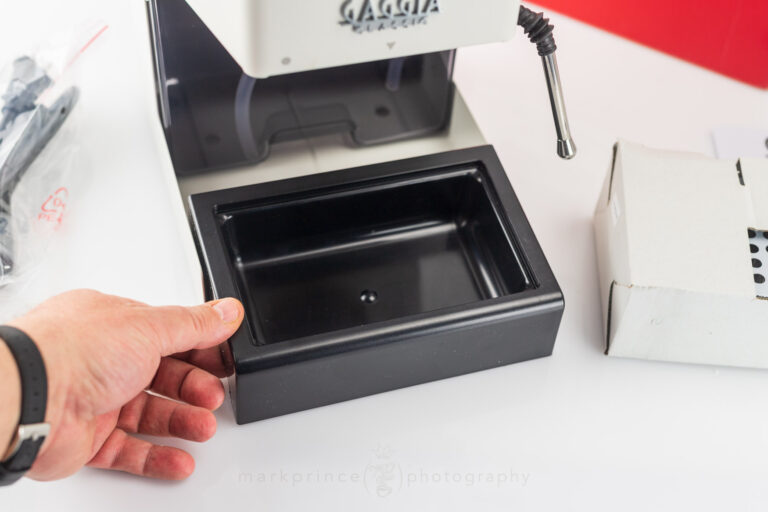
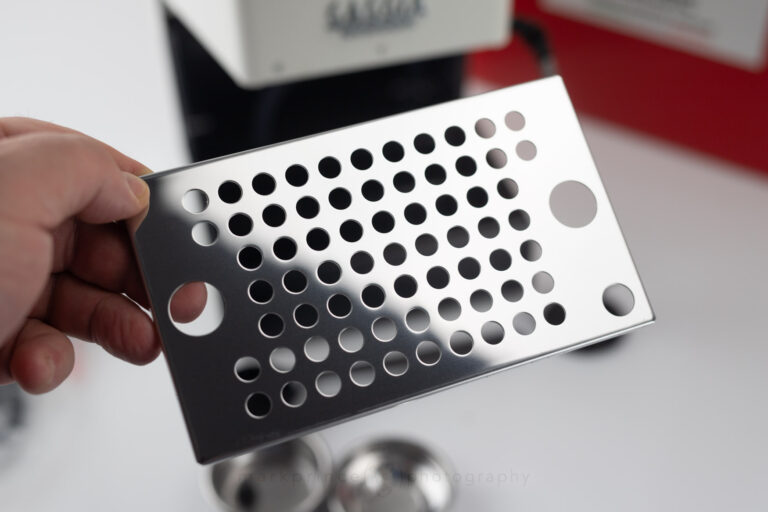
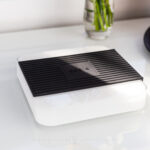
Cup Clearance
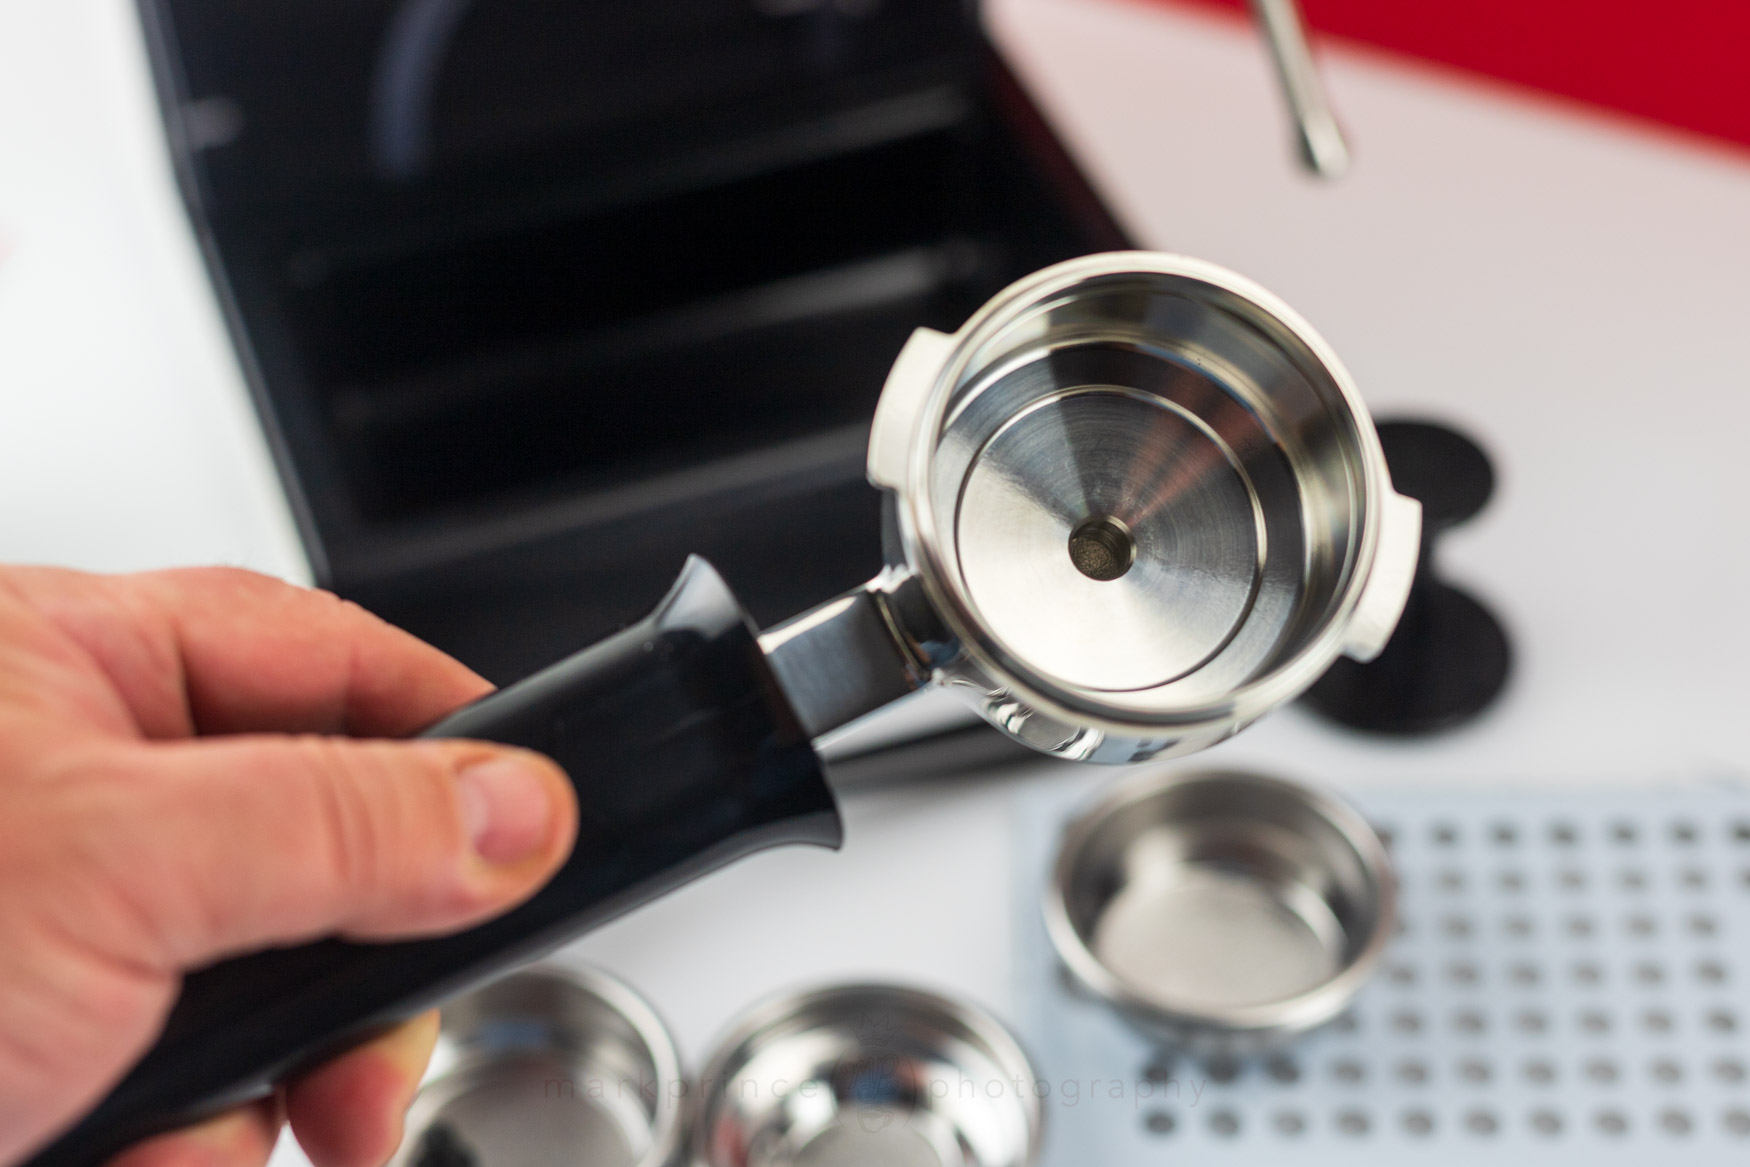
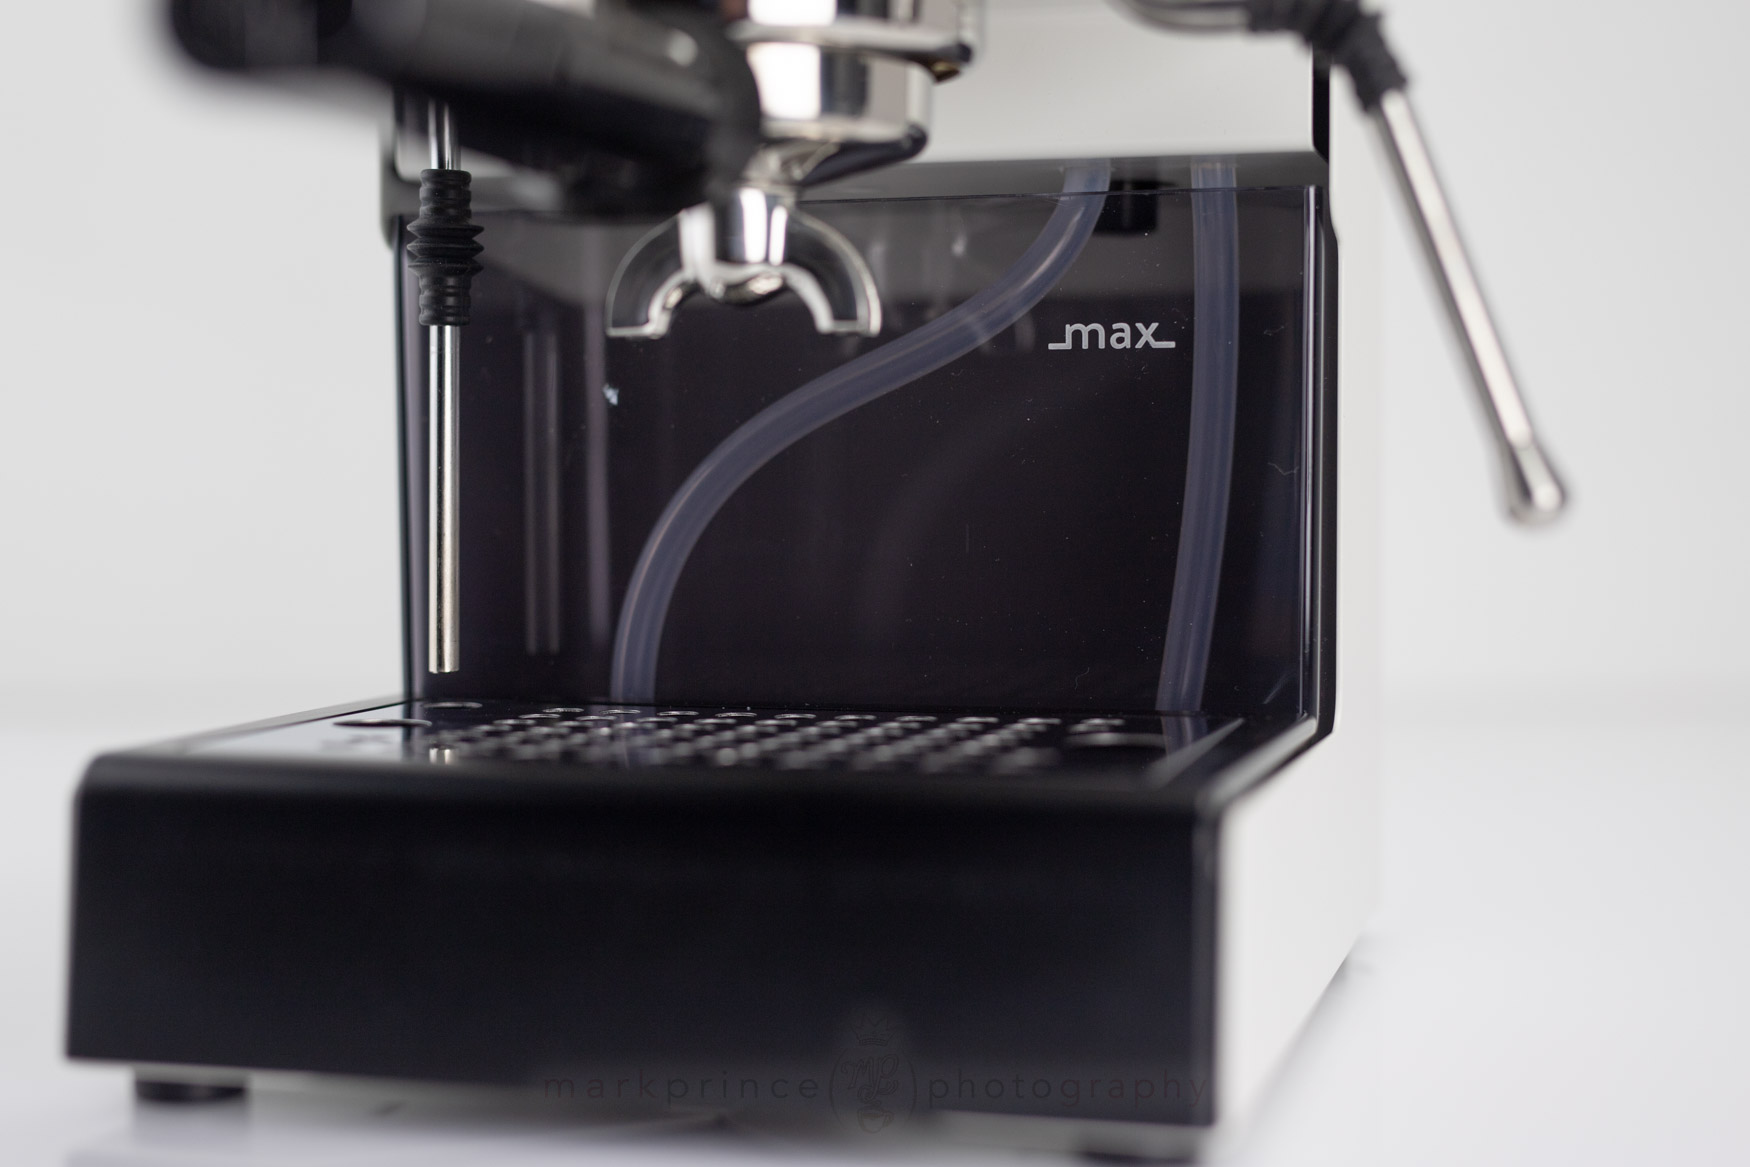
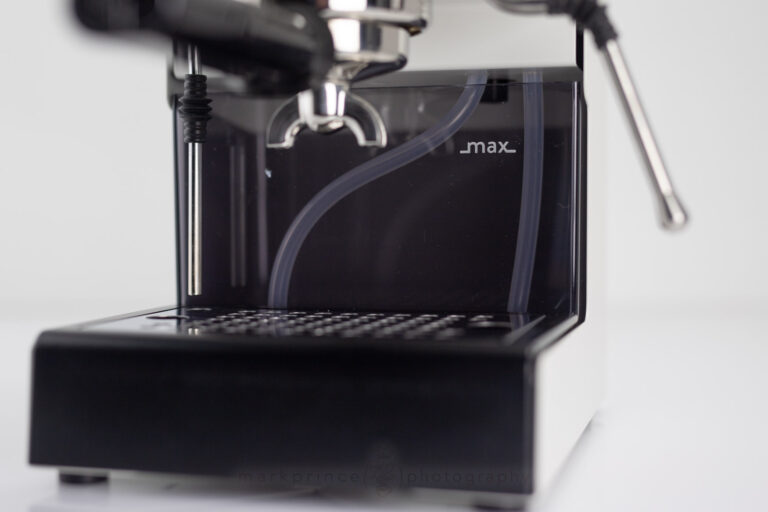
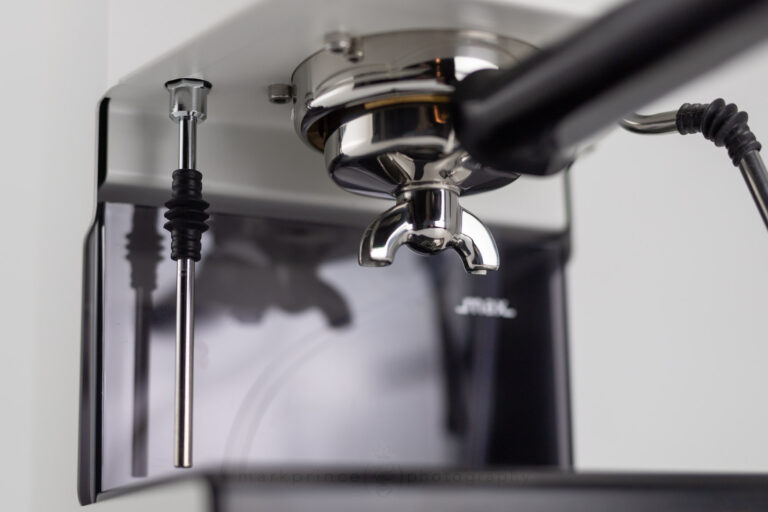
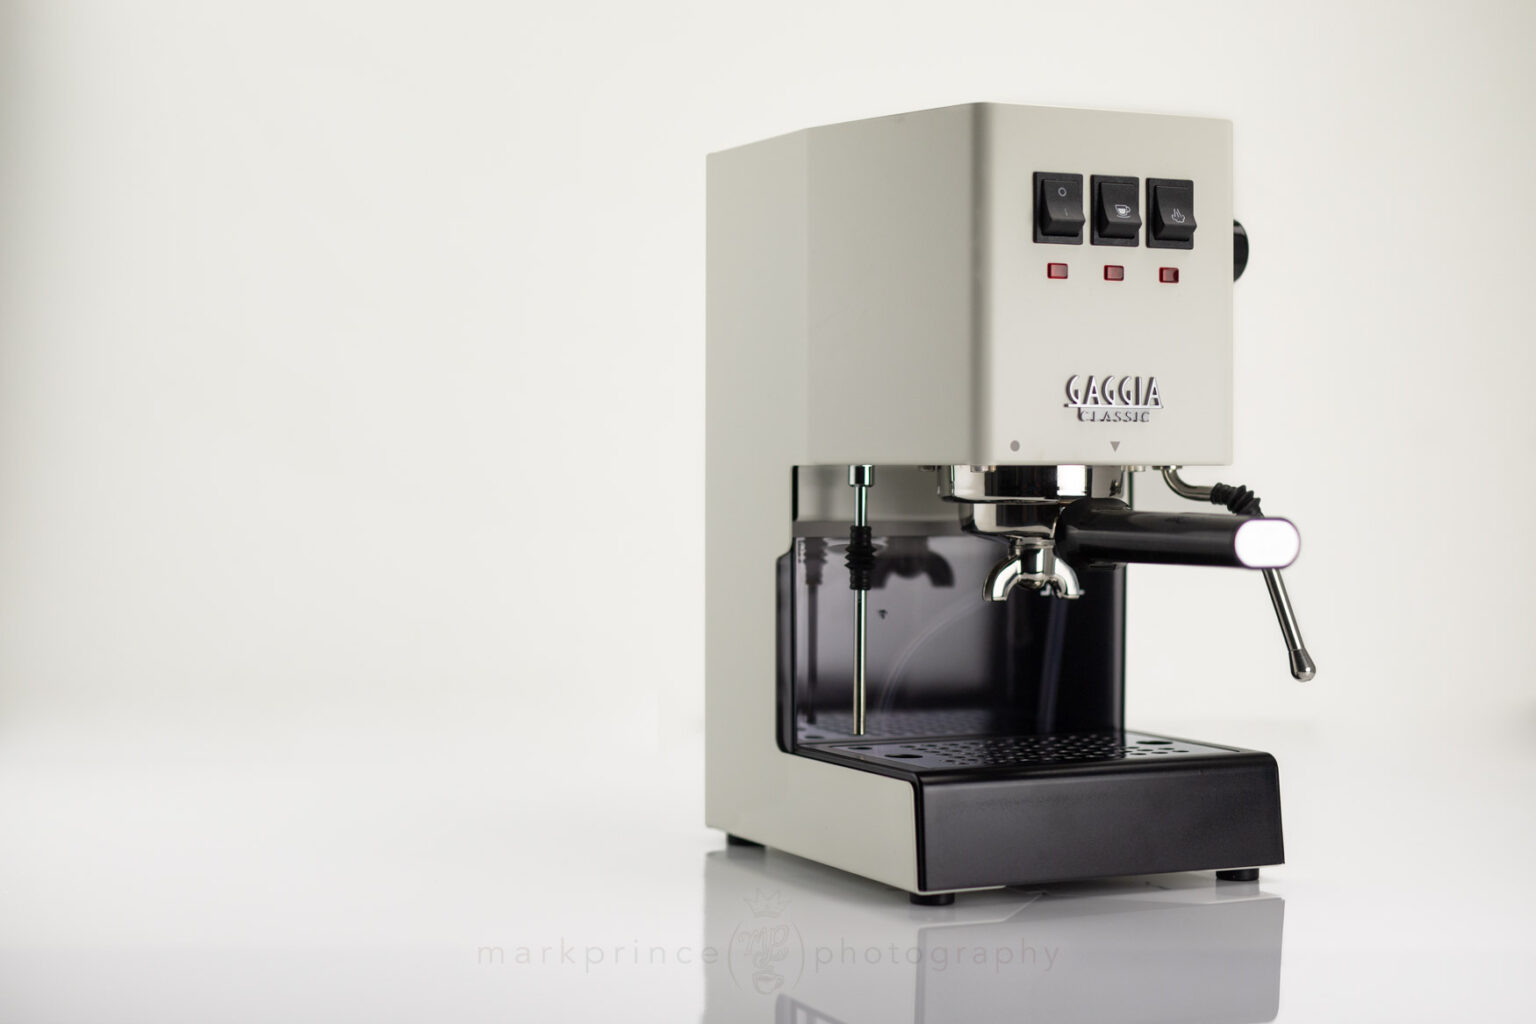
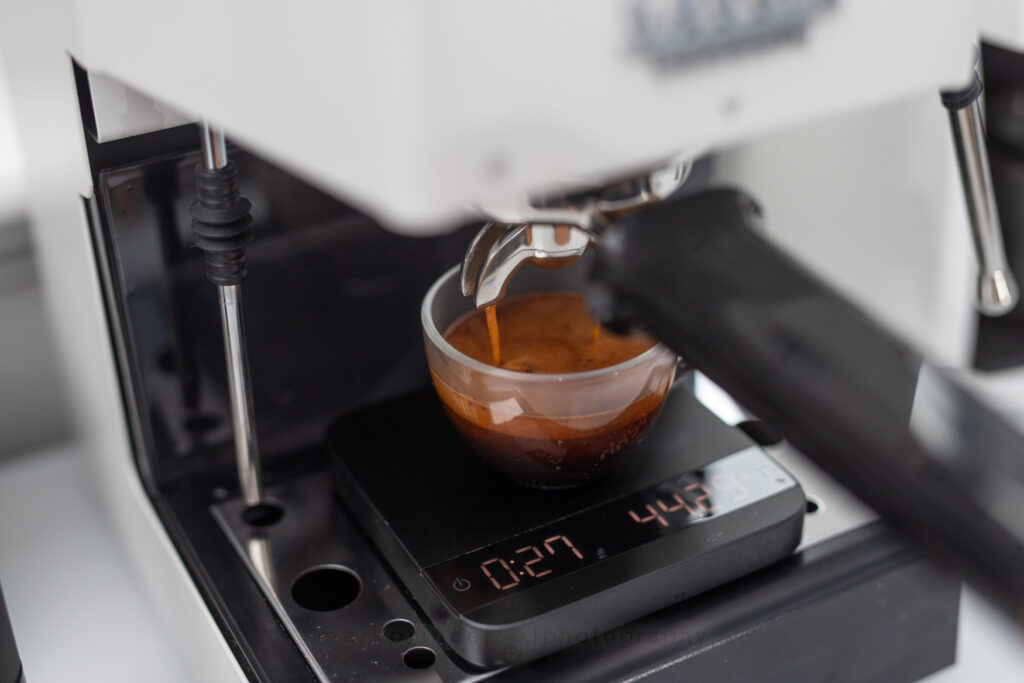
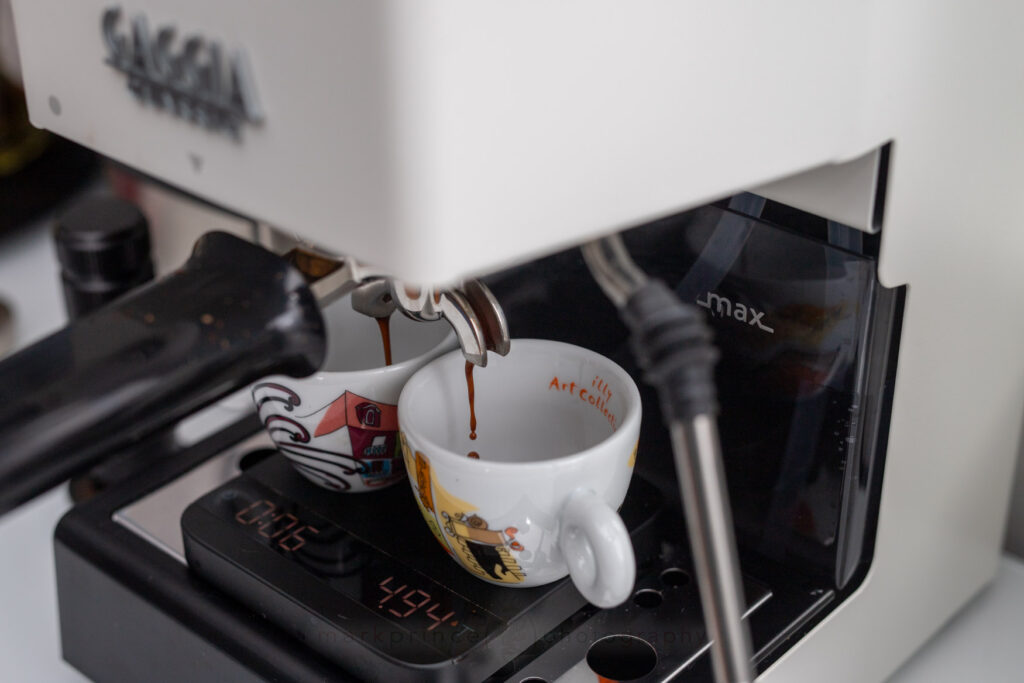
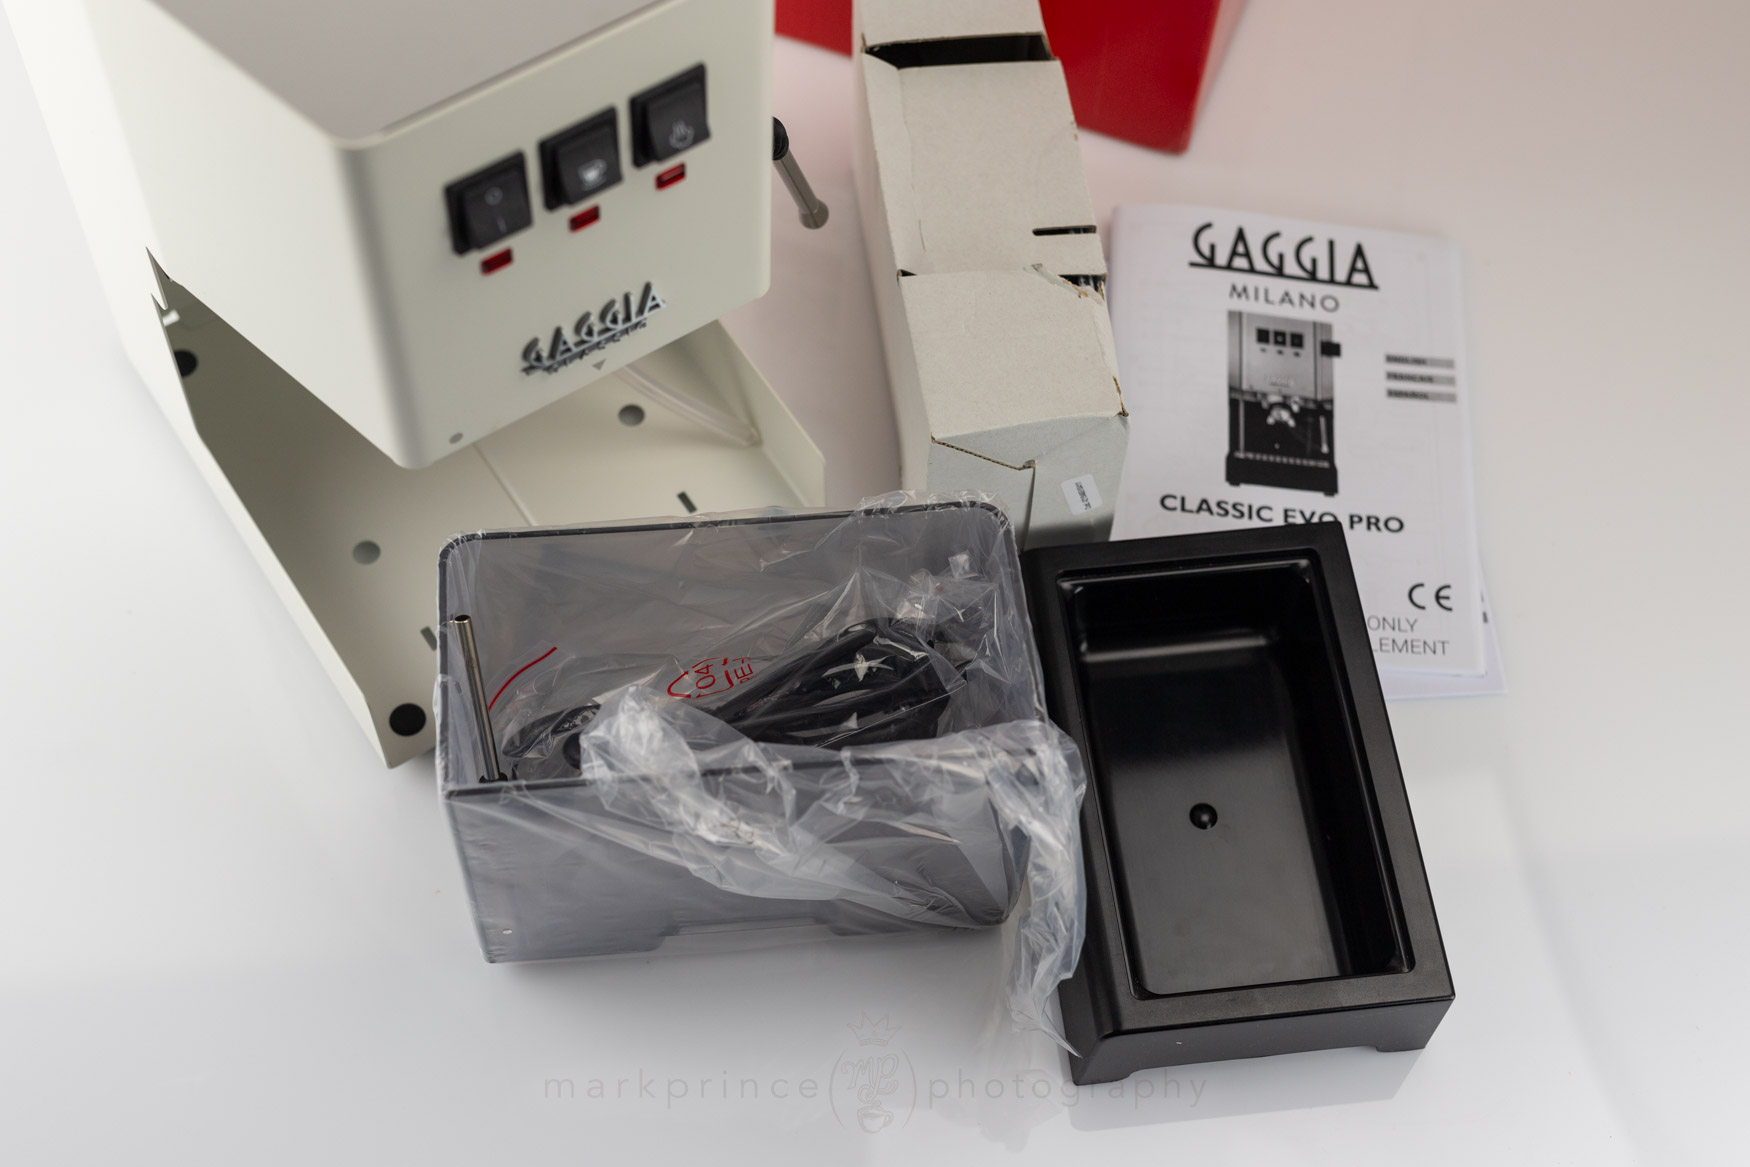
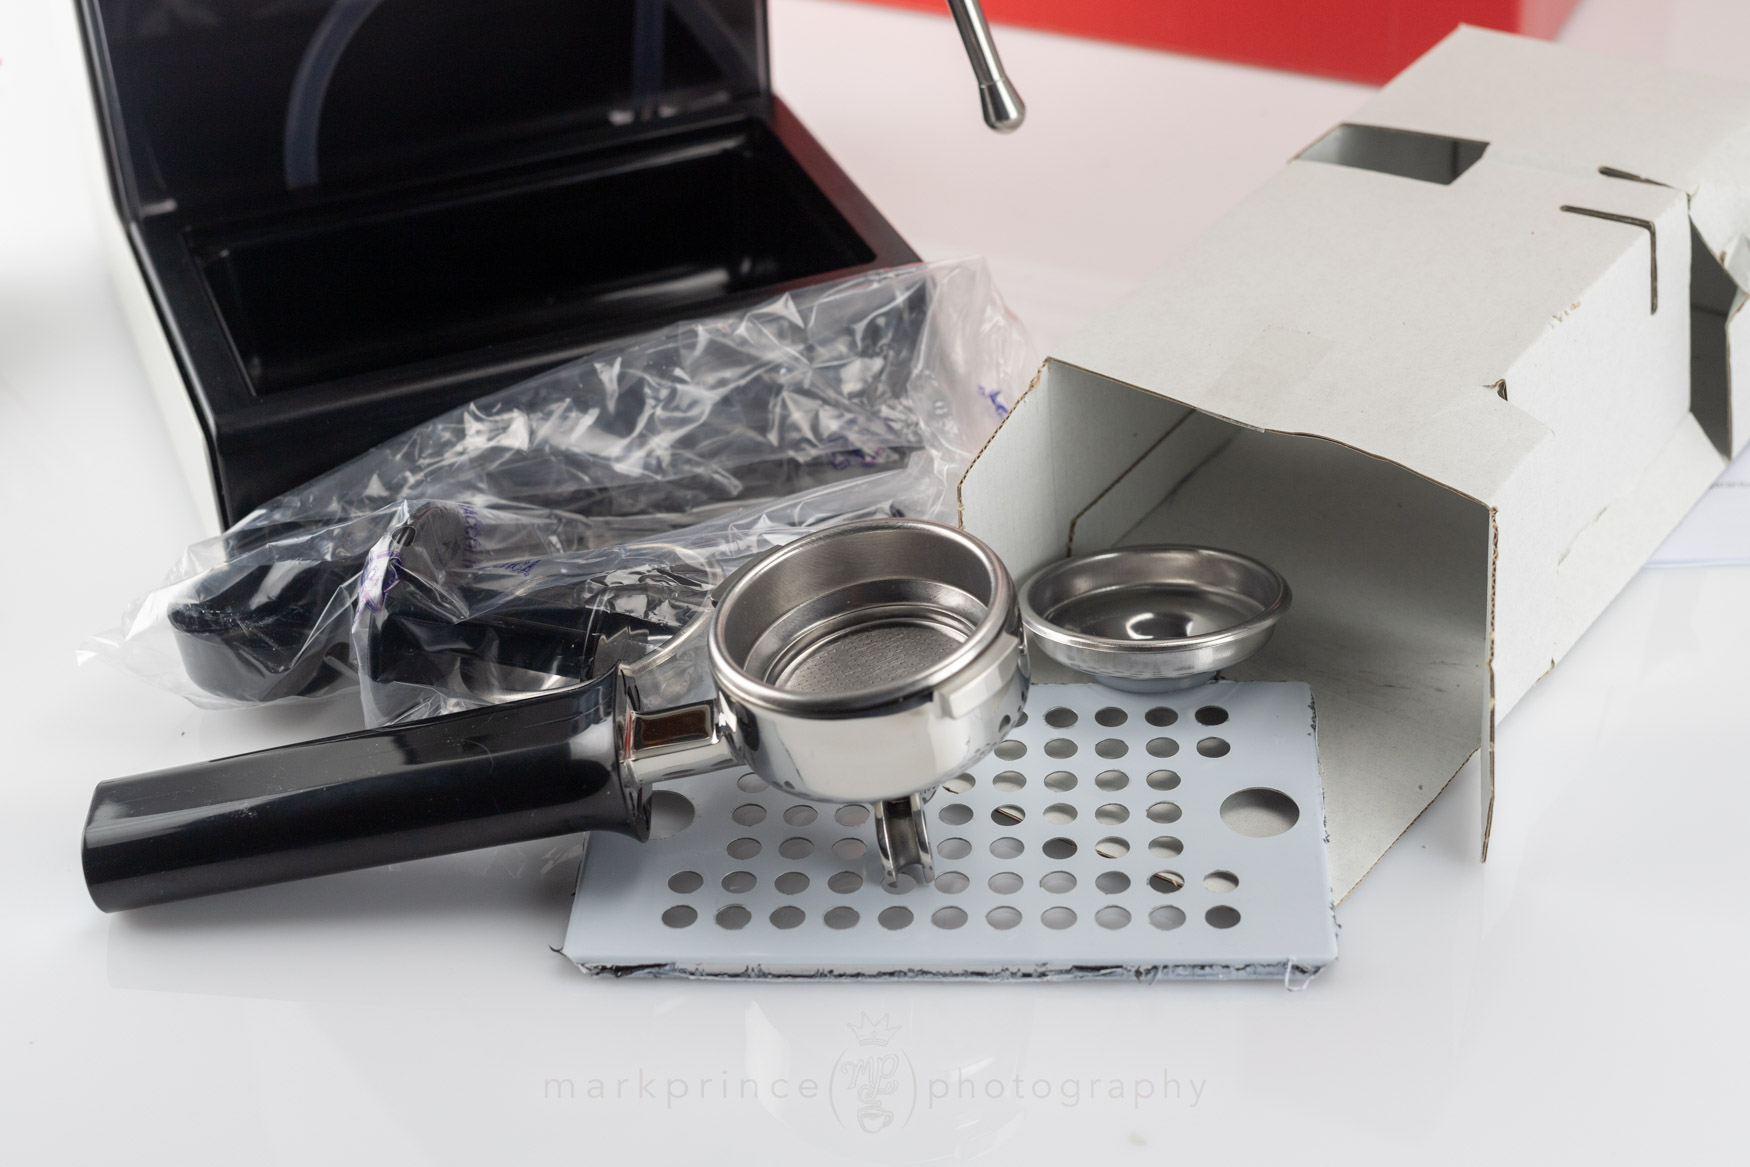
One more thing to talk about with this machine: cup clearance. It’s pretty bad. You can opt to buy an aftermarket low profile plastic insert to replace the plastic drip tray, or just pull shots without the tray in place, keeping in mind the pressure discharge from the solenoid valve will make a bit of a mess (you can put a small cup under that pipe to collect the discharge if you like). If you like brewing into cups that are more than 10-12cm tall with this machine, you will be frustrated. And forget using a scale, unless you remove the drip tray entirely.
The Gaggia Classic has always had this issue. It’s like Gaggia expects you to only brew into espresso cups and nothing else. They could easily remedy this with a small frame and body change to elevate things a bit, or offer a lower profile OEM drip tray.
Cup Clearance
Cup clearance is always an issue on this machine. Even with the slim profile Acaia Lunar, you can barely get espresso cups in under the spouts.
What's NewClassic Evo Pro
I detailed a lot of the changes in this machine in the various verbiage above, but here it is in one place.
-
Boiler is now coated with an industrial coating (Exelia) inside
Big change
-
Big internal upgrade - the dispersion / heat plate in the grouphead is now solid stainless steel instead of aluminum
Secret Change
-
Grouphead mount and grouphead are now solid brass, instead of chromed brass
-
Portafilter is now all stainless steel, no more chromed brass
-
Fit and finish is tightened and improved
-
All chromed parts internal and external are now gone.
Enviro Friendly
-
Changed the manufacturing process to make them easier to build to keep costs in line. It’s also easier to maintain as a result
Enviro Friendly
-
New proper 9BAR OPV valve spring
US/CA only
-
Frame is updated and strengthened (steel)
-
New additional colour options
I know the Reddit crowd has been demanding a PID on the next Gaggia Classic, but that’s unrealistic, given Gaggia’s mission and pricing strategy for this machine. They realised the bad old days of Philips cheapening things up really damaged the Classic’s heritage and reputation. They also know the $400-$500 pricepoint is very important to maintain. When the Rancilio Sivlia was introduced in 1998, it was $399, and the Gaggia Classic was $349. Today, the Silvia is $850 for nearly the same machine as the 1998 version, and the Gaggia Classic Evo Pro is $450 (or less) in North America.
That’s pretty impressive. $350 in 1998 is about $661 in today’s dollars. The Silvia climbed dramatically. The Gaggia Classic has actually gotten cheaper, with inflation accounted for.
The Gaggia Classic Evo Pro charts a course that’s becoming more unique: a well built, quality parts, Italian made, basic espresso machine that is easy to maintain. Designed to operate for decades. No complex parts, or impossible to fix control boards. It ticks so many positive boxes, including the 58mm all steel portafilter, the all-brass grouphead design, beefy steel dispersion plate, brass fittings and parts, and commercial grade wiring inside.
All this said, I’d love to see Gaggia just call this machine the Gaggia Classic, and develop a new “Pro” version that does have a factory installed PID and perhaps even a user-controllable preinfusion mode. Do that, and match the Silvia’s price, and they will completely own this market segment: the $450 Classic as the entry point quality machine, and the $850 Pro as the advanced technology, quality parts machine.
One can dream. And TBH, it’s a realistic dream. Let’s go, Gaggia!
ConclusionClassic Evo Pro
Our First Look isn’t meant to be a full review with ratings, so writing these conclusions is always tricky. More of a first impression, but I am very impressed with the build quality overall of the Gaggia Classic Evo Pro. I like the new portafilter, and the filter baskets are nice and suit fine before you get the itch to upgrade to a set of VST 18g baskets.
The other improvements made to the machine are all welcome. The removal of all chrome. The new steel dispersion screen puck behind the dispersion screen adds to the longevity of the machine, and helps a bit with temperature stability in the grouphead. The improved OPV (not sure why this wasn’t included in European models). The better steel frame. And I hope the coating inside the boiler does the trick (note to self: research Exelia more).
It doesn’t take much effort to get “good” espresso out of the Classic Evo Pro. A bit of temperature surfing and understanding more how the machine works, and those good shots become great shots. Hot water is excellent (and better than any of the Breville machines I’ve tried recently). Steaming is adequate to good, and capable of great microfoam.
Most important is this: I’m having a lot of fun working with the Gaggia Classic Evo Pro! It’s making me explore and work to make better shots. It’s an adventure, a discovery process. It’s not a “foolproof, watch the gauges, flip a lever process” like some higher end Breville machines. It’s not a “manage the paddle” experience like it is with the very temperature stable La Marzocco GS3 or Lelit Bianca V3 machines. Things are more hands-on, and I really enjoy surfing the machine’s temperatures and abilities.
The Gaggia Classic Evo Pro is more of a personal espresso machine, requiring you to get the most out of it. It is capable of five star shots and perfect microfoam. As long as you (and your grinder, and your water, and your coffee) are up to the task.
The fact it’s actually cheaper today (inflation adjusted) than it was in 1998 is kind of astounding.
Our full review is coming this winter for the Gaggia Classic Evo Pro. In the meantime, if you’re interested in the machine, Whole Latte Love is the only place you should be buying it, either in the USA or Canada. Excellent service, pricing, and even specials at times on this venerable machine.
Subscribe to
Coffee Pulse
Delivered twice monthly, CoffeeGeek's premier newsletter dives into a specific coffee topic each issue. The Pulse also occasionally features contests and giveaways. Subscribing is free, and your personal information is never shared.
By submitting this form, you are consenting to receive marketing emails from: CoffeeGeek. You can revoke your consent to receive emails at any time by using the SafeUnsubscribe® link, found at the bottom of every email. Emails are serviced by Constant Contact