Japanese Iced Coffee
This method of making iced coffee stays true to the best extraction methods (using hot water) but also uses a lot of ice to fully chill (as well as dilute) a concentrated brew at the start. This brew will make 500ml of iced coffee, but we’re actually only using 250ml of hot water to make the brew. The other 250ml comes from ice in the Chemex.
Time Needed: 4 minutes
Equipment Cost (not including grinder or kettle) $ 77
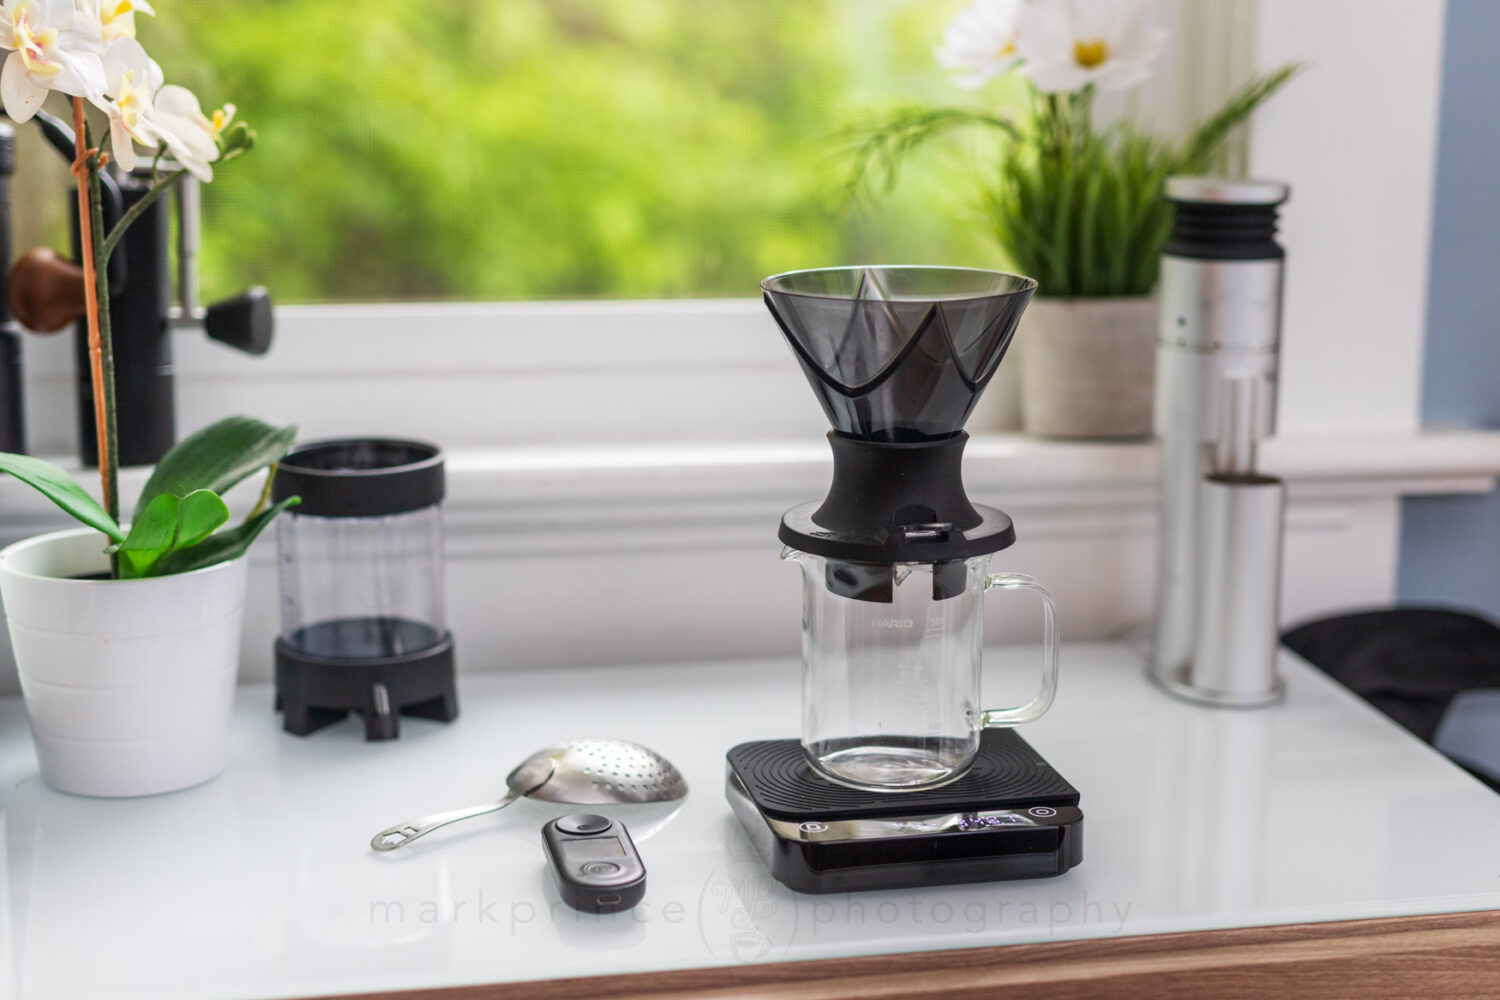
Necessary Supplies
Necessary Tools
Iced Coffee Steps
Get your Gear Ready
You need a kettle, a grinder, a scale, coffee, brew, filter, ice cubes, and a stir stick.
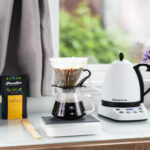
Bring Kettle to a Boil
If you’re using a temperature control kettle like we are, set it to 205F. If you’re using a stovetop kettle, heat it up to boil, and let it sit for 30 seconds before pouring.
Grind the Coffee
Once the kettle is boiled, or maintaining at 205F, it’s time to grind coffee. We are using our gold standard ratio of 7g of coffee per 100ml brewed; this is a 500ml brew, so we’re grinding 35g of coffee. The grind fineness is our standard fine pour over level, which is similar to table salt in fineness. This is a bit finer than you usually do a Kone metal filter grind (see later on in article as to why we do this).
Place Brewer on Scale
At this point, we’re going to start measuring weights, so add your Chemex to your scale.
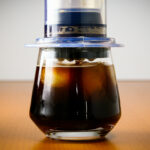
Add Ice to Brewer
The secret to good Japanese Iced Coffee is half of our “brewing” water is actually ice. So half our brewing volume — 250ml — of ice is added to the Chemex.
Add Filter and Pour Coffee
At this point, add the Kone filter back to the Chemex, and pour in your 35g of coffee.
Start the Bloom Pour
Slowly pour double your coffee weight in hot water to the bed of coffee. We are using 35g of coffee in this example, so we’re pouring roughly 70g of 205F water in about 20 seconds.
Pause 30 seconds
Pausing and letting the coffee fully saturate is crucial here, just like it is with all pour over methods.
Continue the Brew Pour
Continue slowly pouring your brewing water onto the coffee slurry in the filter. Aim for under 5g/second pouring time. We want this extraction to be more concentrated, so controlling a slower pour will aid in that.
Pour Remaining Brew Water
We’re doing a 500ml brew here, so you are pouring 250ml of hot water onto the coffee.
Let Brew Finish, Remove Filter
It’ll take about a minute or two for the brew to complete, as the hot coffee drips onto the ice in the vessel below. Once done, remove the filter.
Give a Few Stirs
Using a stirring stick or spoon, gently stir the brewed coffee so it completely cools down and chills up. There should still be ice cubes in the brewer when you’re done.
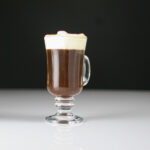
Why It'sThe Best Iced Brew Method
I made a really bold statement at the start of this article, proclaiming this the best way to brew a cold cup of coffee. It almost rivals our Iced Espresso brewing method, for my tastebuds. So how can I say that?
Simple: this isn’t a cold brew method. It’s a modification of a traditional, hot brew method that you turn cold almost instantly. That’s where the real difference is. If you want the super long reasons why, I wrote a long, detailed article on temperatures and extraction methods for cold coffee almost 9 years ago (linked in the previous paragraph; please give it a read if you have some time!).
The real secret to this brewing method is you’re doing all your extraction at the proper brewing temperatures, and drawing out all the best benefits that the coffee has to offer. Your trade off is it will most definitely be a weaker coffee, as you’re only running half the brewing water you normally would through the dose. Brewing with cold water — the way most “iced coffee” brewing methods use — do not come even close to extracting the kind of flavour bounty that a traditional hot brew does. That, in a nutshell, is why this brewing method is so good for your summer iced coffees.
What I especially like about this method is it’s literally the only one I don’t find the need to add a sweetener to. A sweetener definitely does help (again, read my long iced coffee article from 2011, linked above, as to why), but using this brew method with a naturally sweet coffee to begin with, and the cup on its own — black with the brewing ice cubes in the cup — is tasty enough to not require any modification.
The Japanese Iced Coffee brewing method is also incredibly fast. The more common iced and cold brew methods take literally hours to brew. This takes the same time as a traditional pour over brew, which makes it even better: all of a sudden you have an urge for an iced coffee, and this method delivers your cup in under 7 minutes.
Guiliano's MethodModified
Before I get into this, let’s have a look at Guilliano’s original video for this brewing method.
Guiliano’s method was an eye opener for me, but I also had a lot of questions. My primary concern was dilution; if you’re only using half your total volume of water to brew the coffee (and the other half is ice cubes in the carafe that the coffee drips onto), you will most definitely end up with an under-extracted finished brew. So I started experimenting with the method and looking for ways to improve it.
The first thing I figured out (with the help of a lot of tastebuds coming through the CoffeeGeek Lab in 2011) was that I had to go slightly finer on the grind of coffee — not much at all — to increase the extraction potential of the brew, but to also slow down the brewing a bit. On the Baratza Vario-W grinder, I go one full macro click finer from my standard “Hario Pour Over Paper Filter Grind” (keeping in mind there’s still 5 or 6 macro clicks finer to get to espresso grind).
The second thing is, I found doing the usual bloom, pause, slow pour we all rely on for a standard pour over brew worked equally well here. We ran TDS tests on the resulting brew, and the combination of the finer grind and the slow, controlled pour gave us extraction rates of 15-18%, where 18% is generally seen as the low end of a “good” traditional pour over extraction rate.
The real improvement in this brewing method came when I switched from paper to metal for the filtering method. And specifically, the Able Brewing Kone, and even more specifically, the square to round circle 4th generation Kone. Why is that?
Brewing with paper filters, like those from Hario and other companies, results in what are called “clean” cups of coffee, but ones that don’t really extract all the flavours, oils, and lipids that can be extracted via water and Co2 from the ground coffee; the paper holds back most of those oils and lipids, which can really balance out the cup better, and improve the “oomph” of the brewed cup.
Plus, I found that the instant chilling of the brewed coffee using the Japanese Iced Coffee method really accentuated and amplified the “paper” taste I always seem to taste subtly from a traditional Hario V60 brew, or a Melitta filter paper brew.
Kone "Ups" the Japanese Iced Coffee Game
Using the Kone filter on the other hand, there’s no paper flavour impact at all. And more importantly, all those oils, lipids, and other flavour nuances blocked by paper filters make it into the cup thanks to the metal filter of the Kone. This all results in a cup with a better extraction yield using the Japanese Iced Coffee method, and a fuller, more complete cup that has a sweet, subtle buttery finish that the paper filter brewing method doesn’t provide.
Even then, my early experiments with the Kone had issues. Being a Kone, I originally ground a bit coarser than I would with the paper filters, because the Kone can block up with too fine a grind. By the time Able Brewing had their Version 3 of the Kone out (some 6 or 7 years ago now), I did find I could use the same finer grind I did with paper filter brewing using this method, and get very satisfying results, although the brew did take longer.
The Version 4 of the Kone (the current version) really upped the game. The resulting cup is much cleaner (less sludge makes it through to the cup), but the fantastic square-to-round filter hole design of the V4 Kone meant I could use the finer grind, and get brewing times much closer to that of a paper filter (it still takes about 20% longer).
The real bottom line is this: Using a metal filter — especially the Able Brewing Kone with it’s well thought out design — and going for a finer grind and a attentive pour, pause, pour slow method, make this the best possible way to make iced coffee outside of the iced espresso realm. It may even be on par with what iced espresso can deliver (and for me with my heavy espresso bias, that’s saying something).
This MethodOn the Cheap
So the parts of the Japanese Iced Coffee puzzle we covered in this article — the digital, variable temperature kettle, the expensive scale, the expensive Kone filter, the expensive Chemex, the expensive grinder, etc etc — can really add up.
The good news is, this brewing method is so fantastic at what it does, it can also be done on the super cheap with results nearly as good as the expensive toys provide above. You are going to lose on some of the nuances of the extra flavour boosts the Kone filter provides, but it’s still going to be one of the best iced coffees you’ve ever had.
You can easily do this brewing method with the following things:
- a good budget grinder. Entry levels like the Breville Smart Grinder Pro or Baratza Encore ESP (both under $200) are more than enough for this method. Or Timemore’s C3 Series hand grinders, at under $100. Seriously, get a good grinder!
- You don’t need to spend $150 on a Fellow Stagg kettle – Bodum has a nice gooseneck electric model for $30; stovetop models with built in thermometers can cost $20 or less.
- a cheap gram scale. You don’t need 1/10th a gram for pour over coffee. Any $15 scale will do.
- A nice Melitta Pour Over set, like this $18 one with glass carafe will do just fine instead of the Chemex. I’d still get a metal filter for it though.
- of course, good coffee. Look for coffees with good fruity and chocolate notes but not “bright”; a more balanced, light-medium roasts serves this brewing method well.
Follow most of the steps outlined above, but do a few extra hot-water rinses of the Melitta paper filter, and you’ll get a fantastic iced coffee as a result.
Except for the grinder cost, this setup only costs you $50 or so (and if you don’t have a grinder, the Timemore C3 Pro at $90 keeps the entire setup at under $140). For that price, you get a full blown Japanese Iced Coffee Brewing setup that also gives you a good grinder, a brewing system to make normal pour over, and a scale to measure out your kitchen recipes as well as your coffee!
So give this method a try this summer, and let us know how it works for you, in the comments below! We love hearing from our readers.
Support CoffeeGeek
If you enjoy and learn from this resource, please consider making a one time or recurring donation to help support our work and fund purchases for future reviews.