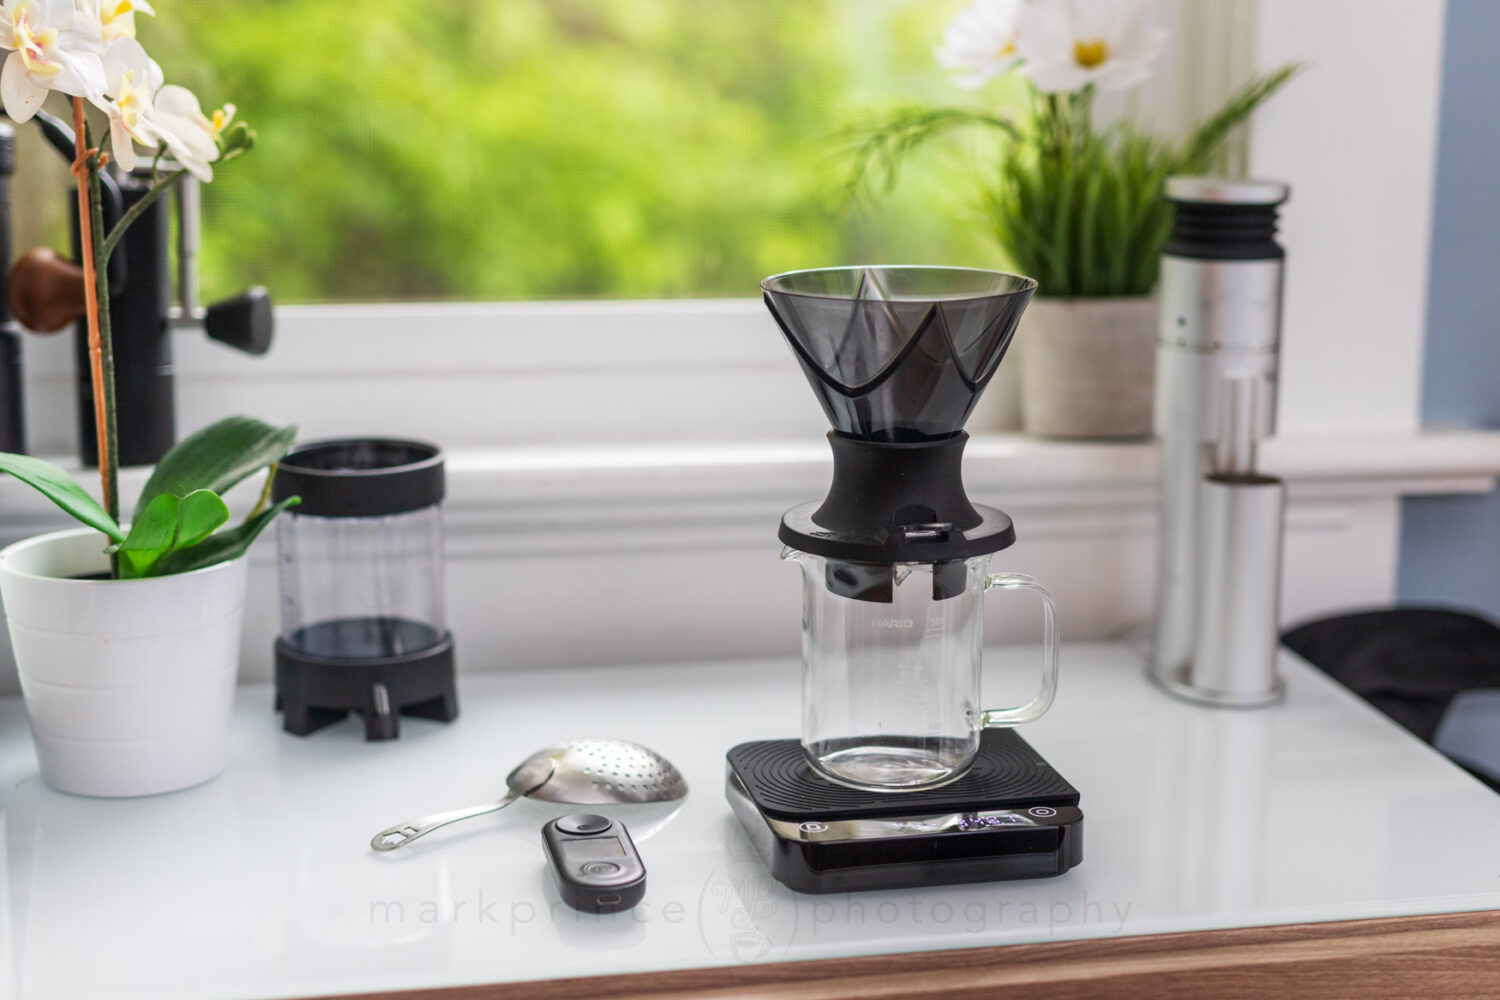


How to Brew with a Cloth Pourover
If you want to eek out every flavour nuance and taste from your pour over coffee, while still producing a clean cup, cloth filters are the only way to go. Clean filters are absolutely paramount in this method, so we cover that quite a bit.
Here’s how to use one.

Time Needed: 6 minutes
Equipment Cost $ 75
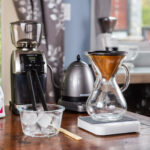
Necessary Supplies
Necessary Tools
Cloth Pour Over Steps
Clean Cloth to Start
We’re showing you the minimum maintenance required to maintain your cloth brewer, and part of it is keeping your cleaned cloth filter in a glass or bowl of water, in the refrigerator between uses.

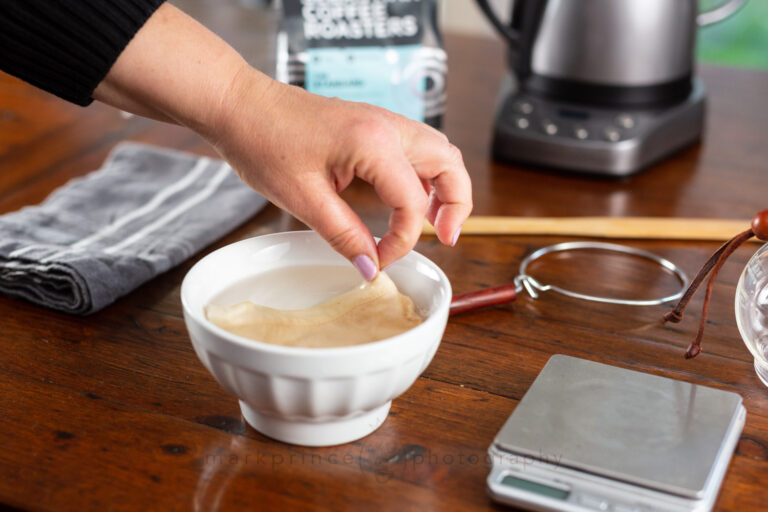
Rinsing Cloth
When it’s time to brew coffee, take your cloth filter out of the bowl of water, and give it a good wring dry.

Pat Cloth Dry
Following Japanese tradition for this brewing method, give your filter a good pat dry with a towel. You want the cloth filter to just barely be damp. Then attach the filter to it’s metal ring.

Rib on the Outside
These cloth filters usually have a softer material on one side, and a rougher material on the other side with the rib stitching. This part with the rib is the outside of the cloth filter. This is a common question.

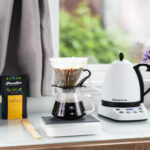
Turn Kettle On
Fire up your kettle; if you have a temperature control kettle like the one featured here, set it for 96C (205F). Otherwise put your kettle on the stove and let it heat up to boil.

Grind the Coffee
Grind the coffee while the kettle is heating up. For cloth pour over, you want a grind that is an average drip grind; the particle sizes are around 750 microns average. On the Sette 270, we have it set for 17.

Measure the Coffee
Measure out your coffee. We recommend a ratio of 7g per 100ml brewed, which is just slightly higher than the often quoted 1:17 ratio of coffee to water. The good news here is, if you don’t have a scale, 7g of coffee is a slightly rounded tablespoon of coffee. We’re brewing 300ml, so we’re measuring out 21g. If you are using a single dose grinder, pre measure out the bean weight.

Add Coffee to Filter
Add your coffee to the cloth filter, creating a nice even mounds in the middle of the filter.

Dimple it Up?
Optionally, you might want to create a small, gentle depression in the middle of the coffee bed with a spoon or stir stick.

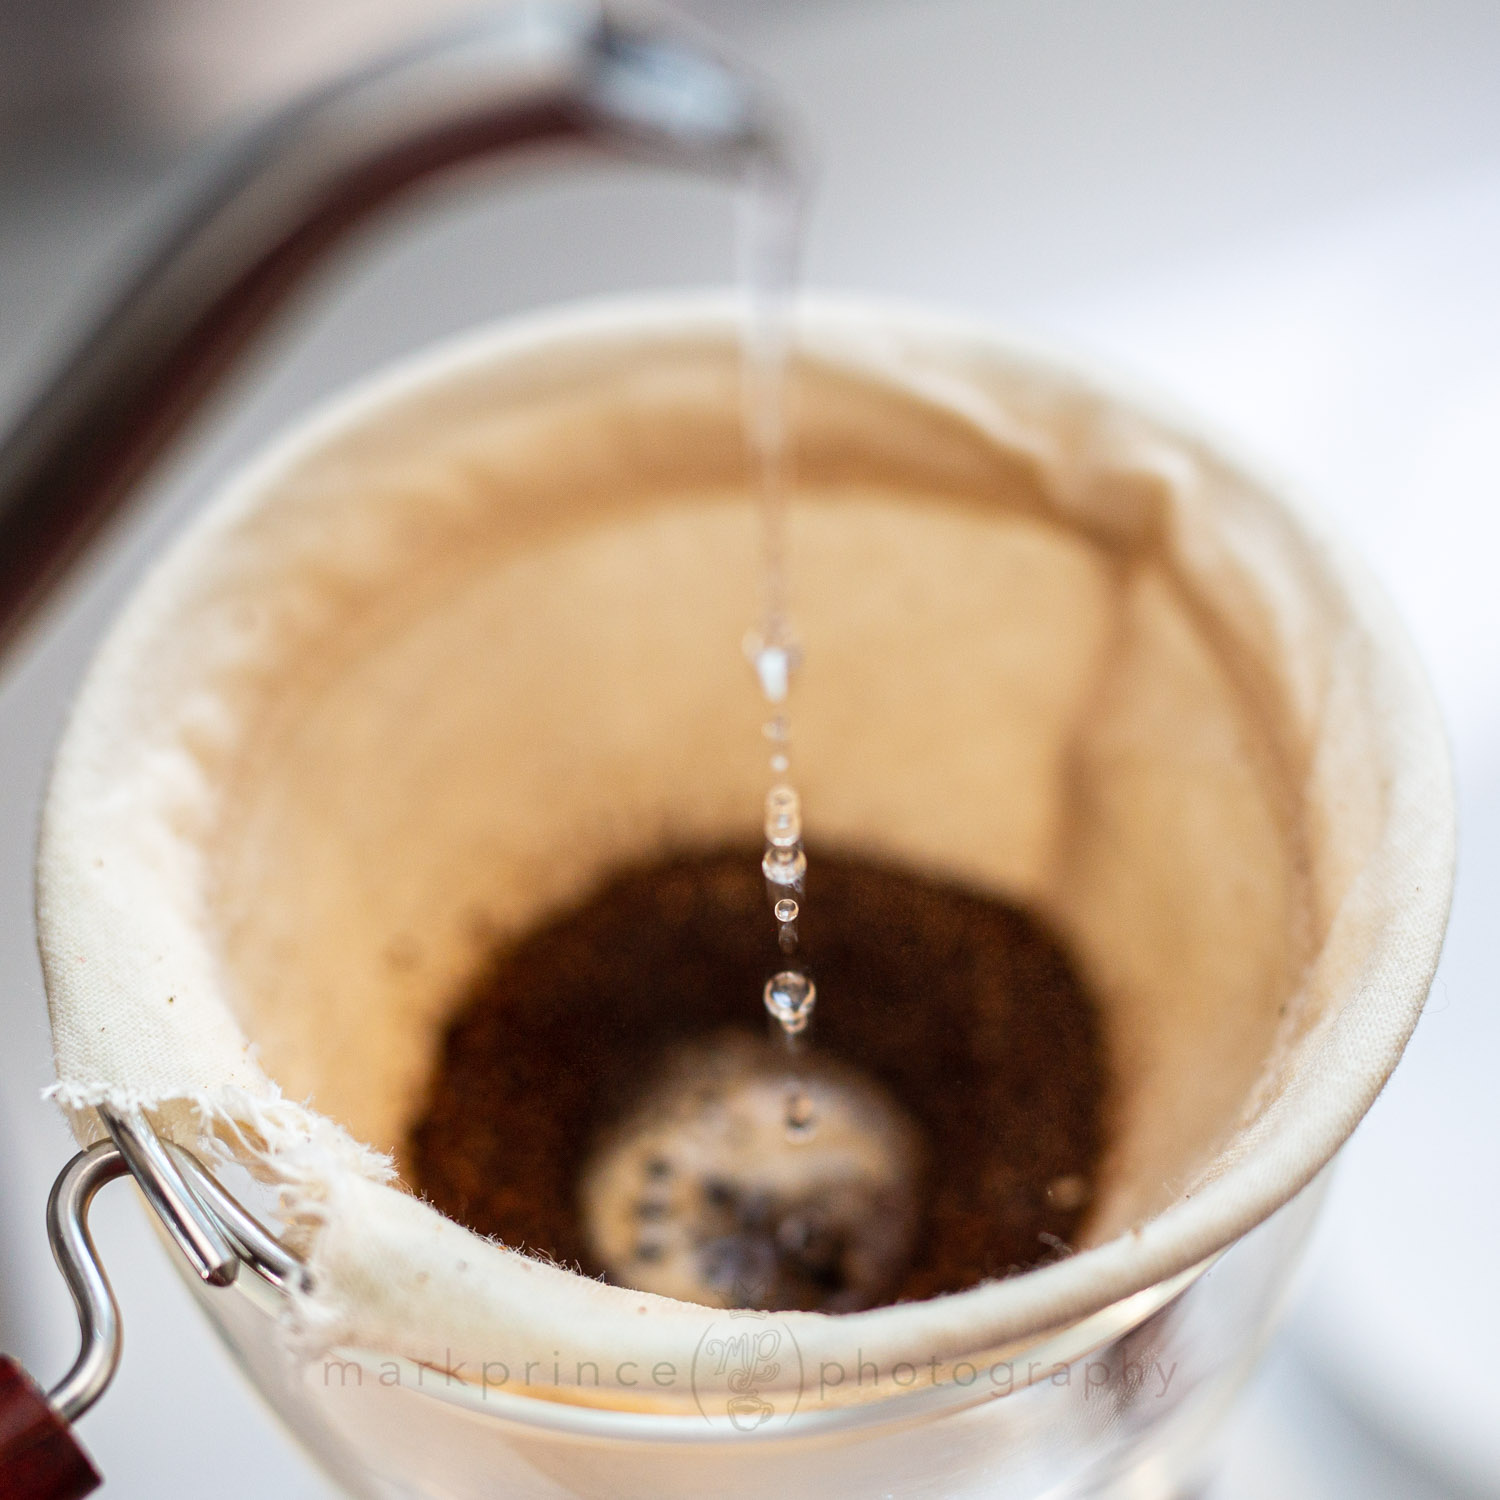
Begin Bloom Pour
Once your kettle is ready, start your pour with a very gentle stream that adds about 5g of water a second, or slower. Your goal here is a 2:1 max ratio of water to coffee (so if you used 21g of coffee, pour about 40ml of water for the bloom). Some prefer a 1:1 ratio for the bloom pour. It’s your choice. If you are using a kettle just off the boil, let it rest for about 2 minutes before using, to have a starting water temperature of around 94-96C (200-205F).

Bloom Pause
Pause for 30 seconds and let the coffee fully bloom and saturate. It’s called a “bloom” because when you use fresh ground, freshly roasted coffee, a lot of stored CO2 will escape from the bed of coffee, foaming it up. This is a good sign.

Main Brewing Pour
Begin your brewing pour. The goal here is to pour slower than a rate of 5ml (5g) of water per second; ideally you’re really controlling the flow so it’s around 2 or 3g a second. You are controlling the infusion and pass through time.

Concentric, Slow Pour
Your main brewing pour should also be a slow circular one – starting in the middle, then spinning the pour clockwise until you circle the outer part of the bed of coffee, then slowly shrinking your concentric circle pour back to the middle again. Your main pour time should last 60 to 90 seconds.

Brewing Times
We’re aiming for a full brewing time of around 3 minutes, 30 seconds for a 300ml brew. If the volume was higher (say 600ml), we’d be going for about a minute longer. The final pouring of the water as you reach your brewing volume (we’re using a scale to see that 300mls is being brewed) is just as important as your first bloom pour; be gentle, make sure you’ve covered the entire bed of coffee, and ease up as your pouring ends.

Finished Brew
The final result should be a fantastic brew of coffee.

Serve the Coffee
Next up, serve the coffee and enjoy it at your leisure, keeping in the back of your mind you will need to clean the filter quickly afterwards.

Cleaning the Cloth Filter
Part of ensuring awesome coffee from a cloth filter system means you need to clean things very soon after brewing. The longer the cloth filter sits, absorbing the spent coffee, the more difficult it will be to clean. First part is dumping the spent coffee into your compost. Easy peasy.

Rinsing the Filter
Next, give the cloth filter a very thorough rinse under hot water. Hit both sides of the filter, and it doesn’t hurt to gently run a plastic bristle cleaning brush over it too.

Remove Filter from Ring
Once completely clean to your eye, remove the filter from the ring filter holder. NB, this is optional – you could just use a larger bowl to store the cloth in, but it’s better to remove the ring and fold the cloth up into a smaller, sealed container for refrigerator storage.

Storing Filter
Submerge the filter in cold water in a glass or bowl, and put it back in the refrigerator for your next use. Even better, just put it in a zip lock baggie with water, force all the air out, and store that in the fridge.


Brewing with a Cloth Filter
Keeping the Filter Clean


Support CoffeeGeek
If you enjoy and learn from this resource, please consider making a one time or recurring donation to help support our work and fund purchases for future reviews.


Support CoffeeGeek
If you enjoy and learn from this resource, please consider making a one time or recurring donation to help support our work and fund purchases for future reviews.

Mark has certified as a Canadian, USA, and World Barista Championship Judge in both sensory and technical fields, as well as working as an instructor in coffee and espresso training. He started CoffeeGeek in 2001.