


Hario V60 Step by Step
Use this clear and fully described step by step guide to get a consistently excellent brew out of your Hario V60 filter brewing system. This How To assumes you already own a quality coffee grinder.

Time Needed: 10 minutes
Total Cost: $ 45
Required Supplies
Necessary Equipment
Necessary Steps
Shape Your Filter
V60 filters come flat, so you can put them into their starter cone shape by folding them opposite of the seam side; give them a pinch at the bottom and they’ll pop into their cone shaping.

Insert Filter
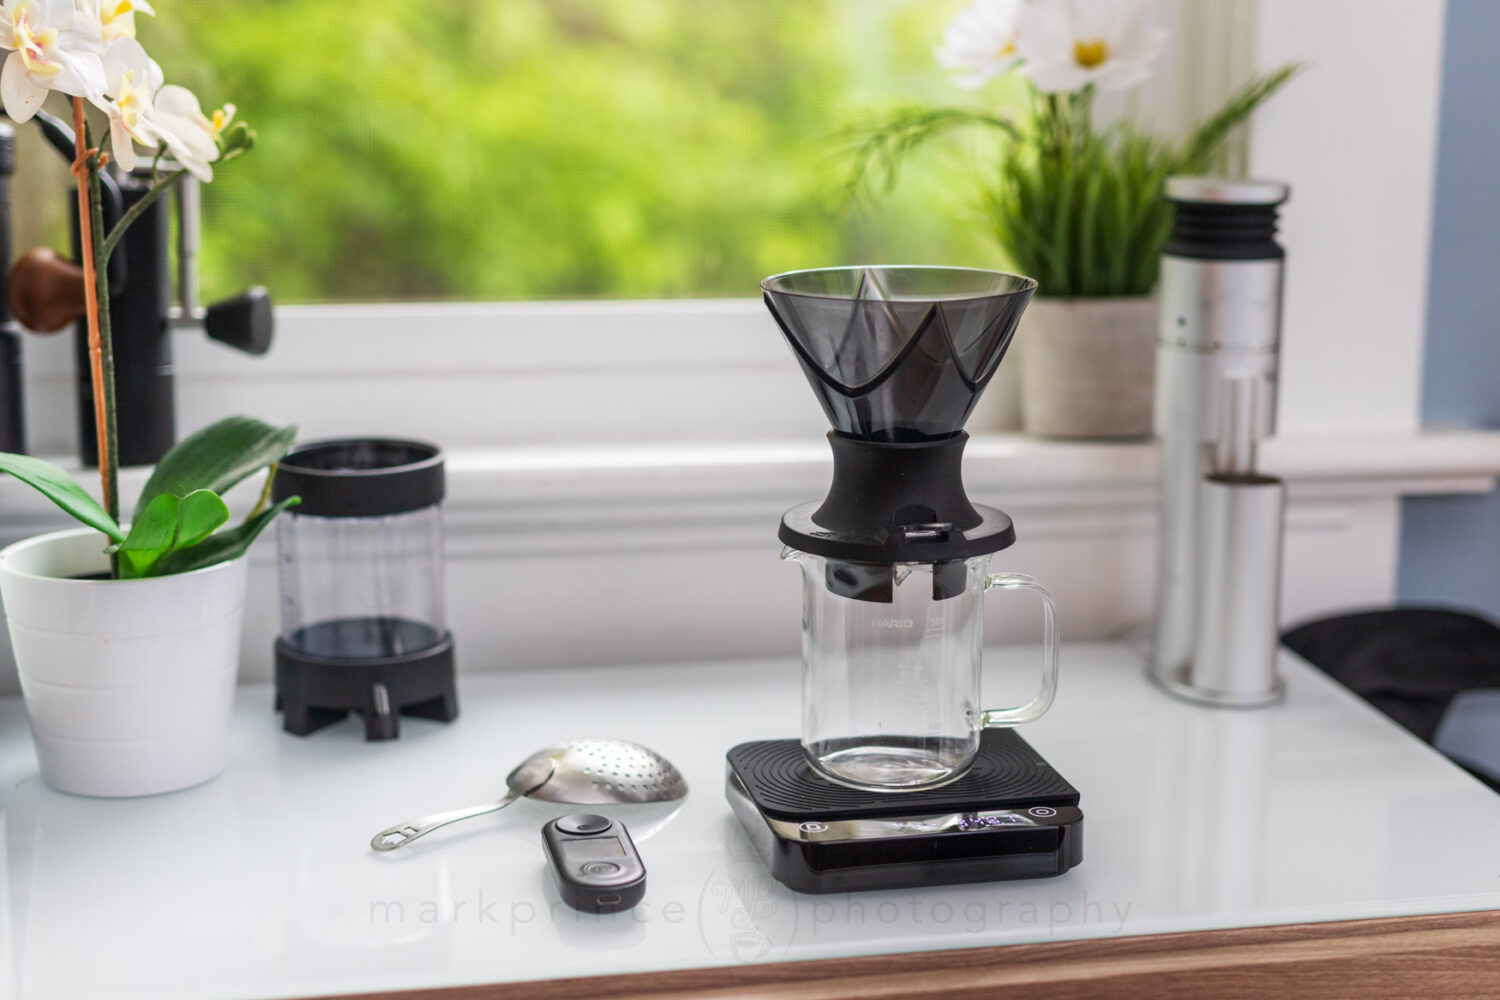
Take your V60 paper filter and place it inside the Hario filter holder; we’re using the 02 Glass Hario Filter Holder here.

Fire Up the Kettle
At this point, start up your kettle; a temperature-settings capable gooseneck kettle is your best option for pour over and that is the type we’re using for this How To.

Set Kettle to 205F (at sea level)
At sea level (or up to 1,000m above), 205F (about 96C) is a good starting point, if you have a temperature control kettle.

Optional - Stovetop Kettle
If you’re using a stovetop or non temperature-control kettle, just let the kettle come to a boil, and remove it from heat, time it so you use it about 2 minutes after. By that time, the water temperature will be down to about 205F or lower.

Rinse the Paper Filter
Paper filters greatly benefit from being rinsed, or “washed” with hot water; we usually run at least 300ml or more through the paper filter before using it to brew.

Grind Coffee, 7g per 105ml Water Used
Once the filter’s been rinsed and your kettle is to temperature, fire up your grinder and grind out approximately 7g per every 105ml of coffee you plan to brew.

Check Your Grind Fineness and Dose
The CoffeeGeek Standard Dose is to start with 7g coffee per 100ml of water used to brew; however, for V60 brewing, we use a bit less coffee: our ratio is 7g per 105 to 110ml brewed. We’re grinding 21g for brewing 330(ish) millilitres of coffee in this example. Note the granular size of the grinds (click to enlarge the photo); the Baratza Encore does an excellent grind for pour over, and our granule sizes are like slightly coarse salt.

Add Ground Coffee to Filter
At this stage, add your coffee evenly and well dispersed in the V60 filter.

Create Dimple - Optional Step
This is an optional step, but can help improve overall saturation, and the initial bloom phase: create a well, or dimple, in the middle of the coffee bed.

Pour At the Right Temperatures
At this point, your manual kettle should be about 2 minutes off the boil, and the water temperature in the kettle is around 203-206F If you have a thermometer, verify. You’re ready to brew.

Begin the Bloom Pour
The first stage of a V60 pour over coffee pour is pouring the “bloom pour” portion. This saturates the grounds, does an initial release of C02, and preps the coffee for it’s flow through brewing to come. We like to pour 1.5x grams of water compared to the dose of coffee; this is a 21g dose, so we’re pouring about 33 grams of water for the boom pour.

Pause for 30 Seconds
After your initial bloom pour (which takes about 10 seconds of the pour over timing), pause for about 30 seconds, before you begin your brewing pour.

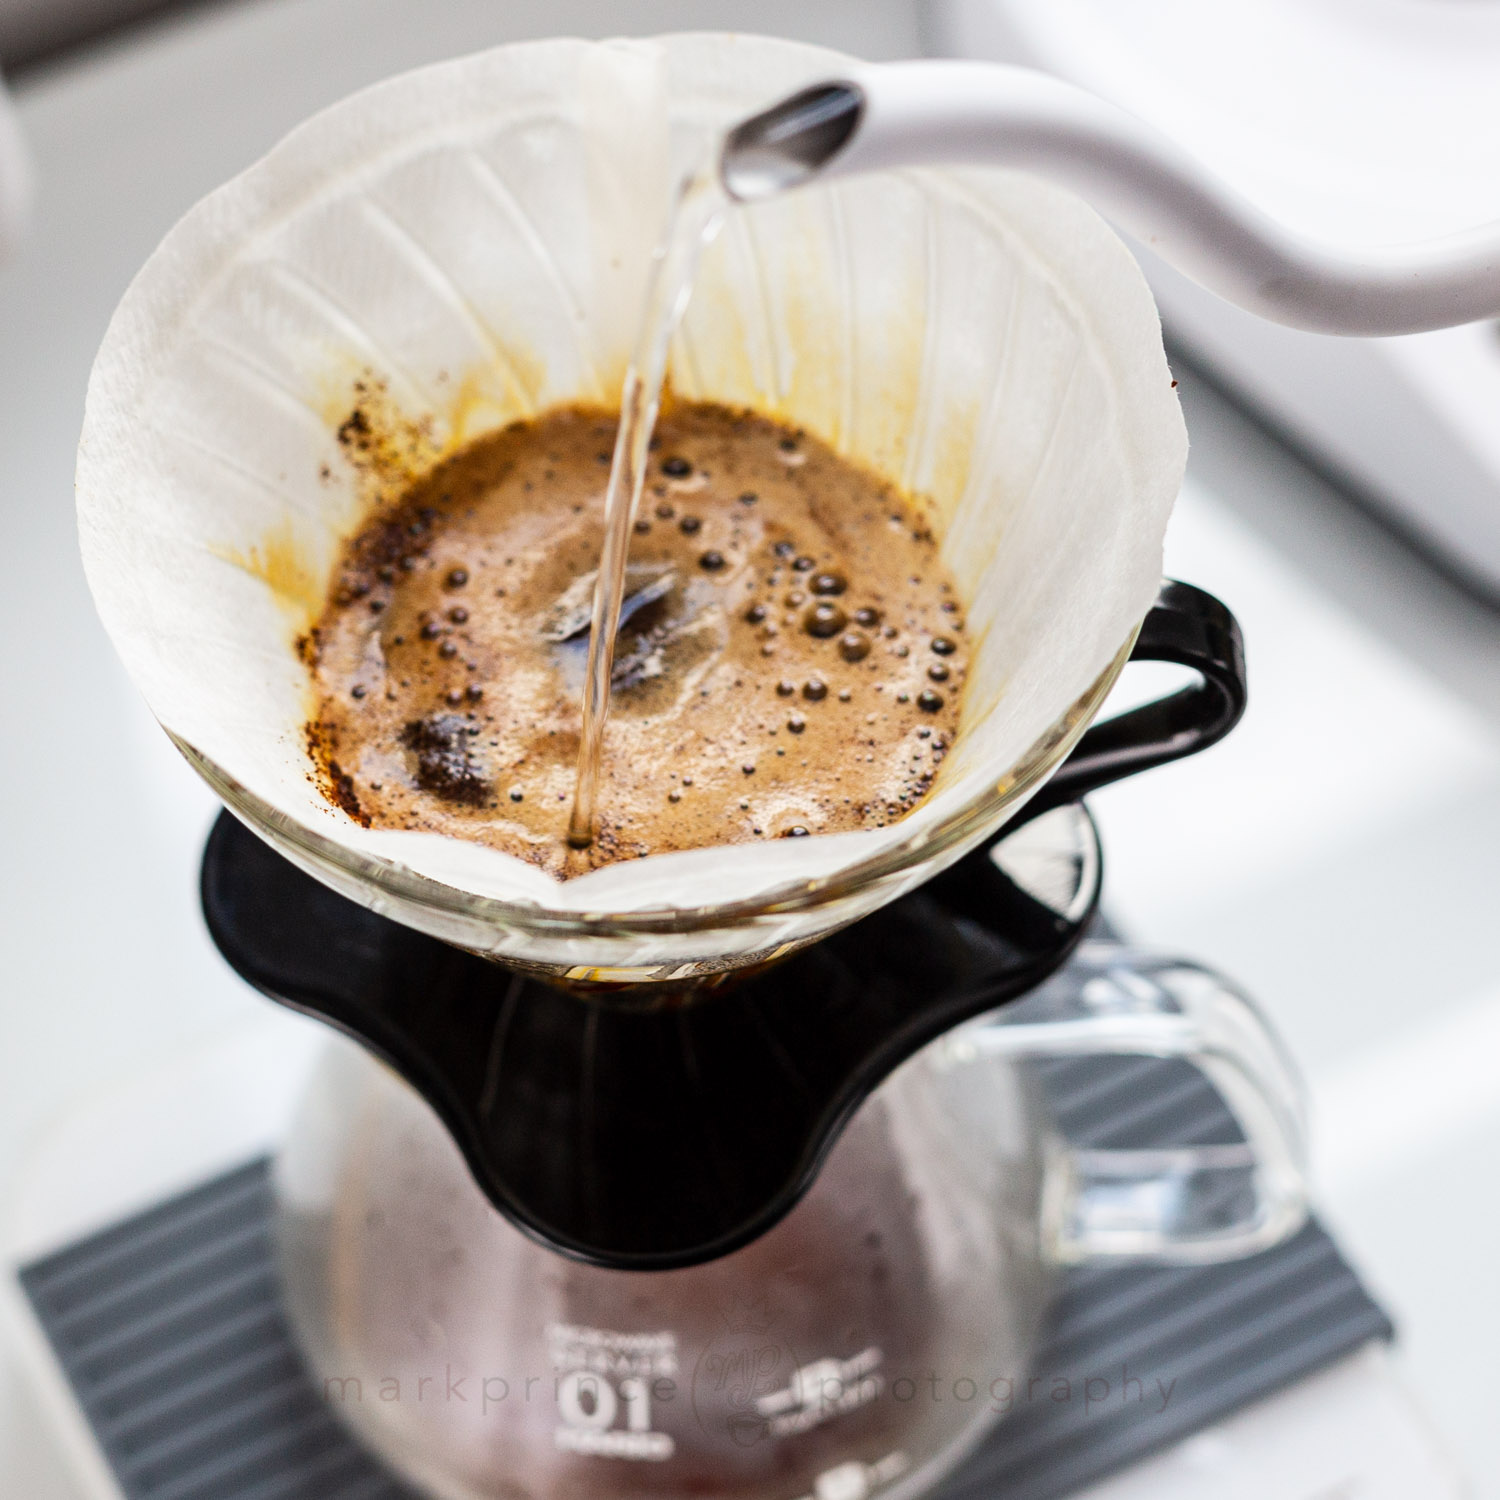
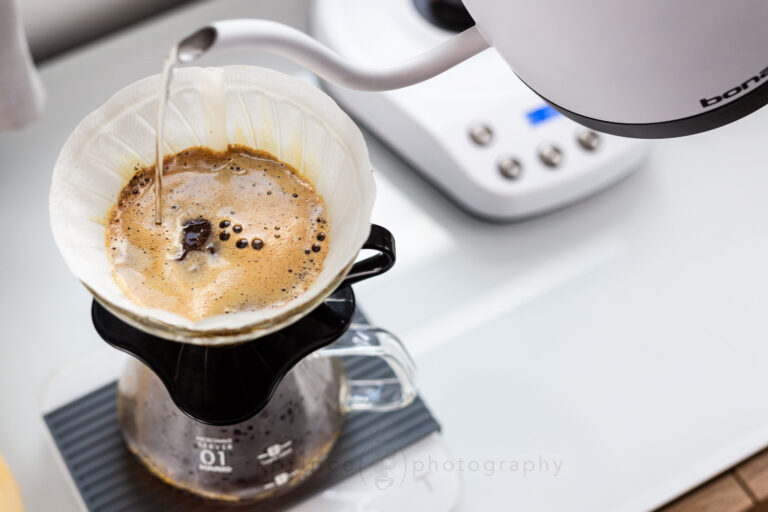
Begin V60 Brewing Pour
Begin pouring your kettle water in a slow spiral mode. About 3-5g (3-5ml) of water per second is the ideal flow rate; to judge it, have a timer handy or watch handy.

Pour Half of the Total Brewing Volume
Continue pouring in a centrical pattern, tightening and expanding, to cover all parts of the bed of coffee. Optionally, you can pour up to half your total volume (for this example, pour about 170ml, or half of the 330-340ml brew), and pause for 15 seconds (not shown here), before continuing your pour.

Continue Pouring
If you optionally paused halfway through your pour, continue pouring now, always in a circular pattern. Make sure all the coffee is saturated and being extracted from.

Get 100% Even Coverage
Use your pour style to make sure all coffee in the filter gets even coverage.

Pouring Done, Brew Continues
At the 3:00 to 3:30 mark into brewing (for this volume of 320-340ml brewed), you should be done pouring. Remaining water keeps brewing for another 20-40 seconds.

Brewing Completed
The V60 pour over brew should be completed around the 4 minute mark, give or take 15 seconds, for this particular volume brewed. If you’re doing larger batches, the brew time might be 5 or even 6 minutes.

Discard Filter and Coffee
Discard the V60 brew filter with spent coffee: it’s an awesome addition for your home compost, as the spent coffee provides nitrogen, and the paper filter will break down and add to the compost makeup.

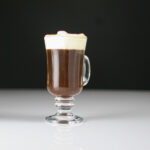
Pour and Enjoy!
All your hard work and diligence when brewing your V60 pour over coffee is about to pay off — in the cup!


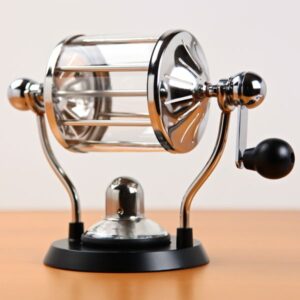
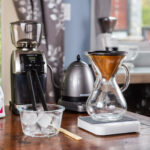
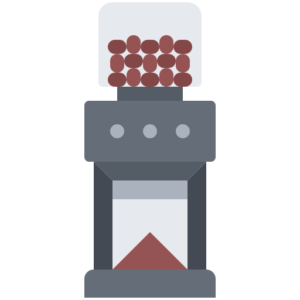
Hario Glass Roaster
This is also a fully functioning device, made by Hario. Very easy to "tip" the beans in this, unless you're religious about the RPMs you hand cranks.
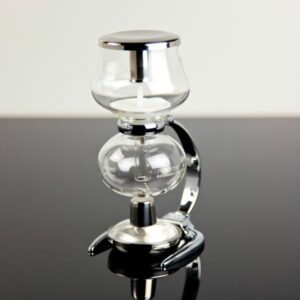
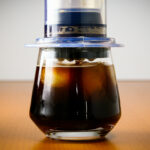
Hario Miniphon
The world's smallest functioning siphon coffee maker, a bit of a novelty
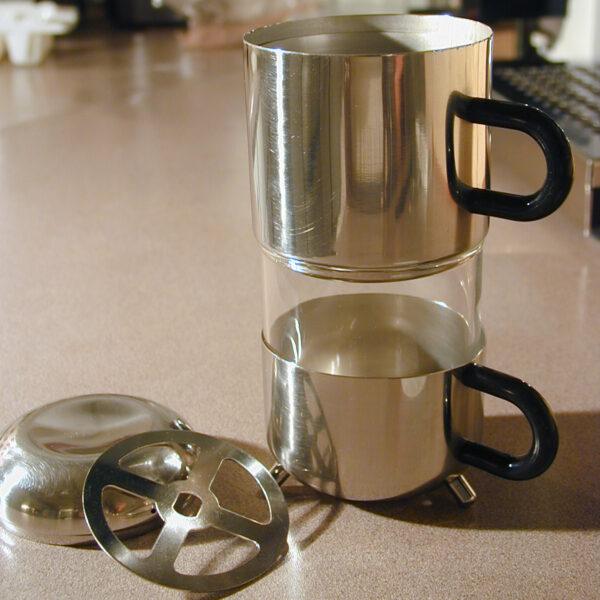
Hario Dripper
Very rare and obscure metal dripper setup from Hario, from the 1980s.
Brewing Coffee in a V60


Support CoffeeGeek
If you enjoy and learn from this resource, please consider making a one time or recurring donation to help support our work and fund purchases for future reviews.

Mark has certified as a Canadian, USA, and World Barista Championship Judge in both sensory and technical fields, as well as working as an instructor in coffee and espresso training. He started CoffeeGeek in 2001.