


Hario Mugen / Switch Brewer Hack
This guide details a dead-simple hardware hack: mating the Hario Switch immersion base with the generic Hario Mugen dripper. We’ll walk you through the setup and then dive into a specific recipe designed to squeeze the best performance out of this hybrid device. Consider this recipe a baseline—once you nail this, I encourage you to experiment like crazy.
For the data-minded, here is the breakdown: we are dosing 15g of coffee ground quite coarse — think standard French Press — and brewing with 300ml of water. The total brew time clocks in around 4 minutes. You might look at that 1:20 ratio and expect a watery cup, but trust the process: the immersion mechanics yield a surprisingly robust and heavy-bodied coffee.

Time Needed: 5 minutes
Equipment Cost $ 75
Necessary Supplies
Necessary Tools
Hack and Recipe Steps
Disassemble the Switch Brewer
Once you get both brewing devices, pop the glass V60 filter holder out of the Switch body by wiggling it back and forth as you pull it out. It’s in tight, but should be easy to remove.

Disassemble the Mugen Brewer
Remove the Mugen Dripper (it comes in both plastic and ceramic versions, but the holder it sits in is plastic) from its holder. If you like pop the V60 into that hand held flat wedge the Mugen used to sit in, and use that as your V60 brewer going forward.

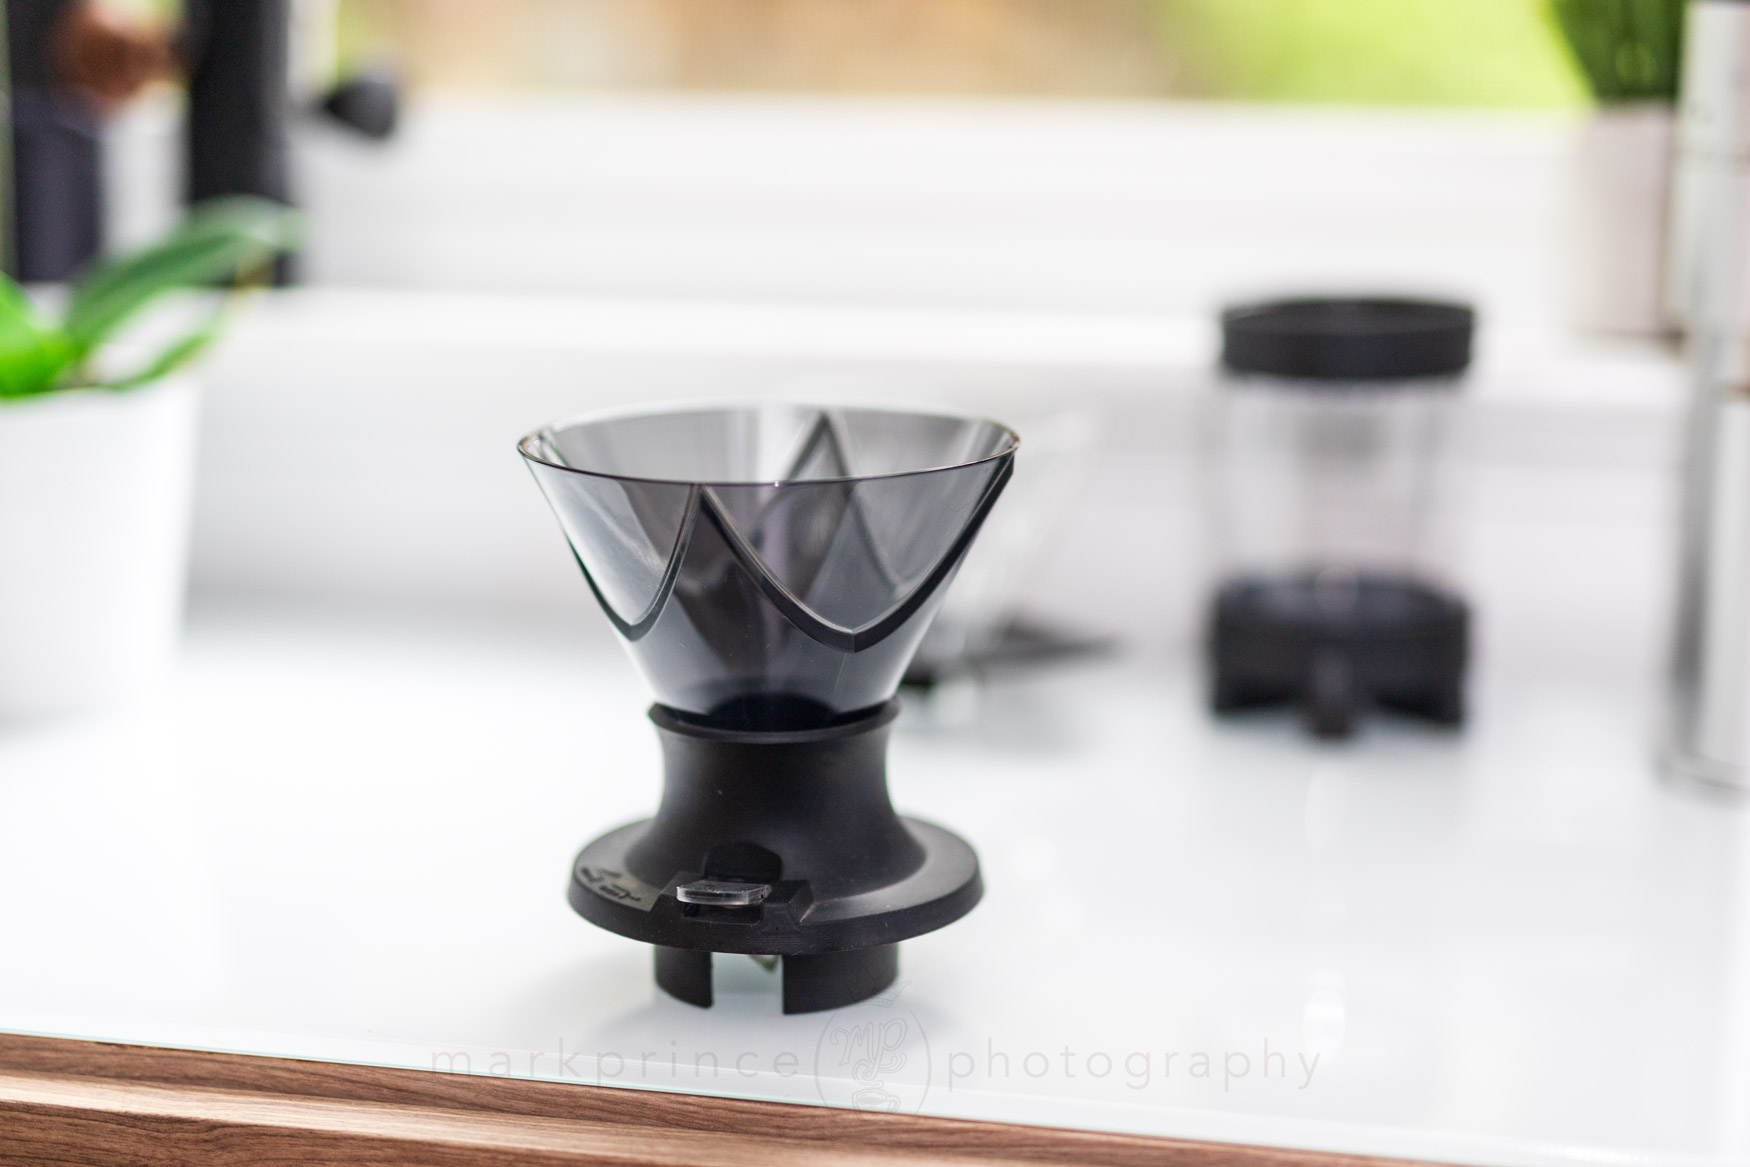
Build the Hack
Insert the Mugen Dripper into the Switch base; it should soft-click into place. You’ve just built your new brewer!

Saturate the Paper
Whenever brewing with a “no-bypass” device like the Mugen, it is vitally important to fully saturate the hario #2 paper filters you place in the Mugen, and make sure it is entirely adhering to the side walls with no real air gaps.
We want this to be a full no-bypass brewer once you flip the Switch’s… er, switch to start the flow of brewed coffee.
Once this is done and drained, close the Switch’s toggle.

Measure Your Coffee
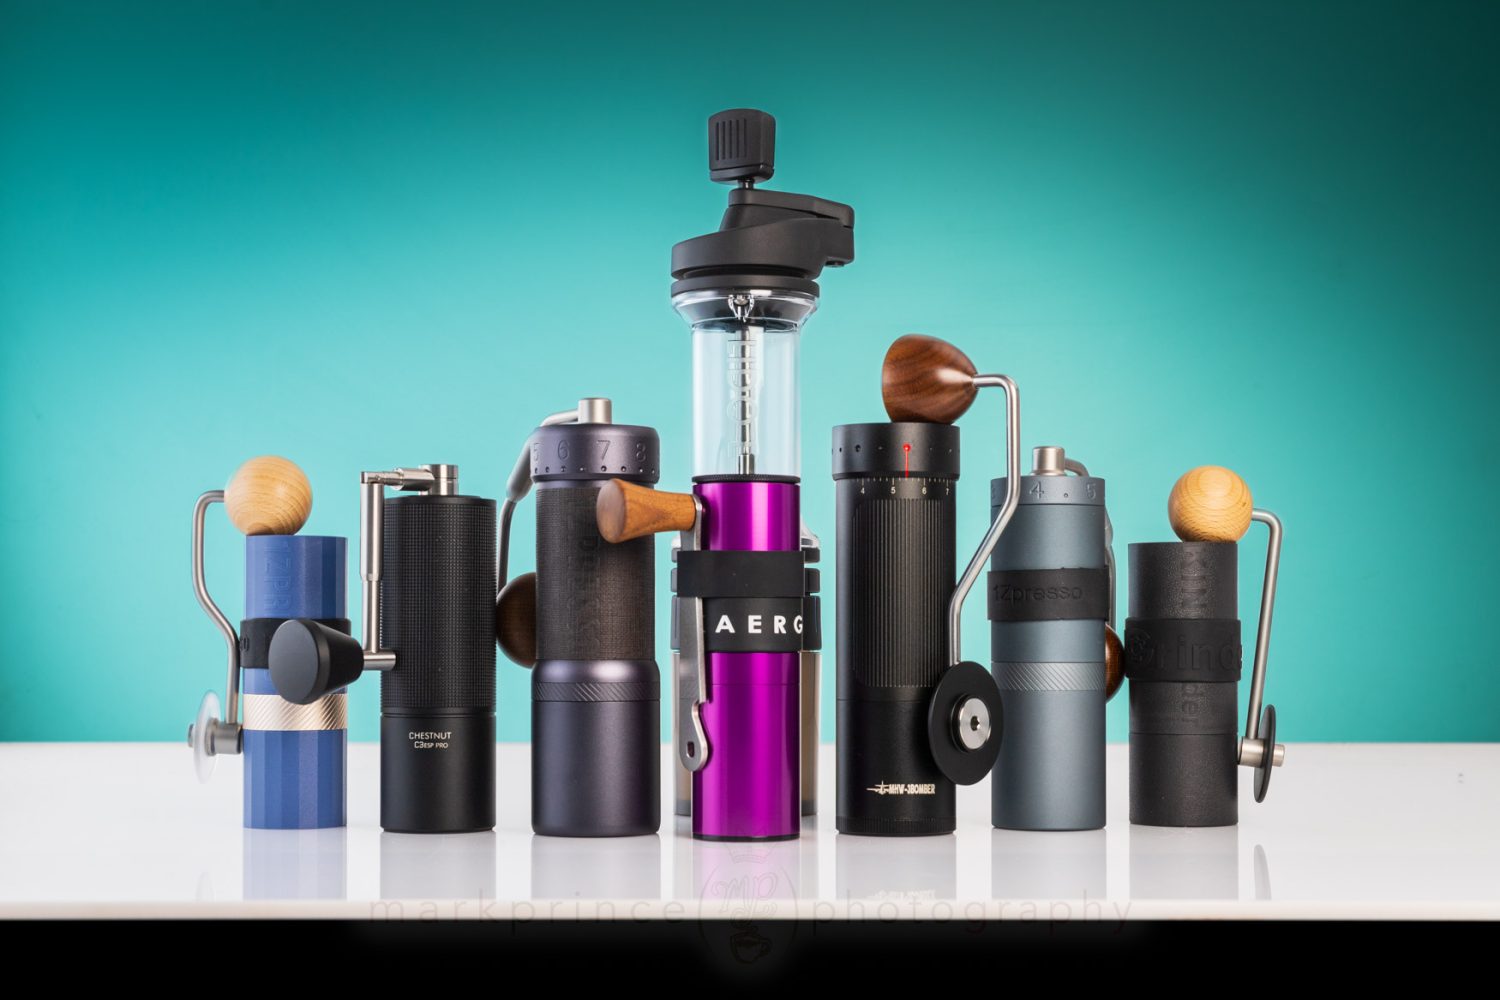
Our recipe is a 1:20 ratio, so 15g of coffee for 300ml of water being used. Measure it out, then pop it into your quality grinder. If you’re using a hand grinder, like the 1Zpresso X-Ultra, set it to 1+5 on the dial. It will only take about 20 seconds to grind.

Add Coffee To Filter
Add the ground coffee to the Mugen / Switch brewer, settling it into a nice level surface, or in our case here, with a slight dimple in the middle.

Do Initial Pour
Add your initial half volume of your total brewing water you plan to use. In our case it’s 150ml. Pour quickly, but evenly to fully saturate the grounds.

Stir it Up
Now for some agitation: give the slurry a good but gentle stir for about 3 or 4 seconds. Enough to really saturate everything, and accelerate the extraction process.

Wait 60 Seconds
Wait 60 seconds to let the coffee fully saturate and immerse then open the Switch’s flow valve.

Begin Next Pour
Begin the next 150ml pour of brewing water, swirling and saturating the entire surface. Go slow, about 5g of water per second. This will get you up to around 3:15-3:30 in the total brewing time.

Let the Brew Complete
Now all that is left to do is to wait for the brew to complete. If you hit the right grind, this method should take around 4 minutes, start to finish. The final draw down can take longer or shorter times depending on your grind.

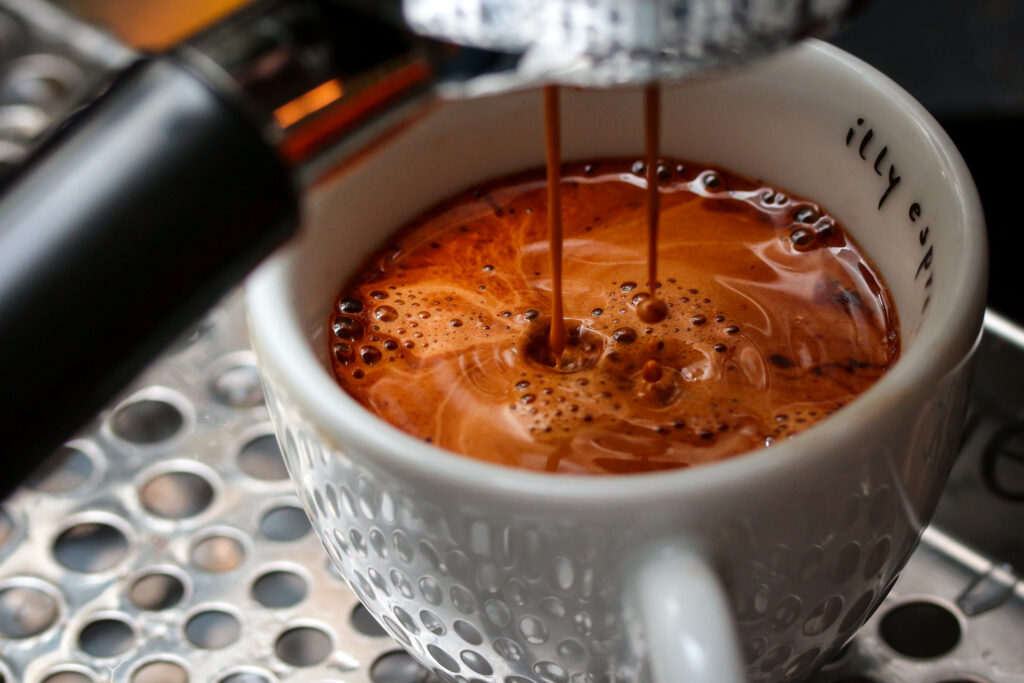
Measure or Taste the Results
Because we have to, the TDS was measured once the brew was complete: our 1:20 ratio of coffee to water delivers the same TDS levels that a normal 1:15 ratio brew would, in a traditional pour over. And the taste is excellent!


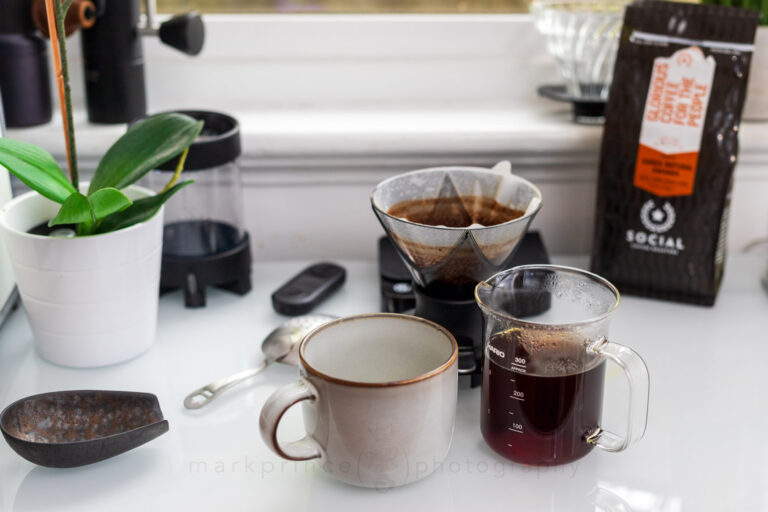
The Finished Brew


Support CoffeeGeek
If you enjoy and learn from this resource, please consider making a one time or recurring donation to help support our work and fund purchases for future reviews.
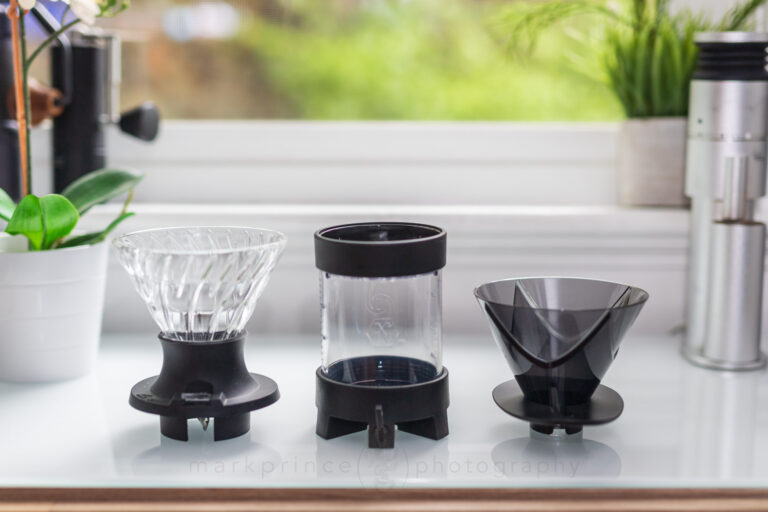
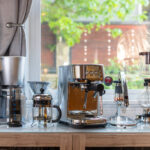
Switch, Pulsar and Mugen


Support CoffeeGeek
If you enjoy and learn from this resource, please consider making a one time or recurring donation to help support our work and fund purchases for future reviews.


9 Responses
This is a great little hack. I’ve got a switch which I almost never use, but its got me going to it tomorrow morning. I see the Mugen is only 14, so I’ll pick one of those up and give this a go.
Thanks for the guide!
Hi, I’ve just tried the new mugen-switch recipe. And it turned out to be VERY GOOD! I was a bit suspicious about the recipe at first, since it seems to be aiming for a very high extraction. But actually there is no bitterness and astringency at all. Just want to say thank you for the recipe!
Just a short question at last. With a combination of high ratio(1:20), low bypass(mugen) and bare kettle, why it won’t result in over extraction?
I am very happy you enjoyed this how to and the recipe!
I have a question (and perhaps I need to improve how I explain the numbers): do you consider a 1:20 ratio of coffee to water to be high? I normally brew pour over at a 1:14 ratio, which is 1g coffee for every 14g of water. For a 300ml brew, that would be 21g. In this recipe, it is 1:20, or 15g for 300ml water.
Personally, I get confused all the time by ratios vs extraction rates vs TDS final numbers, so maybe I should be more clear here?
I think, if I used my standard 1:14 ratio in this brew, it would end up over extracted, or at the very least, a VERY HIGH extraction (possibly better for dilution with ice for cold brew?); because of the immersion + no bypass, I knew I could coax more out of less coffee with this recipe, and I ended up at 1:20 on the ratio to get in the 1.25-1.35% TDS range for the finished brew.
I wonder if Lance has seen this guide. I wonder if he’s gotten a Mugen yet!
I think I learned about him around the time of the same video. I subscribe to his channel, and learn a lot from it. I assume you and he know each other and talk from time to time? I know he has a love affair with James Hoffman!
Heh. No, I don’t really know Lance. I’ve reached out to him casually a few times, and he does reply but we don’t have very long convos. I did point this guide out to him via IG DMs and he said he’d give a read. He does seem to love Jim! 🙂 🙂 🙂
I do have longer convos with a few of the YT coffee guys. Specifically Coffee Kev (love that guy!), and more recently the fellow who has the Daddy Got Coffee guy, who’s a fellow Canadian. I’ve also had very brief convos with the Alternative Brewing fellow in Australia.
Learned a ton from this guide, thanks a bunch! I’m a bit skeptical that 15g can make a full cup with 300ml, so now I’m tempted to get both devices to try it myself. I was thinking about getting a Pulsar, but it’s pretty pricey. This setup seems to do the same thing for 2/3 of the cost or less, plus I get an extra brewer, a V60, to take to work. Sounds like a win-win to me.
Also, glad to see Berg’s comment—it boosts my confidence that this will be a solid brewer combo. Thanks again!
Tried just now… using suggested grind size (2.0.0 on x-pro)
It’s OK, but not great. Even at this grind size it drained pretty quick but had a bitter taste muting everything else
Hi Sau – experiment more with the grind until you get the drain rate I wrote about in this how to, and let me know how that tastes.
The bitter comment – if it drained fast, I’m a bit shocked you would get a bitter note. But then again, if you stir too aggressively in the first stage, that will bring out excess bitters, so experiment too with your stirs.
I’m very intrigued with this method. What are your thoughts on doing it over ice? I strongly prefer iced coffee, and my daily driver is a Chemex flash iced.