The idea of a god shot invokes feelings of both mystery and artistry. It would appear to be the ultimate achievement in the world of espresso. What is a god shot? That’s a fair question. On the mystical side, it is the alchemist’s coffee. On the artistic level, it is a coming of age, indicating that one has finally gotten the feel for what espresso is all about. But one person’s god shot maybe another’s dreck. No matter what the physical parameters are as well as the technical difficulties, it always comes down to what is sitting in the cup. Timing numbers and the volume of the shot are an attempt to give guidelines within which satisfactory espresso can be executed. No matter how technically perfect the espresso is, if it doesn’t taste good, it is not a god shot.
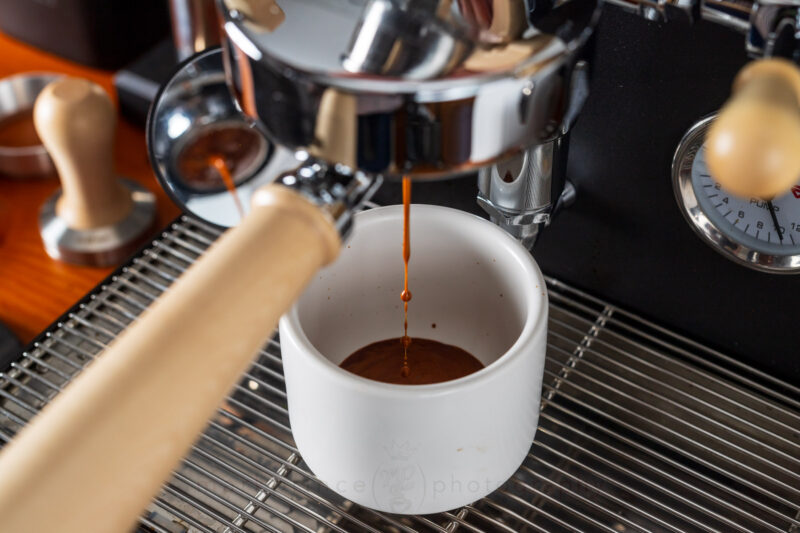
What are some of the physical characteristics of a god shot? Heavy crema, a luxurious mouth feel of density, an over the top concentration that simply has to be experienced, great balance in which bitterness is present but does not dominate, a mouth assaulting bitter sweetness, layered depth and complexity, a long after taste, and great pleasure. It will be a restricted pour or ristretto in which the shot is terminated by sight just as the stream begins to lighten. There aren’t going to be any 3 oz god shots! Volume-wise it is going to be closer to 3/4 oz, not 2 ounces. The heavy duty espresso cups with the La Marzocco logo only hold about 50 ml and that is by design. A god shot will not even come close to filling that cup – and not even half way.
Still, the god shot is highly subjective and relative to one’s own espresso experiences. Note: Andrea Illy’s Espresso Coffee: the Chemistry of Quality has color photographs of espresso. Those are not god shots! What is pictured there is the minimal standard for acceptable quality commercial espresso. With adequate equipment and satisfactory technique, it is not that difficult to meet that standard. A god shot, though, is a very different animal. It pushes one’s hardware to its limits and then requires meticulous technique. The vast majority of today’s home espresso equipment does not possess sufficient horsepower to pull it off.
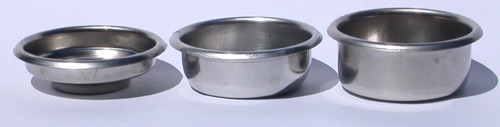
Aside from near commercial grade equipment or better, one also needs a 3X basket. In this version of a god shot, the 3X basket is an absolute necessity. The rationale is very simple: a 3X basket will hold about 50% more grind by weight, compared to a 2X basket. The timing numbers for a 2X or 3X basket are very similar with the result being significantly more extraction from the puck in the same amount of time. The result with a 3X basket is a very dense, concentrated shot that is at least twice as concentrated as a 2X basket, if not more.
My own hardware consists of: a Pasquini Livia 90, Pasquini Moka 90 grinder, a digital scale with a tare function, a bathroom scale, three Reg Barber stainless steel tampers, a 3X basket from Pasquini, and an extra portafilter with a blind filter to backflush between shots. My espresso blend of choice is Josuma’s Malabar Gold.
The technical details with rationale have been well delineated in David Schomer’s: Espresso Coffee: Professional Techniques. The Schomer and Illy books are absolute necessities for those who are seriously interested in espresso.
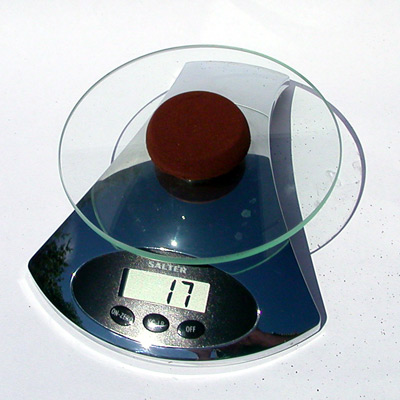
I am not going to repeat David Schomer’s technique list, but would suggest that those, who are serious, buy his book and read it. Schomer’s techniques have to do with a 2X basket and do not totally transfer into a 3X basket. The difference is that the same methods of dosing, packing, and tamping do not work in a 3X basket. There simply is not enough grind in the basket – hence the need for a digital scale and altered tamping technique. If a 2X basket can hold 16 or 17 grams, then the 3X basket should hold 24 grams, plus or minus a gram and still have the PF/basket assembly easily locked into place.
The alteration to Schomer’s techniques are to use the plastic tamper built into the Moka 90 grinder (a tamper that requires an upward force on the portafilter) to compact the grind and create enough space so that about 24 grams can be held in the 3X basket. The exact amount of grind will depend upon the timing numbers that are generated with the pulled shot or pour. Once there is 24 grams or so in the 3X basket, one will immediately notice the unevenness of the puck with visible air spaces. Use the up tamper to level the puck as best as one can.
The first real tamp is with a 58 mm diameter flat bottomed, stainless steel Reg Barber tamper that is bottom weighted. This is a quick leveling tamp. The force of this tamp is in the range of 13 to 20 kg (28-45lbs). Rock the 58 mm tamper around the inner circumference of the puck. When finished, the puck should be near level.
The second tamp is with a 52 mm diameter flat bottomed, stainless steel Reg Barber. Start anywhere on the inner circumference of the puck and then serially tamp the entire circumference in incremental, overlapping steps. Do this at least two times around the inner circumference, if not three times. Force: 25 to 30 kg of pressure (55-66lbs). Check levelness of puck and make adjustments as necessary.
The third tamp is with a 58 mm flat bottomed tamper at a force slightly greater than 30 kg (+65lbs). The fourth tamp is with a 58 mm convex tamper at more than 35kg of force (77lbs). I do not think that there is any qualitative difference between a flat or convex 58 mm tamper and if I had to choose one, I would pick the flat bottomed one. In other words, the fourth tamp includes the final tamp and polish and the entire tamping process can be done with two tampers. No tapping on the PF/basket assembly is needed during this tamping process.
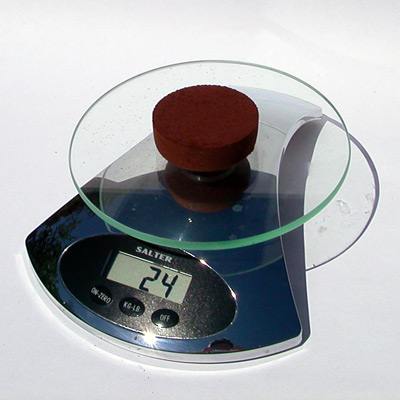
Pack from triple basket, 24 grams.
I think that it is crucial to use a smaller diameter tamper for the intermediate pack in order to eliminate air spaces and avoid channeling. This packing and tamping procedure results in a very dense puck that will test the capabilities of both the grinder and the espresso machine. If the pack is uneven, one will see channeling in the stream and perhaps pitting on the surface of the puck. One way of checking for the evenness of the tamp is to use a double spouted portafilter. Ideally, the two streams of espresso should be the same from both spouts.
My own preferred timing numbers for the pour with the Pasquini equipment is a total time between 18 to 22 seconds. Time is begun when the switch is activated to begin the espresso pour and terminated when the switch is flipped off. One has to look at the color of the pour and how it hangs to determine when to terminate the shot. The time from the flip of the switch until espresso appears at the spout is what I term pre-infusion (PI). My preferred window is a PI time from 7 to 9 seconds. Other equipment may have slightly different timing numbers.
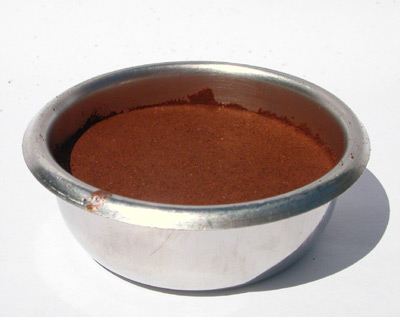
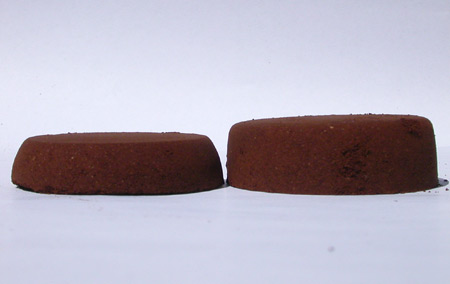
A triple basket prepared in the manner described in this article.
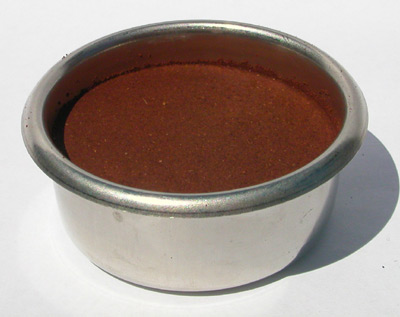
A double pack, using normal methods of grind, dose, level, tamp, knock, tamp and polish.
The dosing, packing, and tamping require time and practice. One is in a race to maintain as much heat as possible in the PF/basket assembly that is outside of the group. 14kg, or 30 lbs of pressure has been a sacred number with regards to conventional preparation of the espresso pack, and this technique dramatically exceeds it. There is a concern with repetitive stress syndrome. I limit my espresso sessions to six shots because that is what 215 grams (7 oz) of green beans will yield with two roast cycles of 110 grams (3.5oz) each with a Hearthware Home Innovations Precision roaster, the roaster I use regularly. I usually make espresso twice a week on weekends because it is a very time consuming process.
One way to a god shot lies in a 3X basket, near commercial grade hardware or better, and meticulous attention to detail. The journey began with my first and only espresso machine, the Livia 90, purchased at the end of November 2000. Superior espresso is more than simply activating the espresso machine. The learning curve has been steep and littered with many failures, roadblocks, and false successes. That was with a 2X basket. The 3X basket with a potential god shot is more demanding. There is enough variability in the tamping procedure to dramatically affect the shot. The god shot is the Holy Grail of coffee and there is enough detail in this article to achieve it on more than a random basis.