The last time we met, I left you with the message to practice, practice, practice. I hope that you have, and that the mechanics of making espresso is now almost second nature. I truly believe that making the mechanics, well, mechanical, is key to your progress. That said, let me tell you about my first espresso experience with Rancillio Silvia and Solis Maestro.
How do you spell ‘disaster’?
It was horrible. I was extremely ill prepared when I received Silvia and Maestro. No freshly roasted beans, no thermometers or timers, no shot glasses; and the ‘e-tailer’ sent pre-ground vacuum packed espresso blend coffee, instead of beans (which they later corrected). The only beans that I had were some stale 8 o’clock beans from A&P. My only thoughts were to ‘make espresso’. I couldn’t remember about surfing, let alone whether to use Mark’s ‘Cheat’, or Randy G’s ‘gentle surf’ method. I figured that I’d just follow the directions that came with Silvia, and ‘follow the lights’. The first espresso was horrible. No crema, bitter and burnt tasting. The shot ran through the portafilter faster than a speeding bullet. Let’s try again, maybe I did something wrong (you think?) Blechhh, more drain cleaner. Well, so far I’m consistent. So, what’s going on?
Is there a Barista in the house?
Time to regroup. I hunted down the stuff I’d printed out from CoffeeKid.com, Espresso My Espresso., and the alt.coffee newsgroup. I decided that the beans and ground coffee were the problem. They weren’t fresh. So I purchased some beans from a local chain that serves espresso. I figured if the beans were fresh enough for them, they were fresh enough for me. So, back to square one. Having more familiarity with Silvia (ie: learning the mechanics), and getting the grind fine enough, I was actually able to make an espresso that was much better than my first attempts.
It was like I was working with two different beans (well, actually I was). Lesson learned: you have to have fresh beans. From this point on, I was able to make ‘drinkable’ coffee drinks – usually with lots of milk and sugar, but always sampling the straight espresso, in case I got a really good one.
Evaluate and improve:
My next step was to identify where I was still having problems. Actually, it was easier to identify where I wasn’t having problems, but that wouldn’t improve my skills. My timing was off, figuratively and literally. Making espresso was still erratic, not with the fluidity (mechanics) of the well trained barista. My ‘pour’ times were still consistently inconsistent. My pucks were very soggy. Enough so, that I could just stick the portafilter under running water to flush out the spent puck. I started wondering about the pictures I’ve seen of solid pucks, and why my pucks weren’t solid enough to ‘knock’ out, and when I might be able to use my new knock-box. I still wasn’t comfortable with surfing, and I wasn’t crazy about the taste of the espresso bean blend that I was using. But, I was making progress, so, back to the newsgroup. (No Coffee Geek Forums at the time)
I did it My Way:
After reading about filling (dosing) and tamping on alt.coffee, I determined that my technique needed improving. How do I improve it? Like I said, follow what the experts are doing. Using the following method my pucks became solid and dry. Most folks have seen this before in some way, shape or form, by one author or another. Silvia is warmed up and ready to go (surf) at this point. This is my version:
- I grind directly into the bin (not into the pf) with the Maestro. If you don’t like to keep the hopper full of beans then you’ll have to figure out how many ‘Silvia spoons’ of beans you will need for this method. Three rounded spoons should be more than enough.
- Detach the portafilter (pf) from the group head, and dry the basket, if wet.
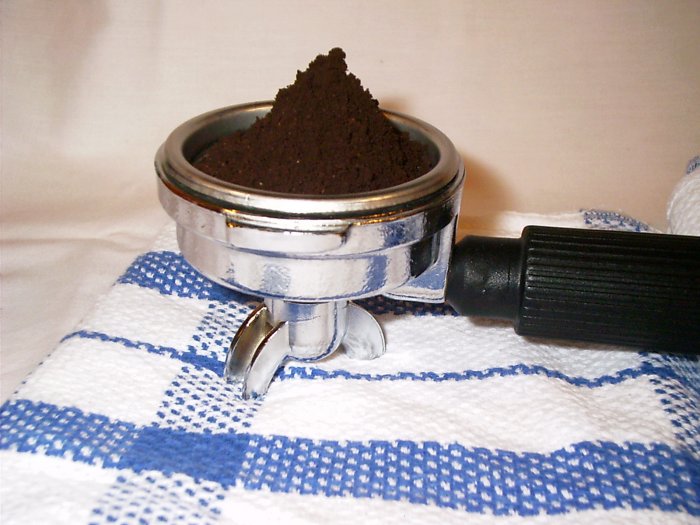
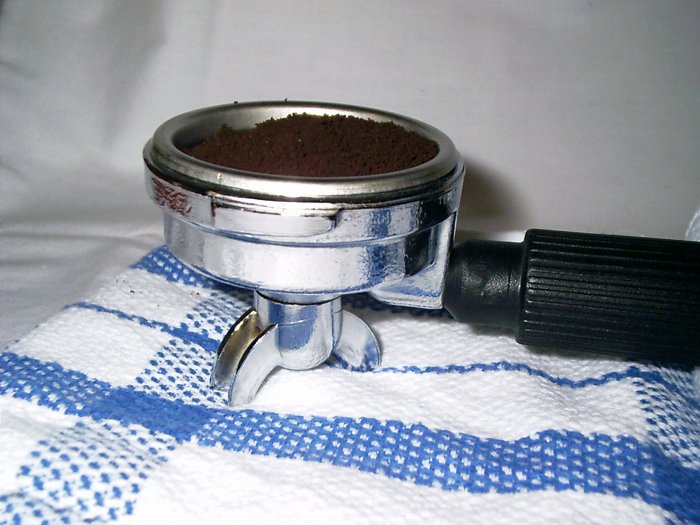
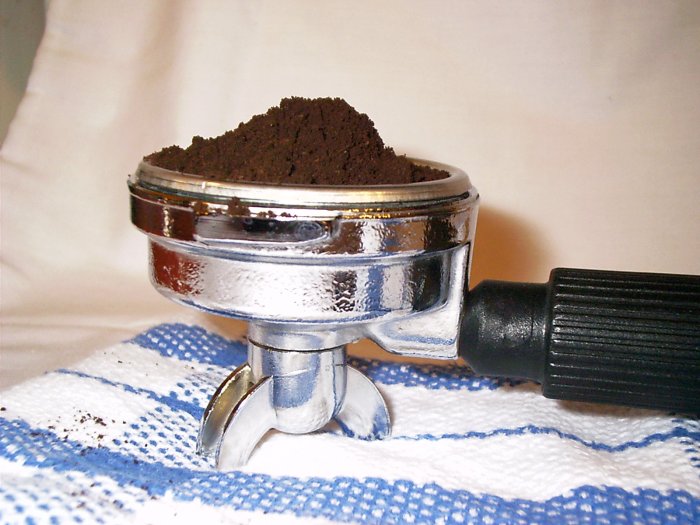
- On a folded towel, rest the pf on its spouts, and prop up the pf handle, so that the basket is level. Pour the grounds into the center of the basket until it is almost overflowing, making a centered, little mountain of ground espresso beans.
- Gently shake the pf back and forth to level the grounds.
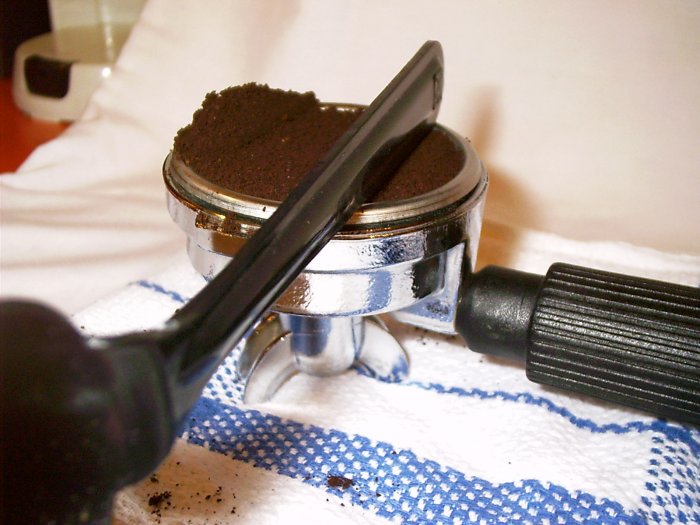
- Pick up the pf by the handle, and gently tap the pf on the cloth towel a couple of three times to settle the grounds, then pour enough of the remaining grounds from the bin, into the pf (doing the centered mountain thing) so that when the mound is levelled off, there will be no voids in the basket. Level the grounds with the top of the basket using a straight edge. The side of the Silvia spoon works great for that. Some people use their slightly bent pinkie finger to do the levelling, leaving a ‘slight’ depression in the center of the pf.
Tamp and Polish:
- Center the tamper on the now leveled grounds, making sure the tamper is level to the basket, and give a good push straight down. How hard? Enough to compress the grounds slightly, but not the 25 -30 pounds of force you’ve (probably) been reading about. The grounds will just start to provide some resistance.
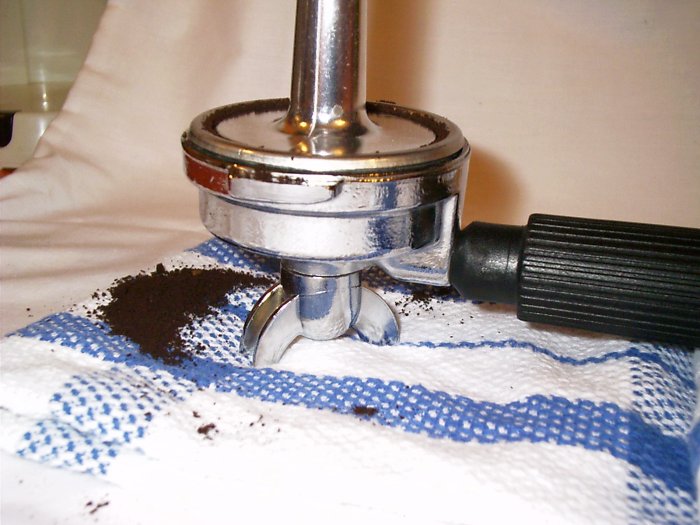
- Then, carefully raise the tamper out of the basket and tap the side of the pf rim (with the opposite side of your tamper) to knock loose the grounds at the edge of the basket that did not get tamped down. For me that is quite a bit, since my tamper is not 58mm. You’ll know how much effort to strike with, when you see them shake loose.
- Now for the final tamp and polish. The trick here (for me) is to get all the grounds that were knocked off the side into the area where my tamper will cover them (maybe a tap on the pf will be needed to move them a bit more toward center).
- Then center the tamper over the basket and tamp harder than before. Just really hard (like you’re trying to squish a bug really flat). You can gauge your pressure by performing this on a bathroom scale and trying to achieve 25-30 pounds of pressure. We’re looking to establish a ‘feel’ for doing this so that it becomes ‘mechanical’. How hard you tamp will be reflected in your shot time. So, tamping does play a roll in the process. Finally, the polish step.
- While pushing down at final tamp pressure, turn your arm clockwise (pivoting at the elbow, like you were turning a screwdriver) to polish the surface of the grounds. Carefully, let go of the tamper, re-position your hand on the tamper and repeat. Done. (These instructions were for using you right hand. If you are a ‘lefty’ go counter-clockwise.)


Observations and Improvements:
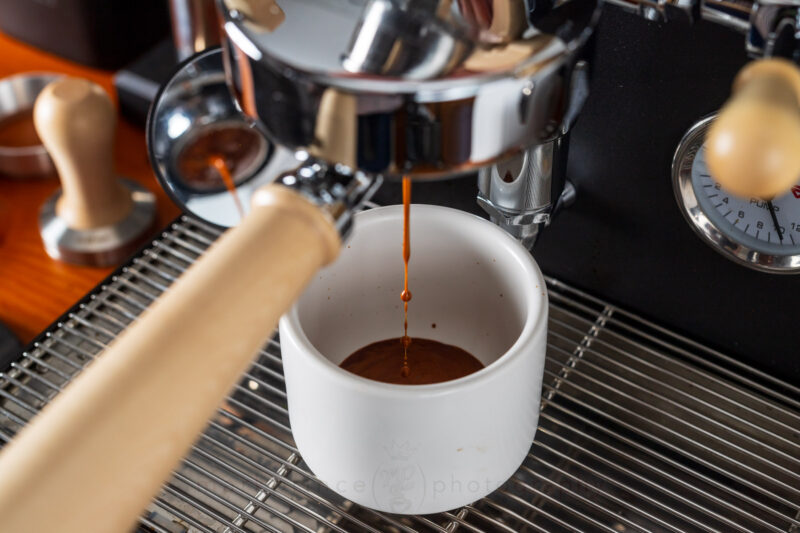
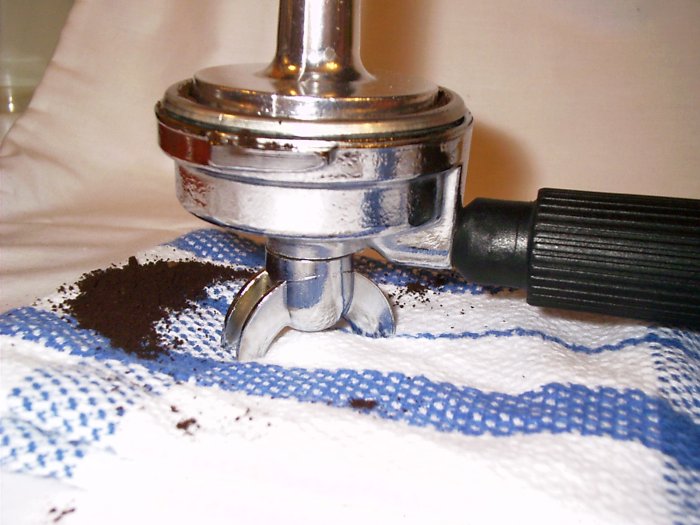
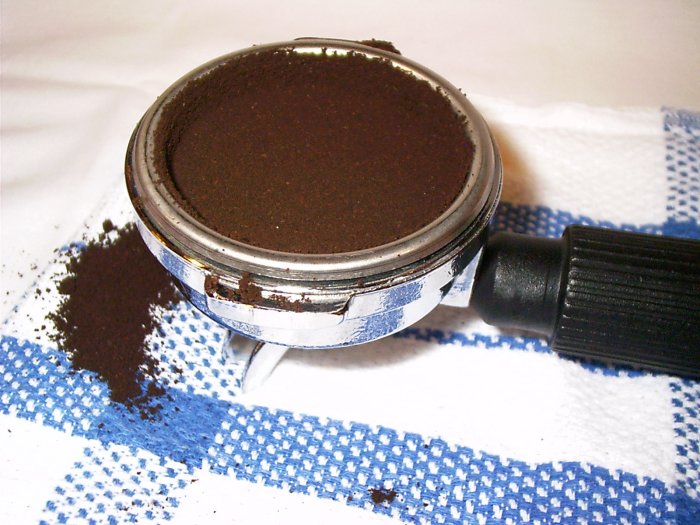
At this point you should have enough grounds in the basket to fill past the indentation in the side of the basket (the one that holds the basket in the pf). When I am done pulling a shot, I always have the impression of the dispersion screen screw-head in the puck.
Since using this method, my pucks have always been hard and dry. I have not had any difficulty locking the pf in place (if you overfill too much, you will have problems). My dispersion screen is always clean (relatively) after the pull, and there is virtually no clean up around the group head, as there had been with my first attempts. Finally, I should say that I am using the La Marzocco double basket, since it was recommended in the newsgroup.
As a slight modification to the above procedure, I am now weighing the amount of grounds before I put them in the pf. I am shooting for 16-17 grams. I weigh the grounds in the Maestro bin. My feeling at this point is that I feel more comfortable knowing that when I can get all 16-17 grams in the portafilter I have the correct amount of coffee. I do admit that there will be controversy over whether weight vs. volume is the correct way to dose. And on occasion I find it difficult to lock the portafilter down. I believe that this is due to my scale being only +/- 2 grams. Find out which way works best for you. For now, I’m happy with mechanical repeatability.
Surf’s up dude:
What is surfing? It is a technique to (roughly) control the temperature of the water just before you throw the ‘brew’ switch. I was trying to have fun. Trying to dose and tamp, and race through warm up was just too much for me in the beginning. Until you get comfortable with the mechanics of ‘the water phase’ of making espresso, here is what I would recommend for the newbie:
- Make sure that there is water in the boiler when you first turn on Silvia. Open the hot water valve, toggle the hot water switch to on. When the water is coming out in a steady stream, the boiler is full, toggle the hot water switch to off. Close the hot water valve.
- Just let Silvia warm up by herself for 45 minutes (at least).
(Then prepare your portafilter and basket) - Open the hot water valve, toggle the hot water switch to on. Dispense water until the boiler light comes on. Simultaneously, (which is close to ‘at the same time’), toggle the hot water switch to off, close the hot water valve, and start a timer (or mark a second hand on a clock).
- When you get to your ideal surf time, toggle the brew switch to make espresso, and start a timer to time the ‘pour’.
I am currently using a 40 second surf time. By using a certain methodology, I recorded 199-204 degrees F. during a 25 second ‘pull’.
(Randy Glass documents Greg Scace’s method more fully here.)