Guides ◦ How Tos

The world's most read coffee and espresso resource

AeroPress Inverted Brew Method

A brewing method developed over 15 years to mimic the cup output of a Clover Coffee Maker
Share this How To

IntroductionAeroPress Inverted Method

We take a certain pride here at CoffeeGeek that for nearly 20 years, our community has invented, developed, or modified a variety of brewing techniques for both new and established coffee makers. For instance, the concept of no-knocking a portafilter was born in our forums back in 2004. In 2006, the subject of this How To, was also born in our forums.

Of course, I’m talking about the Inverted Brewing Method for the AeroPress. The method’s origin story can be found here.

Aeropress Inverted brewing method
Using the AeroPress as an inverted brewer

For the longest time, our How To for the Inverted AeroPress brew was actually a forum thread, one that got a lot of experimentation and evolution as people continued to develop the method. We had a formal How To on the old CoffeeGeek website in 2012, but it wasn’t carried over to this new site. Time to change that, with our latest iteration of this brewing method.

You might find this Inverted AeroPress How To a bit different from most others online. That’s because our goal here is to replicate the best brews produced by a $10,000 (in 2006) Clover coffee maker (NY Times article, we’re including a gift link so you can read it for free). I’ll explain more below.

For this How To, on top of the equipment listed to the right, we’re using an O-Kettle, which unfortunately, we can no longer recommend (they break down, and the company is gone), and just a basic kitchen scale (which is necessary). Of course, we’re also using an AeroPress.

Lastly, a warning: this method has the potential to be dangerous if you’re not paying attention or have haphazardly assembled the AeroPress’ piston to its plunger. You’re dealing with nearly boiling water here, so exercise caution, especially during the “flip”. Please be careful.

Gear and Coffee Used
Subscribe Today
COFFEEGEEKNEWSLETTER
Sign up for the twice-monthly Coffee Pulse Newsletter from CoffeeGeek, with original, exclusive content, prize giveaways, and updates on the newest website content.
Newsletter Signup

Subscribe to
Coffee Pulse

Delivered twice monthly, CoffeeGeek's premier newsletter dives into a specific coffee topic each issue. The Pulse also occasionally features contests and giveaways. Subscribing is free, and your personal information is never shared.


By submitting this form, you are consenting to receive marketing emails from: CoffeeGeek. You can revoke your consent to receive emails at any time by using the SafeUnsubscribe® link, found at the bottom of every email. Emails are serviced by Constant Contact
RANCILIO SILVIA PRO X
redefining a classic
dual boilers, pid, preinfusion and more

Get it at
1st in Coffee

CoffeeGeek's
preferred
vendor for
all things
Rancilio

Step by StepGuide

How to Brew the Inverted Method with an AeroPress

Can you believe, cafes once paid over $10,000 to purchase a machine that brews coffee with a very similar method to this, producing very similar results in the cup. You can do it easily with a $35 brewer, a good grinder, and a normal water kettle and kitchen scale! This is a very fast brew process that takes about 90 seconds from first water pour to plunging out the coffee. Here we go.

aeropressinverted-1.jpg

Time Needed: 2 minutes

Equipment Cost $ 175

Necessary Supplies

Fresh Roasted Coffee
Filtered Water

Necessary Tools

AeroPress ($35)
Quality Burr Grinder ($99 minimum)
AeroPress Metal Filter ($12)
Kettle ($15 minimum)
Kitchen Scale ($15 minimum)
Stirring Spoon

Inverted AeroPress Brew Steps

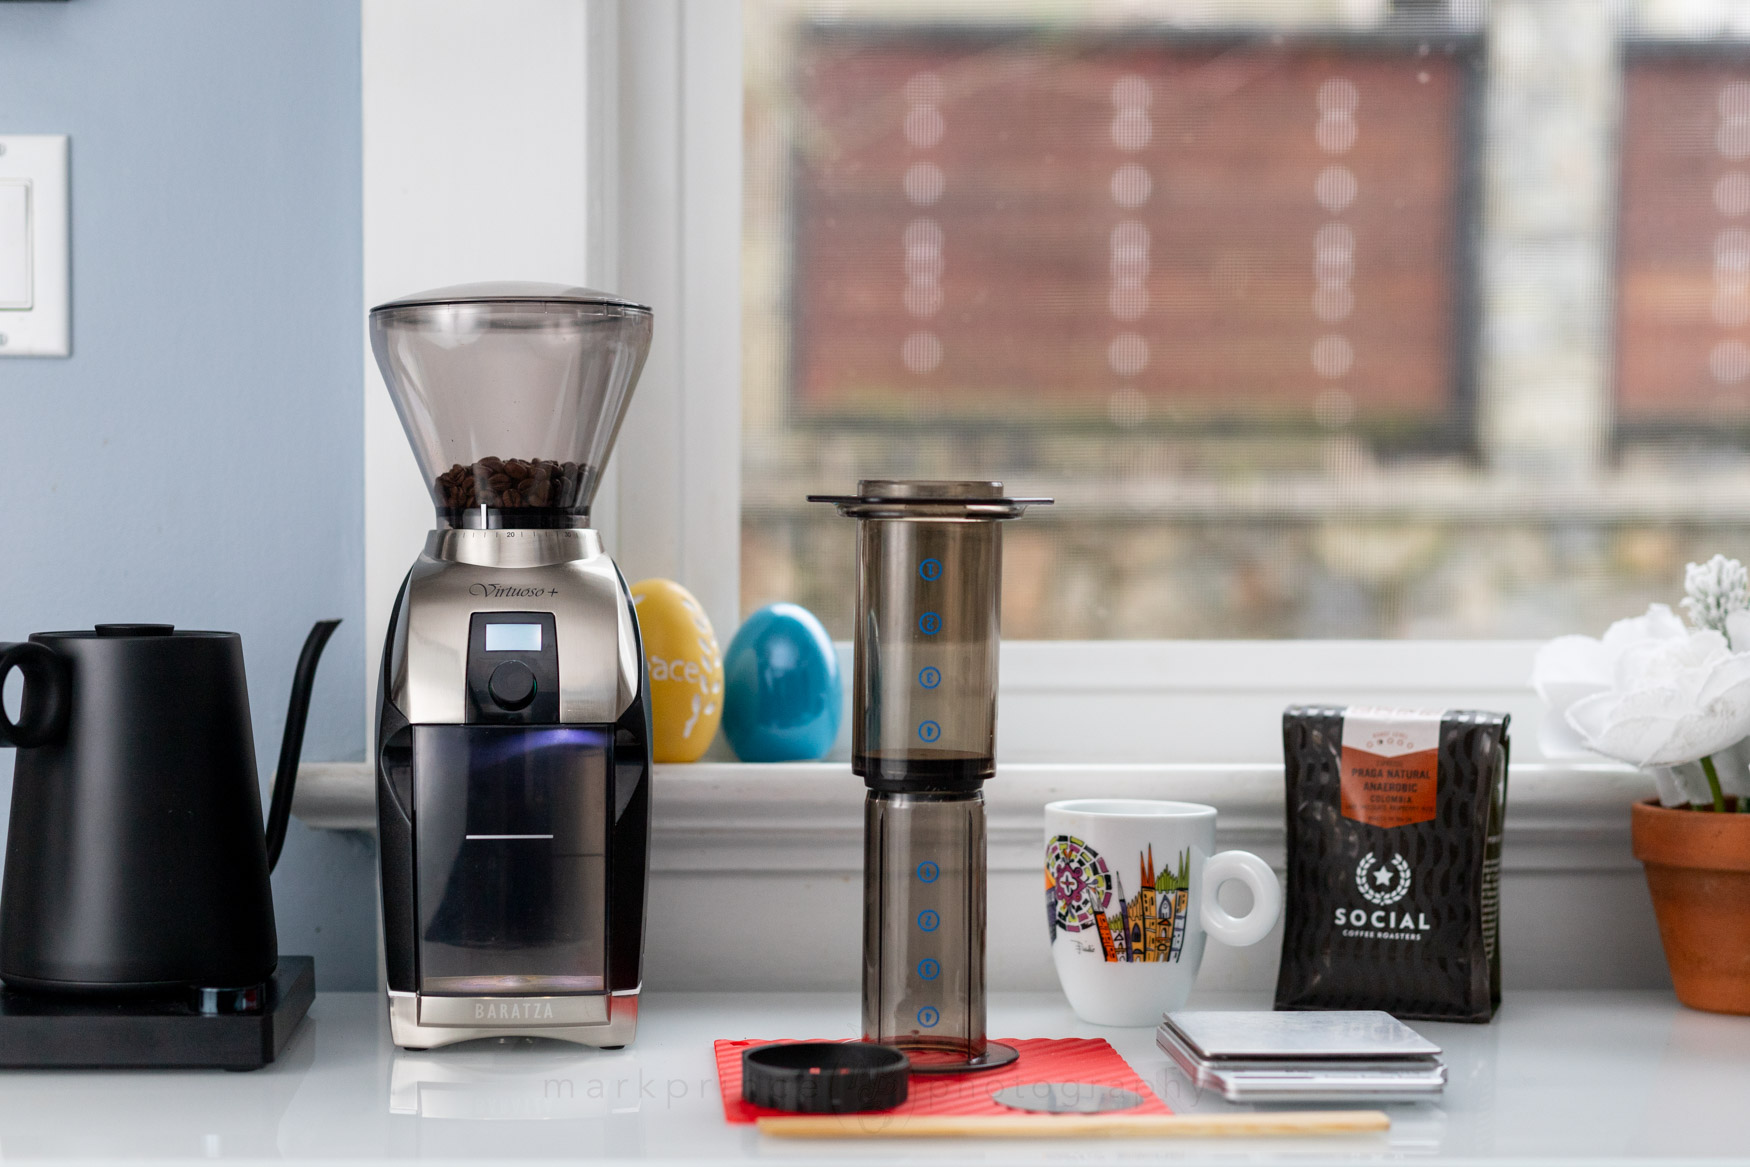
Arrange your Equipment

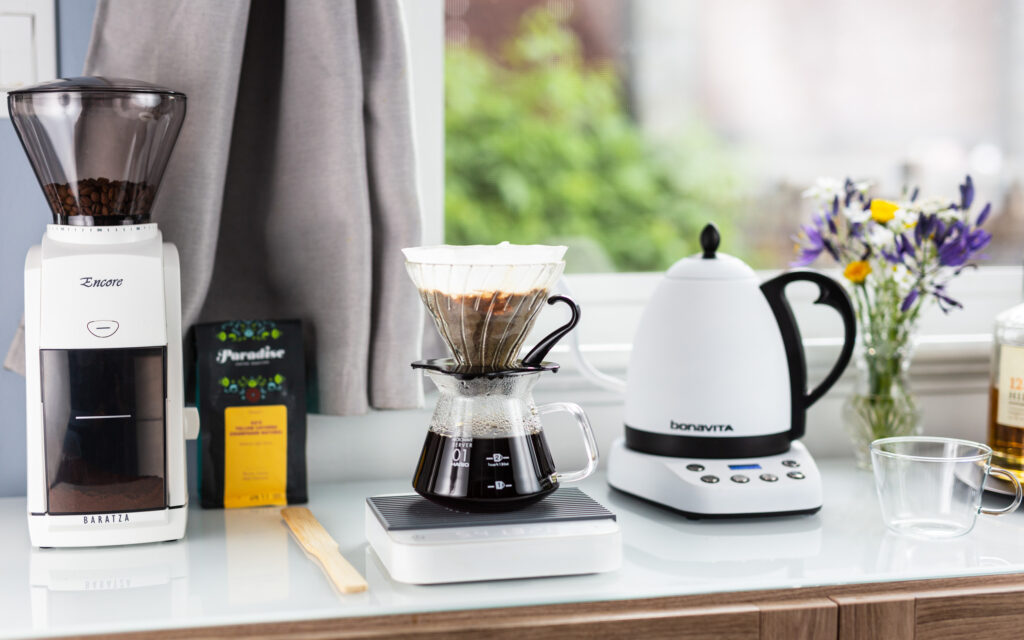
Arrange all your equipment and coffee together, as this is a fluid process and having everything at hand helps make a better cup. You’ll need the AeroPress brewer, a coffee grinder, a stirring stick of some sorts (it could be a wooden spoon handle, or a dedicated siphon stirring paddle made out of bamboo), an inexpensive kitchen scale (bonus if it reads down to .1g), a kettle, a mug, and your coffee.

invertedpresssteps-1.jpg

Fire Up the Kettle

Fire up the kettle; if its temperature controlled, set it high, around 208-210F; if not, just let it get to boiling and turn off the heat.

InvertedStep2PS.jpg

Assemble AeroPress

Assemble the AeroPress. Take the plunger and insert it into the AeroPress piston just shy of 1cm into the piston, making sure it is perfectly lined up. If you have a scale, place the AeroPress on it, with the piston side down, or “upside down”.

invertedpresssteps-3.jpg

Measure & Grind Coffee

Measure and grind the coffee. For this method, which is close to mimicking the output of a Clover brewer, we’re not going to grind as fine as some AeroPress brews (we’ll explain more below). The grind is a normal drip brew grind, around 750 microns. The dose is 21g which might seem a bit high, but again, we’ll get to the whys below. If you can’t measure by weight, 3 slightly rounded tablespoons is around 21g.

invertedstepsgrinding.jpg

Place AeroPress on Scale

Place the AeroPress on the scale inverted, and zero (tare) the scale back to zero.

invertedpresssteps-5.jpg

Add Ground Coffee

Add the coffee to the inverted, extended AeroPress, confirming 21g of coffee has been used. Once again, zero out the scale by hitting the tare button.

invertedpresssteps-6.jpg

Pour in 100ml of Water

With your kettle fresh off the boil, or holding at 208F, pour about 100g of water into the inverted plunger.

Your extraction timer clock of 90 seconds starts as soon as you start pouring. Time: 10 seconds

scaleview100g.jpg

Bloom, then Stir

Allow a slight bloom to form, but within 5 or 10 seconds of pouring, take your stir stick and give a few stirs to the slurry inside the inverted AeroPress, ensuring all the coffee has been mixed with the heated water. Time: 25 seconds

invertedpresssteps-9.jpg

Pour Water to 200ml

Continue pouring hot water into the inverted AeroPress until you get to around 225g total water weight. Time: 40 seconds

scaleview200g.jpg

Two More Stirs

Do two more stirs of the slurry, being careful not to overflow the top. Time: 50 seconds

invertedpresssteps-11.jpg

Top Off Brew Chamber

Add another 40-50g of water if possible (super fresh coffees may bloom too much), filling the brew chamber to as close to the rim as you can. Time: 55 seconds

invertedpresssteps-12.jpg

Attach Filter and Holder

Attach the metal filter and black filter holder to the top of inverted AeroPress, making sure it is screwed on tight. Be very careful at this point with hot water and accidentally knocking the plunger and piston apart. Time: 65 seconds

invertedpresssteps-14.jpg

Position Mug

Place your mug on top of the inverted AeroPress. Time, 70 seconds

invertedpresssteps-15.jpg

Flip Brewer and Mug

Very, very carefully, supporting both the mug and the brewer, holding it at the juncture where the plunger sits into the piston, flip everything over so the AeroPress is now sitting on the coffee mug. Time, 75 seconds.

invertedpresssteps-17.jpg

Pause, Then Press on AeroPress Plunger

Wait 5-10 seconds, and begin plunging down on the AeroPress, to extract the brewed coffee. Use a smooth, continual movement; because of the ground fineness, it should press very smoothly, without excess resistance. Time 85 seconds

invertedpresssteps-19.jpg

Brew is Completed

Once you hear air being pushed through the bed of coffee inside the Aeropress, stop, The brew is completed. Time: 90-100 seconds.
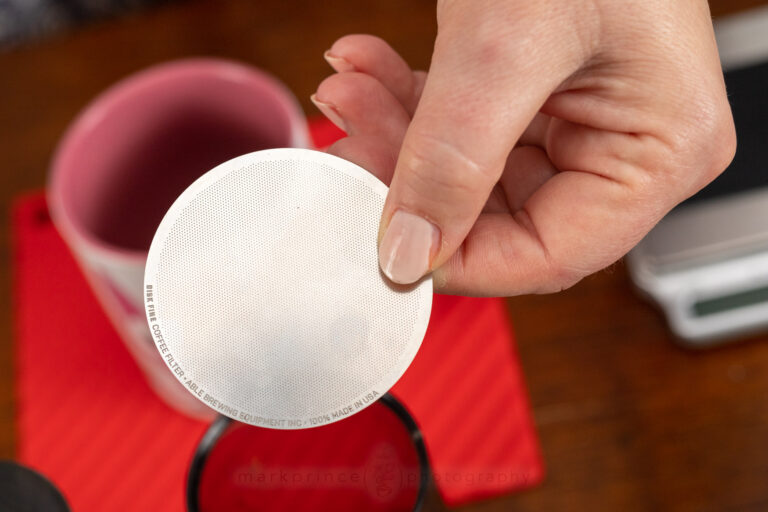
invertedpresssteps-22.jpg

Inverted AeroPressDoses, Grind Levels, Brew Times

If you’ve read other AeroPress inverted guides, you’ll find most of them are quite different from this one. Most use smaller doses of coffee (as low as 15g for a 250ml brew), and most use the same identical AeroPress grind you’d use for a normal flow through brewing of the AeroPress.

The latter – the identical grind to a standard Aeropress brew – is where many are making a mistake. One of the reasons for going finer on the AeroPress is to restrict the flow through some what during the initial stages of the brewing process. If you brew inverted, you don’t have to worry about that.

The former is a much bigger point of contention: the dose used. We use 21g for the dose in our Inverted AeroPress method, with a coarser grind. This is for two reasons.

The first is, ours is a very fast brew time, which requires a larger dose to get the same kind of extraction you’d typically get from a 2 to 2.5 minute inverted brew with the AeroPress.

The second is because the coarser grind has less extraction ability (including a lesser chance of extracting excessive bitters) than the much finer grinds used for normal AeroPress brewing, so we’ve upped the dose to compensate.

Mimicking the Clover

There’s also a third reason. The Inverted Brewing method for the AeroPress came about partially as a way to clone the coffee output of a $10,000 on demand commercial coffee shop brewer, with a $30 plastic device. (you can read a lot more about that here). We’re talking about the Clover Coffee Maker.

In the Clover’s heyday, it was touted as a 90 second brewer on demand, and to do so, it used up to 2x the normal dose per 100ml brewed (12g) of coffee compared to other brewing methods. Yup, a 300ml cup from a Clover used 36g of coffee. And I know of some shops that used as much as 45g of coffee for that cup!

The thing is, the Clover presented a very new style of coffee. Some found it too weak, but many found it unveiled new and more delicate flavours in coffee.

Our Inverted Method for the Aeropress really does try to clone and replicate that brewing output. We don’t go to 2x dose levels that the Clover operators did, but through trial and error and a lot of tasting, we did come up with the 21g dose, the more “normal” pour over grind, and the very specific pours, stirs, pours, stirs and top off steps outlined above.

The timing is also crucial, but I do admit it’s also an attempt to say “yeah Clover, you claim 90 seconds? We got some 90 seconds too with this plastic toy here!” Though the reasons for the 90 second process were competitive in nature, it turned out to be a pretty good benchmark for delivering the type of cup that was pursued.

That said, this is another area you should feel absolutely free in playing around with as you develop your own AeroPress Inverted brewing technique.

Inverted AeroPressFilters, Temperatures, Taste

To get the absolute most out of this brewing method, a metal filter, like the Able Brewing DISK Fine, or AeroPress’ own metal filter, is a must. The Clover used a very complex metal filter system, and I believe paper blocks too many of the delicate flavours this brewing method can provide. Normally at this point I would be typing “… however, if you don’t have a metal filter, you can make do with paper…” but that’s not the case here.

On Temperatures

A crazy amount of thought, practice, and trial and error went into this, with this specific brewing method, and we’ve found over the years that just off boil works great for the Inverted AeroPress Method. But why is that?

When Alan Adler invented the AeroPress, he recommended 175F as the brewing temperature. We did find out early on he was using extremely dark roast coffees, and if you’re a CoffeeGeek worth your espresso machine, you know the darker the roast, the cooler the brewing temperatures. Still, 175F is pretty low.

In researching this updated guide, I’ve read about a dozen Inverted AeroPress guides online, and it seems one person, somewhere, said 90C water temperatures (194F), and many of the other guides just went with that number. But it’s a bad number, at least for our method and the brewing device.

First, the most optimal temperature for coffee extraction, according to the Specialty Coffee Association, is around 200F. Higher for lighter roasts, lower for darker roasts, so a range around 196F to 204F. Second, when you add hot water to an inverted AeroPress, a lot of that initial water temperature energy is eaten up by the room temperature grinds, the insulating plastic, and the exposed open top. Third, it’s small volumes of water – less than 250ml total – added in stages.

Based on these three things, we’ve settled on a starting temperature of at least 208F in a temperature controlled kettle, or “just off boil” with a normal kettle. I’ve run very expensive Fluke thermoprobes in the slurry to verify this, but even just off the boil, the water temperature inside the coffee slurry never gets higher than 201F, and that’s usually by the time 200ml is inside the AeroPress.

By contrast, we’ve tried tests starting with 200F water in a kettle, and noted the brewing temperatures inside the AeroPress are around 185F-190F at peak. Given the very fast brewing times, this isn’t good enough. You want absolutely optimal – in the brewing chamber – for almost all the brew.

So definitely start with hotter water – even water just off the boil – if you want to get to that Clover cup experience. Speaking of which.

The Cup Taste

The goal of this specific Inverted AeroPress method is to produce the absolute best cup qualities the Clover did during its heyday: a lighter coffee showcasing more delicate and fleeting flavours no other brewing method could provide.

This is why we use 21g of coffee, hotter starting water, and very precise pours, stirs, pours, more stirs, and top offs. It’s also why the 90 second timeline works.

One thing I discovered through this 15 year ongoing process is, this method – much like the Clover – left behind bitters that most other brewing methods and devices would extract. It did this at the sacrifice of some body, additional texture and so-called “balance”, providing a lighter cup of coffee. But the aromas are enticing, and the nuance of the cup can be absolutely spectacular. You might very well taste things from a coffee bean that you won’t taste using any other brewing method.

Other Inverted AeroPress brewing methods seek out TDS levels comparable to V60 brews or ideal 1.17 ratios. But we’re not trying to get maximum extraction or mimic the V60 with this brewing method.

We’re trying to brew something unique and memorable. Give it a try yourself!

Support CoffeeGeek

If you enjoy and learn from this resource, please consider making a one time or recurring donation to help support our work and fund purchases for future reviews.

Donate
donate via Paypal
Revisions to this How To Guide

This is the fifth version of this How To Guide. The original was posted as a long forum thread on the old CoffeeGeek forums in 2007. The first formal version of this How To was published in 2012 on CoffeeGeek, and updated twice in the 2010s.

The most recent revision of this How To saw it completely re-written with new photography for all the steps, and some updates in the instructions. We also noted our method varied — sometimes quite a bit — from other published versions of this guide, so these differences are explained.

if you liked this how to, please consider
sharing it on one of these platforms; it helps us greatly!
How To Use a Hario V60 Pour Over
March 25, 2024

CoffeeGeek’s in depth how to on the Hario V60 brewing system, with its patented ribbed filter holder and conical filters. Updated for 2024.

Read the Review
Best Budget Coffee Grinders for 2024
April 16, 2024

Looking for a coffee grinder on a budget? Check out our fully tested and reviewed best of the best coffee grinders offering great value.

Read the Review
The companies that make this website possible

CoffeeGeekSponsors