

Hey there, coffee champ! First off, congrats on the new espresso machine! You’re so going to enjoy the new journey you’ve set up for yourself and your home.
You’re about to dive into a whole new world of brewing magic with your shiny new gear. To make sure you’re crushing it from day one, here are ten essential steps to get you set up and brewing like a pro. But before you even finish unpacking, I’m gonna say it: break the habit of skipping the manual. Yep, actually read it.
The manual’s got all the tea (or, should I say, coffee?) on how to use your specific machine safely and like a total boss. Brands like Breville, De’Longhi, and others pour a ton of time and brainpower into these guides to answer every “wait, what’s this for?” question you didn’t even know you had.
I know “read the manual” is something your Mom would say, but trust me, a quick read now means fewer headaches later. You’ll unlock tips that make your machine feel less intimidating and way more intuitive. So even before unpacking your new kit, grab a coffee made with your existing brewing method, and skim through those pages—you’ve got this!
Once you’re armed with this newfound knowledge, let’s really get into the steps.
Feature Guide Information
This is the original version of this guide, written during the Christmas holiday period of 2024.
Subscribe to
Coffee Pulse
Join the 12,850 other coffee lovers who receive CoffeeGeek's premier newsletter. Each issue dives deep into one coffee or espresso based subject. Subscribing is free, and your personal information is never shared.
By submitting this form, you are consenting to receive marketing emails from: CoffeeGeek. You can revoke your consent to receive emails at any time by using the SafeUnsubscribe® link, found at the bottom of every email. Emails are serviced by Constant Contact
The StepsFor Your New Espresso Machine
Here’s the 10 essential steps to getting the most out of your new espresso machine. Each one is presented in order, but feel free to jump to the specific step you might be focused on.
-
Initial Cleaning / Setup
When unpacking an espresso machine, a good wipedown and setup on your counter is key.
-
Start Up Procedures
This complex piece of machinery needs an initial setup to function properly.
-
Season Grinder Burrs
All coffee grinders need a seasoning process, to get them to peak production.
-
Master Dosing, Levelling and Tamping
Here's where you start to get really hands on with the espresso process.
-
Adjust the Grind Size
Your chance to fine tune and tweak espresso output to peak quality.
-
Coffee Bean Choices
New machine? Time to seek out new beans to use. Grocery store brands are passè.
-
Extract and Evaluate
Learn basic espresso shot evaluation skills to improve the beverage.
-
Steam Milk Like a Pro
Time to find out what this whole "microfoam" thing is about.
-
Clean Machine Regularly
A true secret to great espresso is keeping your gear sparkly, inside and out.
-
Practice and Enjoy
In the case of espresso, the axiom "practice makes perfect" is very true.

Tip 1Initial Cleaning and Setup
Before pulling your first shot on your new espresso machine, it’s key to give it a solid clean. This clears out any manufacturing or shipping residue, so your espresso tastes perfect right from the git-go.
- Wipe Down: Grab a clean, damp cloth and give the machine’s exterior and all removable parts a good wipe-down.
- Rinse: Rinse anything that touches water—like the water tank, portafilter, and drip tray—to get rid of any lingering dust or debris. A lot of these machines get coated in the manufacturing plant… stuff… flowing around in the air, and you don’t want that in your cup.
- Water Filter: If your machine comes with a water filter, pre-soak it following the manual’s instructions. This clears out impurities and preps the filter for action. And always, always use filtered water for your espresso. Filtered water keeps any funky impurities out and ensures your coffee tastes clean, balanced, and absolutely delicious. If you’re looking for an external pitcher system, we love the BWT models that swap out calcium for magnesium.
Rinse Out Drip Tray
The drip tray also can stand a good cleaning with soapy water and a rinse afterwards.
Wipe Down Machine Body
We’ve seen plenty of new machines with a coating of dust or styrofoam bits, and wiping down the machine body before first use is always a good idea.

Tip 2Initial Start-Up Procedures
Every mechanical device needs a proper first start-up.
Car makers, for example, follow super strict procedures when firing up a car fresh off the assembly line. Even after that, the manual tells you to take it easy and keep below a certain speed for the first 500 miles. Fun fact: did you know a refrigerator needs to sit upright for up to 24 hours before you plug it in? That gives the compressor oil time to settle. Same goes for air conditioners. Oh, and gas BBQs? You need to crank them up to high heat first to burn off any factory coatings or residues.
Espresso machines are no different—they’ve got their own start-up routine. It’s almost always outlined in the machine’s manual (you did skim the manual, right?). Here are the go-to first-use steps for most modern, pump-driven espresso machines:
- Fill the Water Tank: Make sure the tank is topped up with fresh, cold water to the proper level.
- Power On: Switch on the machine and give it time to heat up. Depending on the model, this could take a few minutes.
- Prime the Pump: Some machines need the pump primed to get water flowing smoothly through the system. It could involve activating various switches in a specific order (brew switch, hot water switch, steam switch, etc). Other machines will go through an auto-prime routine, built into the machine’s electronics and computer controls, as soon as you power on the machine for the first time. Check the manual for the exact steps.
- Flush the Group Head: Run several blank shots (no coffee) to clear out any factory residue or stale water hanging out in the group head.
Fill the water tank
With the (optional) water filter prepped and inserted, fill the water tank for your first use of the machine.
Power Up the Machine
Some machines don’t have power buttons (like this Bambino Plus; any button wakes it from sleep), but most do. Power it on to get things going.
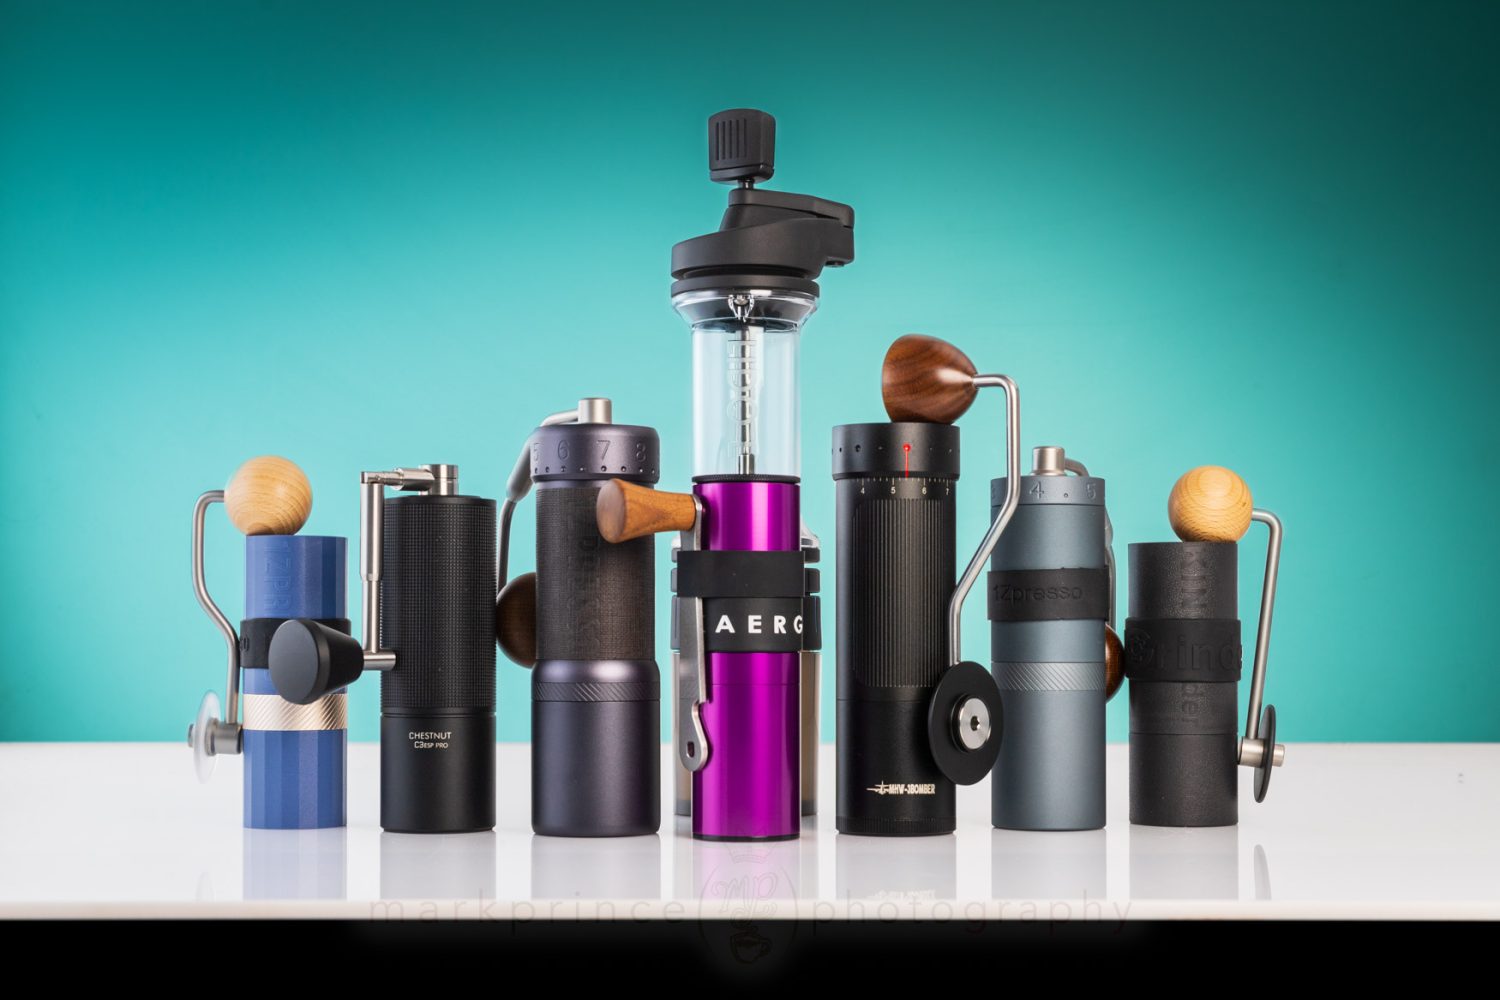
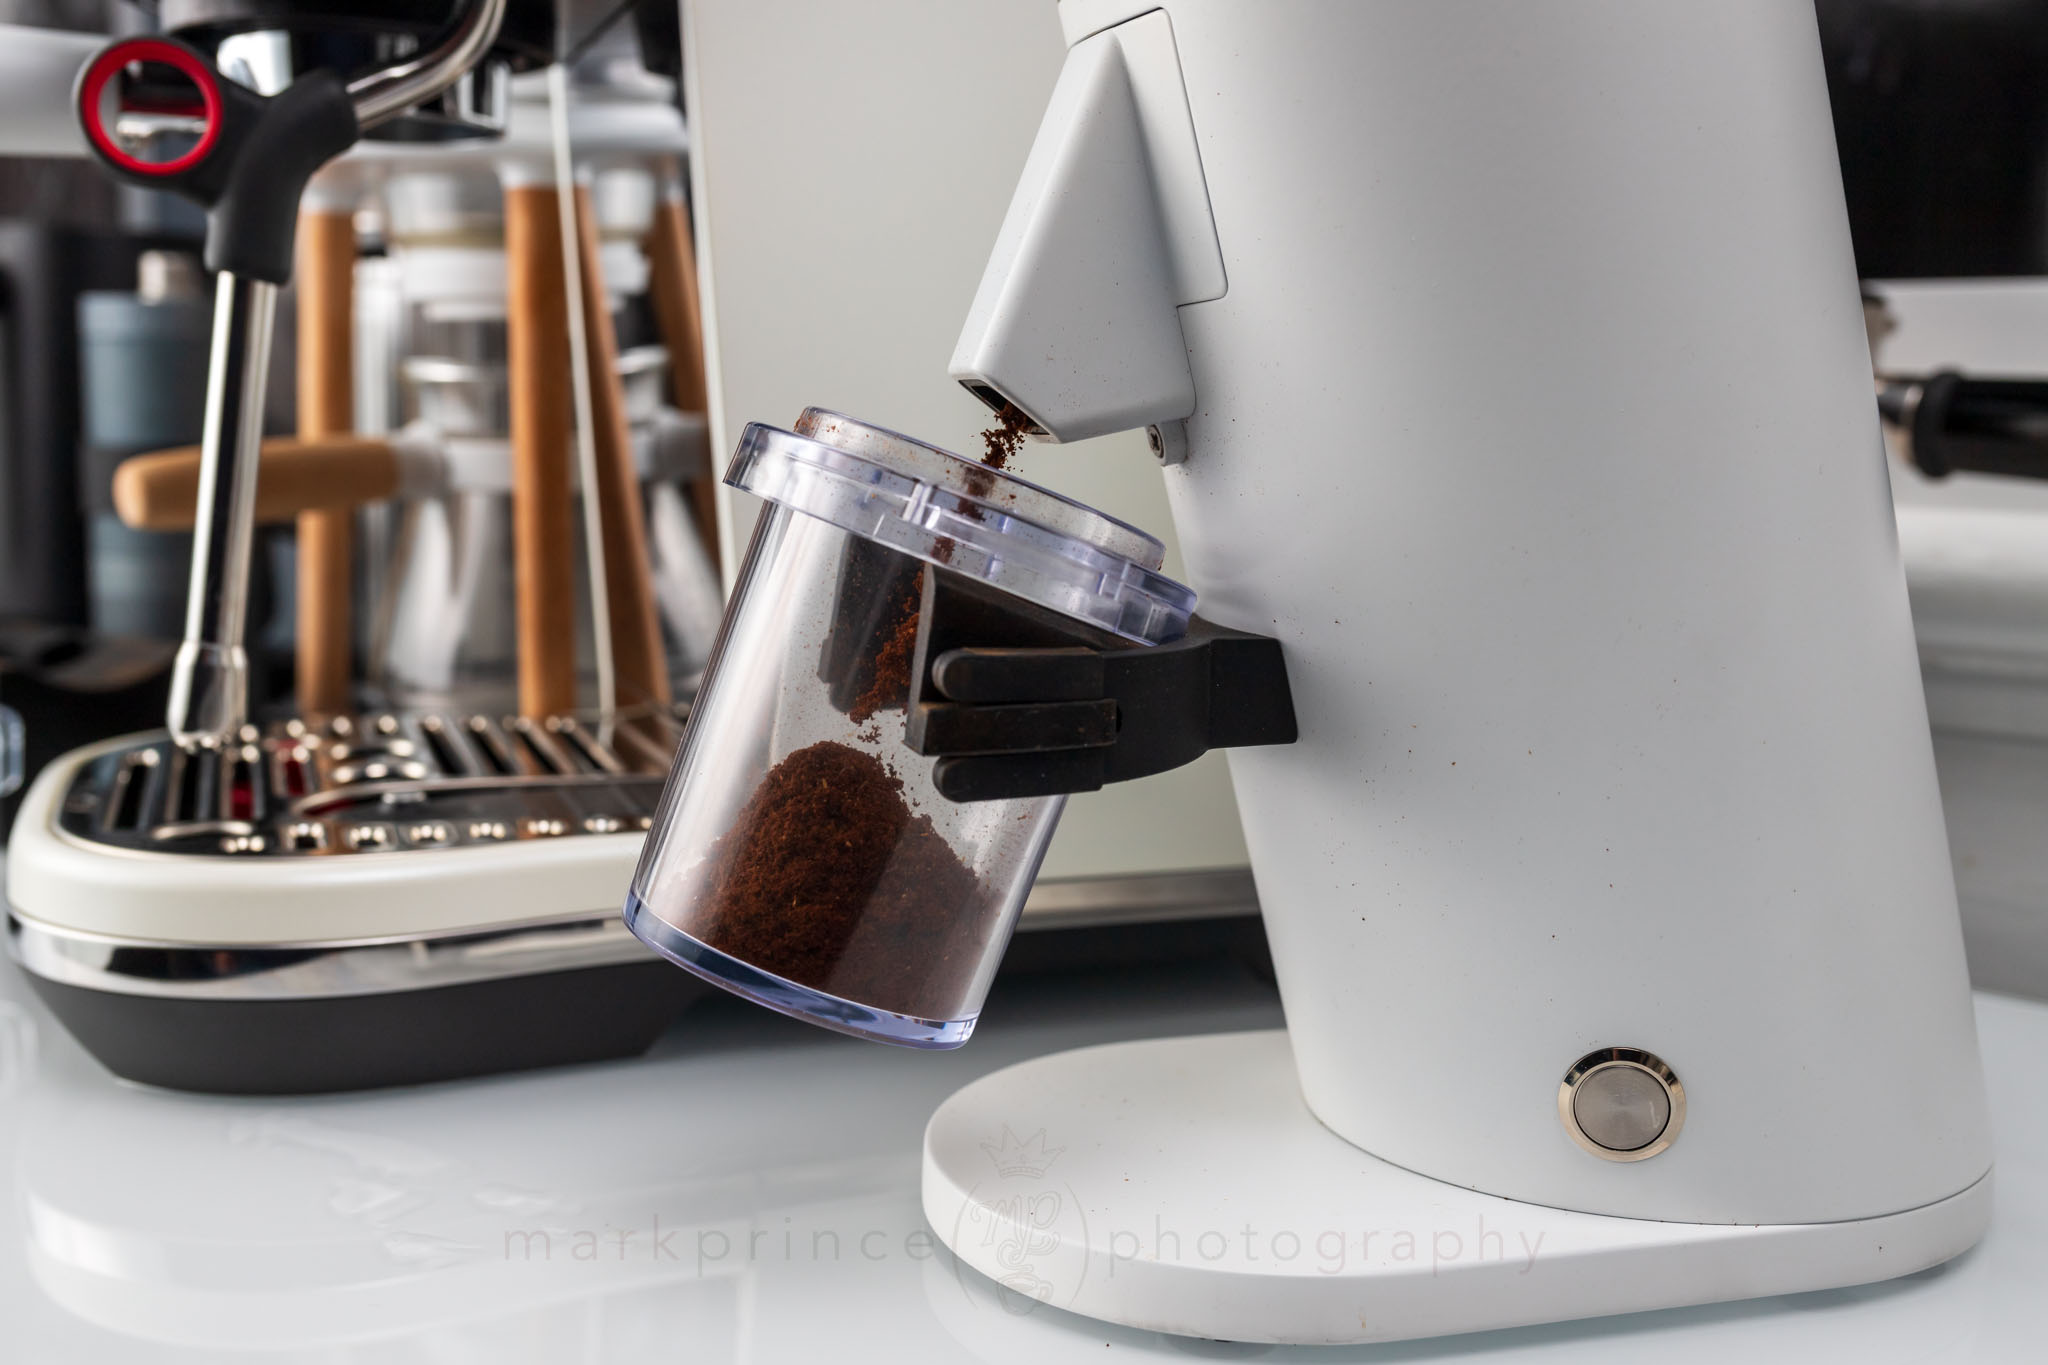
Tip 3Season the Grinder Burrs
Got a new grinder or did one come built into the espresso machine? Time to season those burrs! The process depends on whether you’ve got conical burrs or flat burrs, but either way, you’ll need a stash of stale coffee beans—at least a couple of pounds for conical burrs and double that for flat burrs.
If you’ve got an espresso machine with a built-in grinder, it’s most likely rocking conical burrs. In that case, running 1–2 pounds of coffee through should get the burrs consistent enough to start producing solid grinds. Flat burr grinders are a bit needier: you’re looking at 3–5 pounds minimum for proper initial seasoning. Sure, you can use the grinder fresh out of the box, but trust me, after seasoning, you’ll notice way better consistency in grind size, which means better-tasting espresso.
Wait, what’s “seasoning” anyway?
When burrs are manufactured, the casting and machining process leaves behind tiny imperfections. Running coffee through the grinder smooths out these surfaces, evening out the cutting edges. This improves grind consistency and makes the espresso taste better. It also makes pulling consistent shots back to back a lot easier..
Here are a few tips to nail the seasoning process:
- Use Stale Beans: Don’t waste the good stuff—opt for cheap, stale beans. Pro tip: check with local cafes or roasters; they might sell old stock at a discount.
- Start Coarse: Begin with a coarse grind setting and gradually go finer as you work through the first few pounds.
- Don’t Overheat: Run the grinder in short bursts (under a minute) to avoid overheating the motor. Let it rest between runs if needed.
Take the time to season your grinder, and you’ll be rewarded with better consistency and next-level espresso flavor. It’s a little effort up front that pays off big time in your cup!

Tip 4Master Dosing, Levelling and Tamping
Making espresso is all about balancing the art and science. Nailing the basics of dosing, leveling, and tamping is how you turn “meh” shots into pure gold. Remember: always use fresh beans (within 20 days of roasting) and grind right before brewing.
Let’s break it down step by step, with all the deets you need to crush it every time.
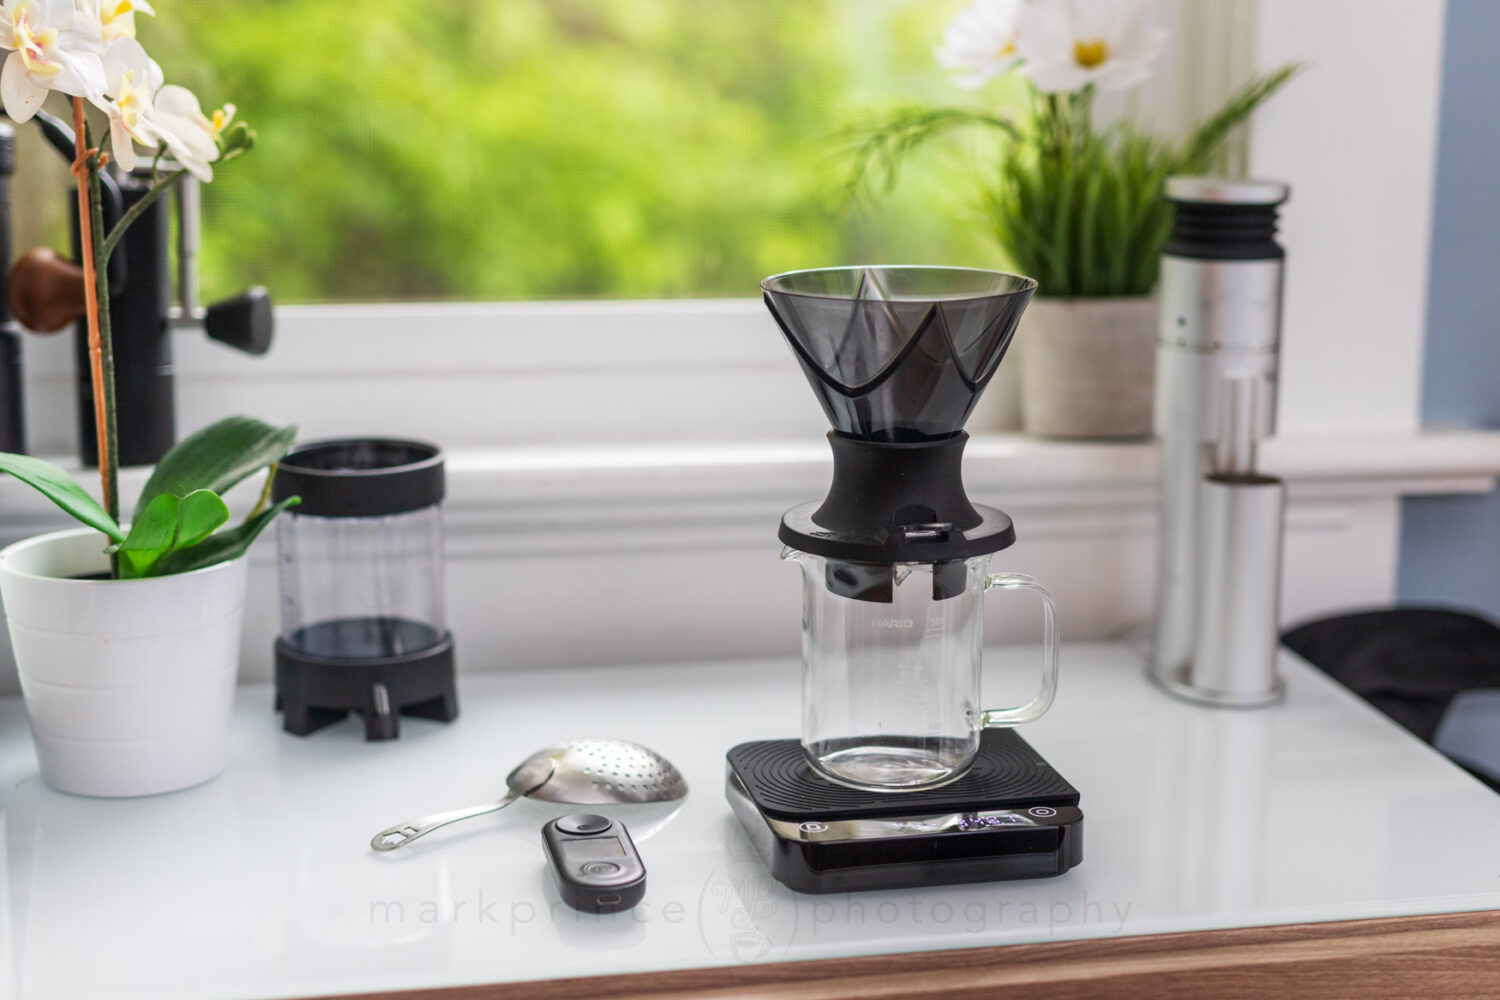
Dosing the Coffee
Dosing is all about getting the right amount of coffee into your portafilter. Too much or too little, and you’ll be fighting an uphill battle for good extraction. This is typically where most guides will say “get a scale!”, and while getting a good espresso-focused scale is an excellent idea, you can at least start off by using a tablespoon to measure things.
Because here’s a little secret that’s pretty consistent: a slightly rounded tablespoon of ground coffee is 7 grams of coffee, give or take .2g. We’ve run this test literally hundreds of times and it always comes out to between 6.8g and 7.2g for a slightly rounded measurement.
With that as your basis, here’s some starting points for doses to aim for:
- 54mm portafilter, double basket: 17 to 17.5g
- 57mm portafilter, double basket: 17.5 to 18g
- 58mm portafilter, stock double basket: 18 to 18.5g
- 58mm portafilter, aftermarket basket: basket’s recommended size.
Always keep in mind that the dosing weight is not the first thing you’d adjust if your shot pull doesn’t look great, or runs too fast: you will want to adjust your grinder’s grind settings, but we’ll get to that later.
Levelling the Coffee
Uneven grounds mean uneven extraction, which is espresso’s worst enemy. Proper leveling fixes this.
- Use a Leveling Tool: A distributor or WDT tool is ideal for breaking up clumps and smoothing out the grounds. You can even DIY one with a cork and some sewing needles.
- Finger Swipe: No fancy tool? No problem. Smooth the grounds with your finger like you’re frosting a cake.
- Double Check: Ensure grounds reach the edges of the basket. Gaps lead to water channeling, aka uneven flow that ruins shots.
Pro Tip: Tap the portafilter gently on the counter to settle clumps before tamping.
Tamping the Coffee
Tamping is where you lock everything in place. A good tamp ensures water flows evenly through the puck, extracting all those flavors you expect from a good espresso. Here’s a bit more information:
- Upgrade Your Tamper: Your machine’s tamper will be okay for your start on this journey, but a well-built metal one (or a spring-loaded auto-leveling tamper) should be one of your first upgrades. Many well made ones can be had for between $25 and $45.
- Perfect Technique: Hold the tamper steady, place it flat, and press firmly (around 30 pounds of force). No need to Hulk-smash it—steady and controlled wins here.
- Stay Level: Keep your tamp even to avoid channeling. Let your forefinger and thumb lightly feel the portafilter edges while tamping to check if it’s level.
- Polish for Style: Give the tamper a light twist at the end for that pro finish.
Pro Tip: Resist the urge to over-tamp. A super hard tamp doesn’t make up for uneven grounds and can lead to over-extraction, which means bitter coffee.
Tip 5Adjust Grind Size
Grind size is everything when it comes to espresso extraction. If it’s too coarse, water zips through the coffee puck, leaving you with weak, sour espresso. Too fine? The water struggles to get through, creating a bitter, over-extracted mess that might even taste burnt. Here’s some tips to stay on top of.
- Use the Recommended Grind: Your machine’s manual (you read it, right?) will likely have a recommended grind setting. Start there if you’re using a built-in grinder. For standalone grinders, look up the recommended settings online for espresso. These starting points will save you a ton of guesswork.
- Extraction Time is Key: While 25–30 seconds is the standard guideline, your sweet spot might vary depending on your beans, dose, and personal taste. Pay attention to how the espresso flows and tastes—this will guide your adjustments.
- Shot Running Too Fast? Tighten up the grind (finer) while keeping the same coffee dose.
- Shot Taking Forever? Loosen up the grind (coarser) and stick with the same dose.

Tip 6Experiment with Coffee Beans
New machine? Why not think of new coffees too! And better coffee, because after all, you’re worth it. Different beans have unique flavor profiles, and finding your favorites is part of the espresso journey. Shop around local, or try a subscription / exploration service online (we like Beanz around here). Just stay away from the Costco aisle with the 2.5kg bags of coffee.
- Try Single-Origin Beans: Start with single-origin beans to experience the distinct characteristics of a specific region. For example, try a single-origin Ethiopian Yirgacheffe for a bright and floral espresso, or a Sumatran Mandheling for an earthy and full-bodied experience.
- Experiment with Blends: Explore blends that combine different beans for a balanced flavor.
- Consider Roast Level: Experiment with different roast levels, from light roasts with delicate acidity to darker roasts with bold and smoky flavors, which often work excelente with steamed milk.
- Different Beans Grind Differently: Something to keep in mind – once you change the beans in your grinder, you might have to also adjust the grind again to find your espresso sweet spot.

Tip 7Extract and Evaluate the Espresso
Once you have dialed in your grind size and chosen your beans, it’s time to pull the first shots and put your evaluation cap on.
Evaluating a shot of espresso might feel intimidating at first, but it’s easier than you think once you know what to look for. Start with the visual cues. A good shot should have a rich, golden crema on top—like a velvety, nutty brown foam cap. If it’s pale or non-existent, your coffee might be under-extracted, or the coffee is too stale. On the flip side, dark and bubbly crema can mean over-extraction, or the coffee is actually too fresh! (for espresso, try using coffee that’s at least 5 days old after roasting). It’s all about balance, so don’t stress if it’s not perfect right away; practice makes progress.
Next, take a sip and pay attention to the flavor. A balanced espresso has a mix of sweetness, acidity, and bitterness. If it tastes sour or sharp, it’s likely under-extracted, which means you might need a finer grind or a longer brew time. Bitter or burnt notes? That’s over-extraction, and you’ll want to dial the grind coarser or shorten the brew time. Let your taste buds guide you—espresso is as much about personal preference as it is about technique.
Lastly, check the texture. Espresso should feel thick and velvety, not watery or thin. If it lacks body, that’s another sign of under-extraction. Remember, every shot is a learning moment, so keep tweaking and tasting. With time, you’ll know exactly what a killer shot tastes like.
Good Shots from Any Machine
You don’t need a super fancy machine to make great espresso – this is a double shot on a $225 Krups XP espresso machine from 2005.
Sometimes it's Difficult
Sometimes, even seasoned veterans can struggle with dialing in espresso. Check out how messy this machine is. It’s from pulling over a dozen shots, finding the sweet spot.

Tip 8Steam Milk Like a Pro
Steaming milk for cappuccinos and lattes is one of those things that looks easy but takes practice to master. Of course, if the machine you bought has auto steaming and frothing abilities (like the Breville Bambino Plus in many of our photos in this guide), you’re ahead of the curve, but even those machines let you steam manually if you choose, and it’s a good coffee skill to build upon.
The first step is to start with cold milk—whole milk is a great beginner option because it steams beautifully and creates a rich texture. Once your steam system is ready and you’ve purged off some of the liquid by blasting the steam wand into the drip tray for a few seconds, place the wand tip just below the surface of the milk and turn it on. You’ll want to hear a gentle hissing sound, not an aggressive screech. That sound means you’re introducing air into the milk, creating the microfoam that gives cappuccinos and lattes their signature texture.
As the milk starts to warm up, lower the steam wand deeper into the pitcher and angle it slightly to create a whirlpool effect. This motion helps break down any large bubbles and creates that silky, velvety texture you’re aiming for. Be careful not to overheat—milk starts to burn around 155°F, which can ruin the flavor. If you don’t have a thermometer, touch the pitcher’s side; when it’s just too hot to hold, you’re good to go.
The difference between cappuccino and latte milk is the foam-to-liquid ratio. Cappuccinos need thicker foam, while lattes are all about silky, smooth milk. Perfecting this takes time, and honestly, steaming milk deserves its own deep dive. This is definitely a topic for another article entirely. In the meantime, this is one area we suggest searching for how to videos on Youtube.
Steaming Milk Pitcher
Steaming milk is a skill developed by practice; pitchers like this one from Breville help, with a built in temperature gauge.
Advanced Pitchers
There’s a lot of milk pitchers on the market, including this super advanced, 3-spout version from Kruve.
Tip 9Clean Your Machine Regularly
Keeping your espresso machine clean isn’t just about looking good—it’s about keeping your shots tasting fire. Here’s the scoop on keeping your gear in top shape:
Daily: After pulling your last shot, run a quick blank shot with water to clear out coffee oils. Rinse the portafilter, and give the steam wand a quick wipe and purge to avoid crusty milk buildup (gross). Oh, and empty the drip tray and knock box because no one wants yesterday’s leftovers hanging around.
Weekly: Time for a little deeper TLC. If you machine is built for it (the manual tells the tale), backflush with espresso cleaner to break down the grime you can’t see. Scrub the shower screen with a soft brush, and clean the steam wand thoroughly (use a cleaning solution if needed). Don’t forget to wipe down the exterior—it deserves to shine as much as you do.
Semi-Annually: Go big or go home. Descale your machine if it’s not plumbed, and check all seals and gaskets for wear. Replace if needed. This keeps your machine running smooth and avoids any major drama.
Treat your espresso machine right, and it’ll keep delivering those barista-level vibes.
Photo of a portafilter with backflush disk (rubber, Breville), white foam water in drip tray, dispersion screen cleaned.
Use the Right Baskets
Machines like the Breville Barista line require you to use the single shot basket when backflushing the machines.
Backflush Disk
The rubber backflush insert used in Breville Machines. Some machines come with metal solid filter baskets for this purpose.
Tip 10Practice and Enjoy!
Making espresso at home is a whole vibe—right up top, we said it’s part science, part art, but it is also all about practice. The key to leveling up your espresso game is consistency and paying attention to what’s happening with every shot you pull. From grind size to tamp pressure, every tiny detail adds up.
A great shot has that velvety crema, balanced flavors, a nuanced aroma, and just the right sweetness and body. We gave tips on what to change if shots are sour or bitter, use those, and your own senses to continually improve. It’s all about experimenting and learning how each adjustment changes the outcome.
But here’s the real secret: taste everything. Even the bad shots. Sip your espresso and really pay attention to what’s going on in your cup. Does it pop with flavor, or is something off? The more you taste and tweak, the better you’ll get at spotting what needs fixing.
Refining your technique takes time, but that’s the fun of it. Enjoy the process, savor your wins, and learn from your duds. The perfect shot isn’t just about impressing your friends—it’s about the journey to get there.


Support CoffeeGeek
If you enjoy and learn from this resource, please consider making a one time or recurring donation to help support our work and fund purchases for future reviews.
Subscribe to
Coffee Pulse
Join the 12,850 other coffee lovers who receive CoffeeGeek's premier newsletter. Each issue dives deep into one coffee or espresso based subject. Subscribing is free, and your personal information is never shared.
By submitting this form, you are consenting to receive marketing emails from: CoffeeGeek. You can revoke your consent to receive emails at any time by using the SafeUnsubscribe® link, found at the bottom of every email. Emails are serviced by Constant Contact

Natia loves coffee and relishes at the chance to write about it. She's competed in regional barista competitions in the past, and while no longer a Barista as a profession, she says espresso runs through her veins.
- Natia Simmons
- Natia Simmons
- Natia Simmons


