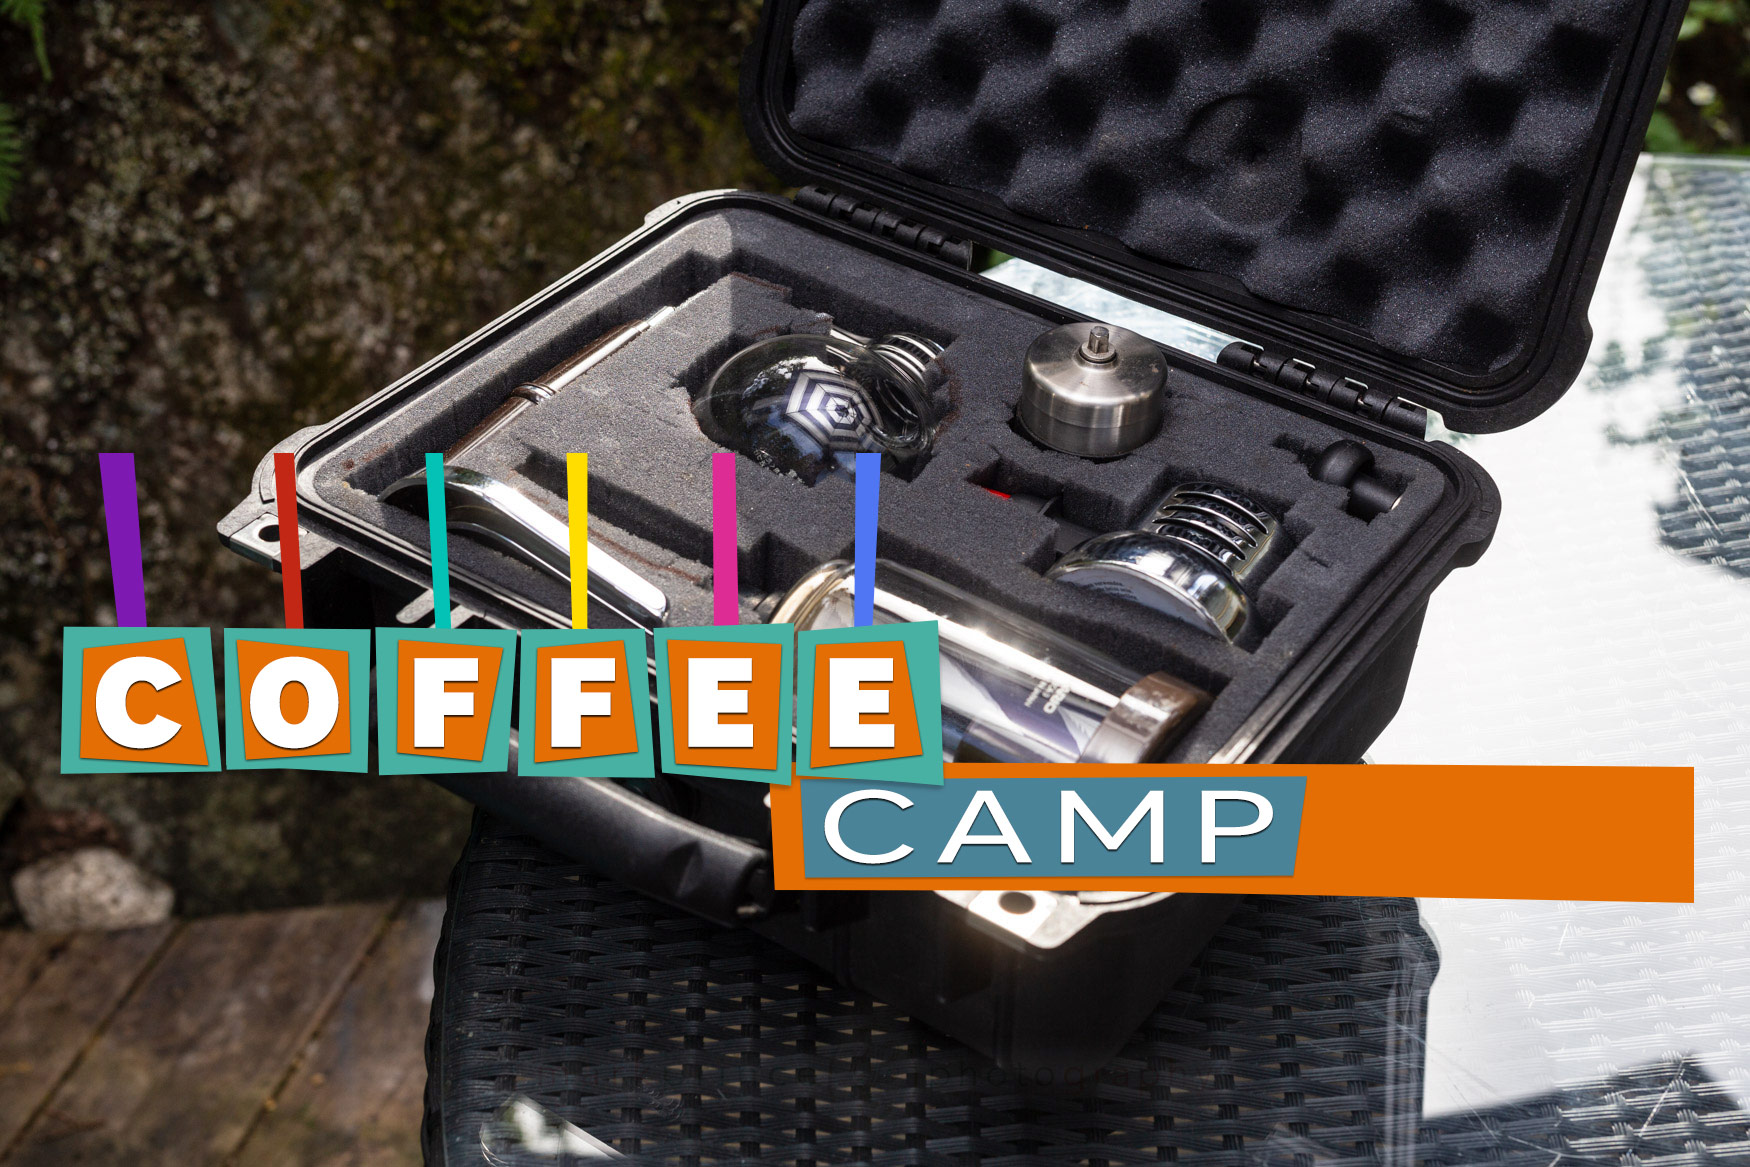
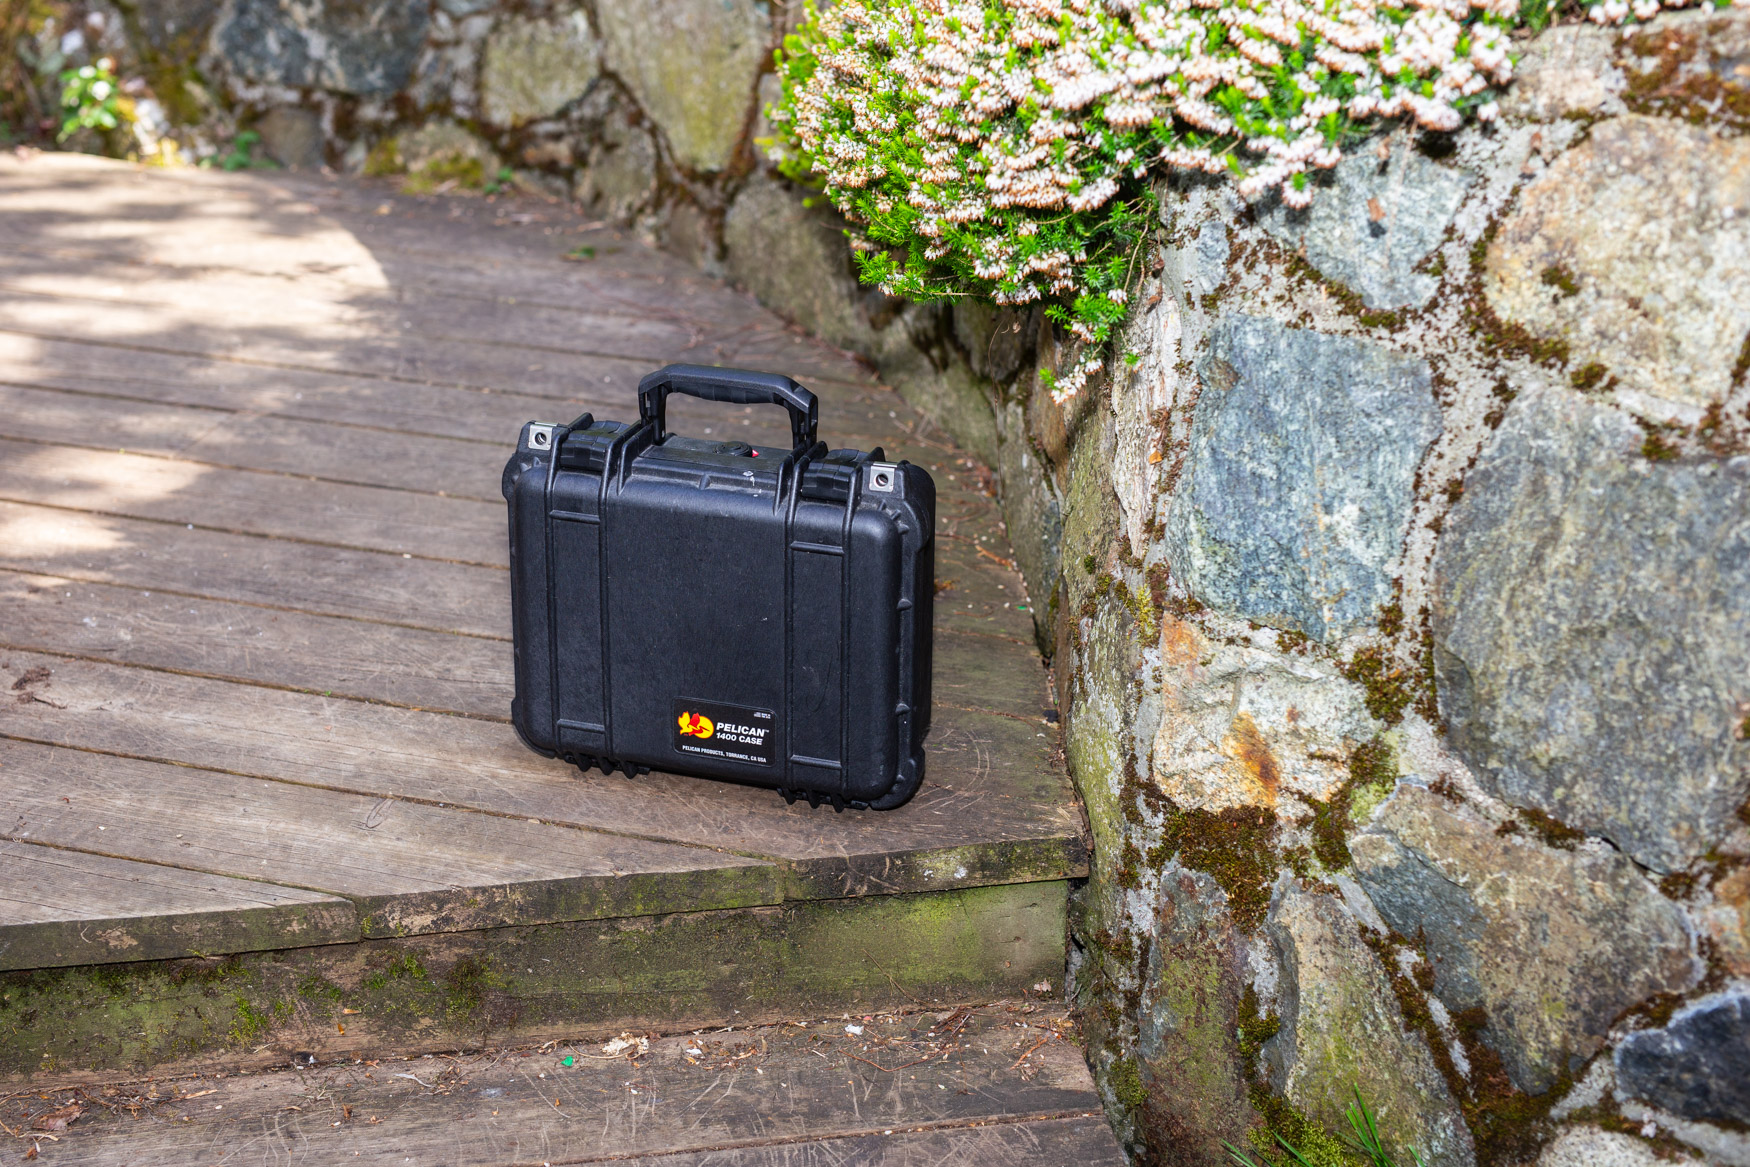
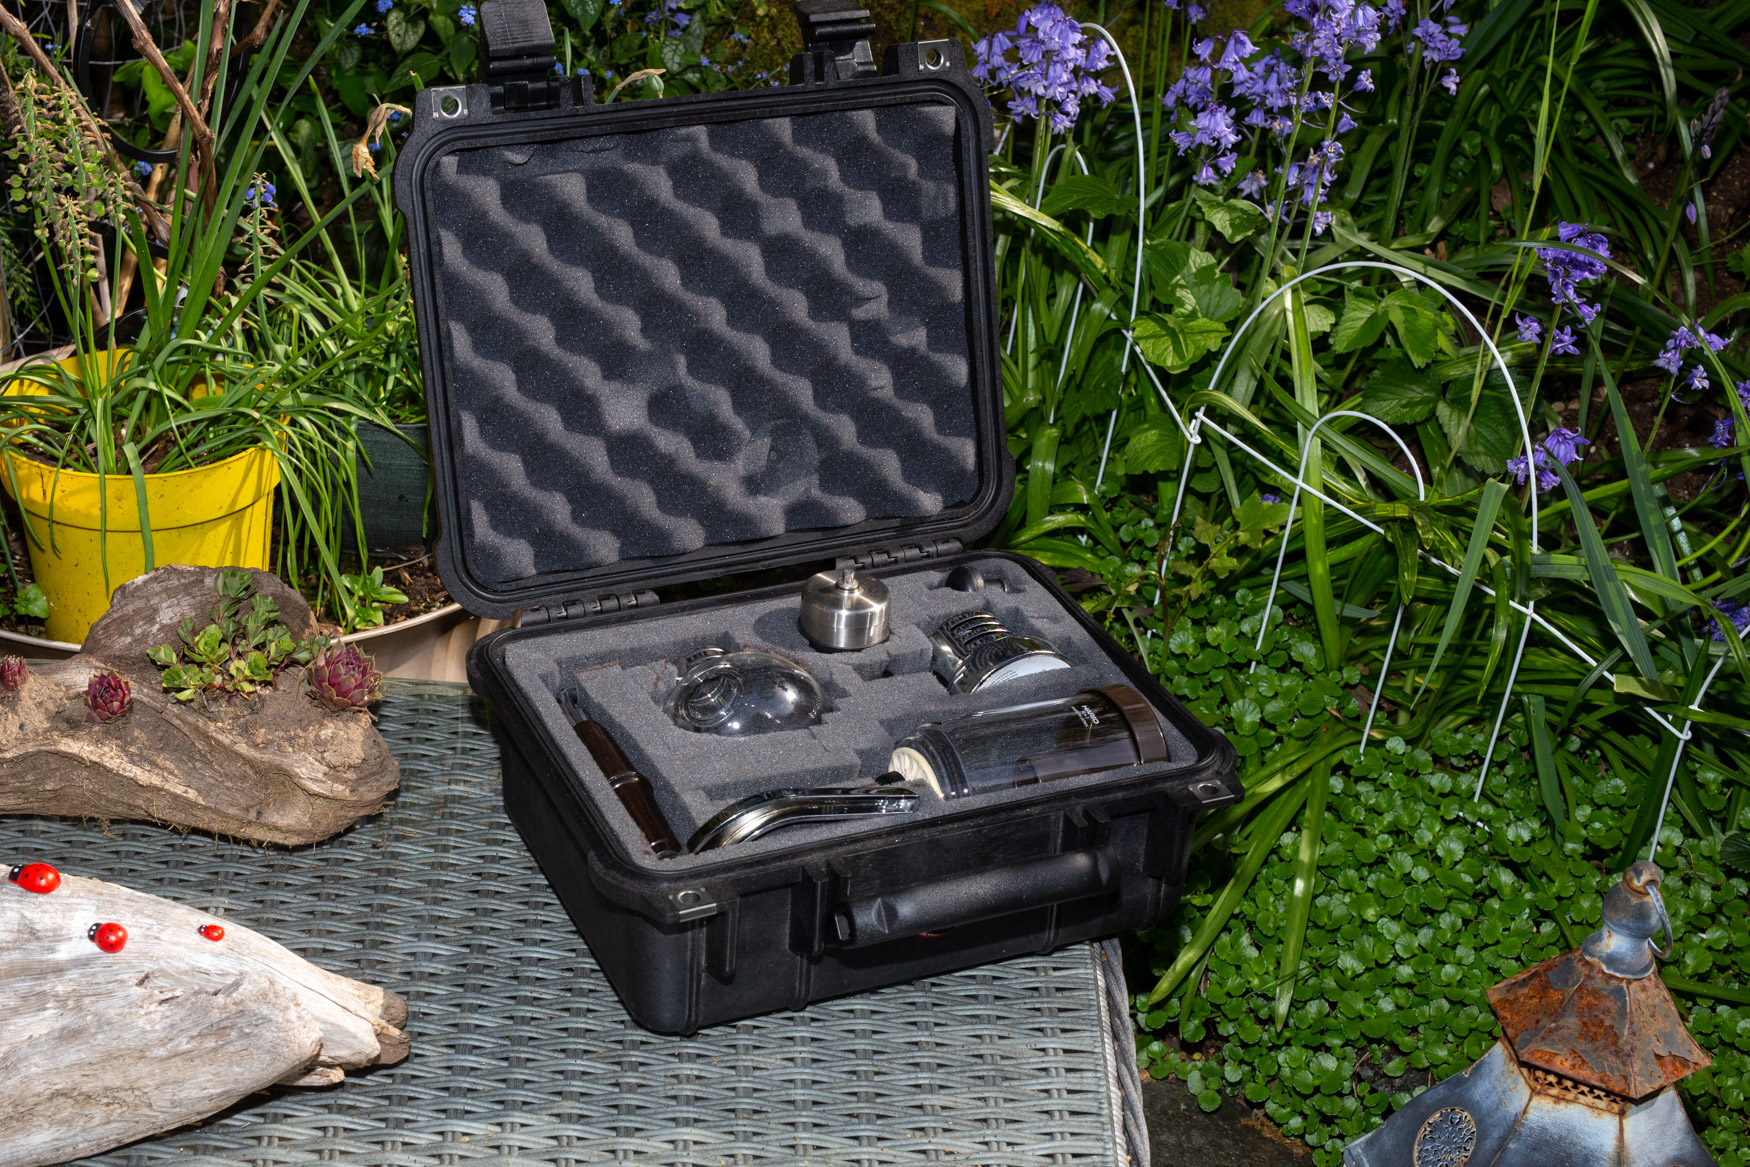
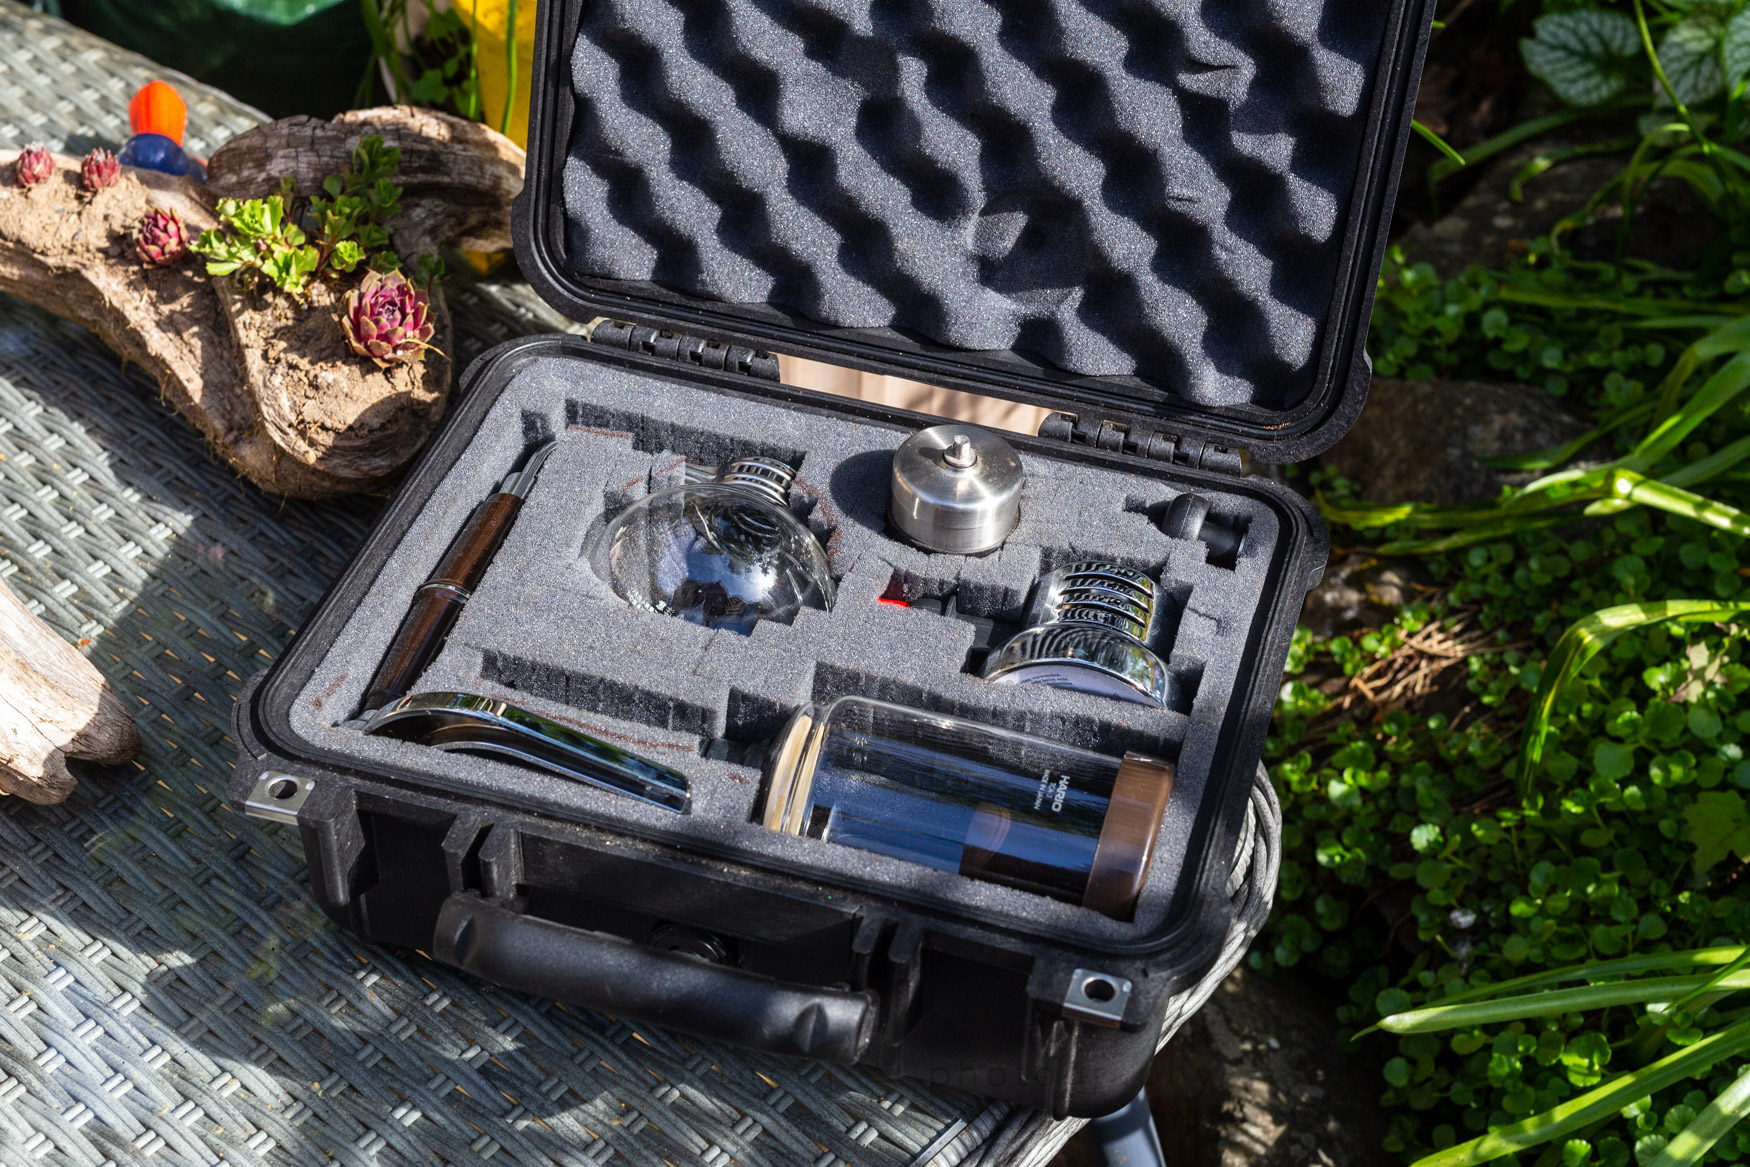
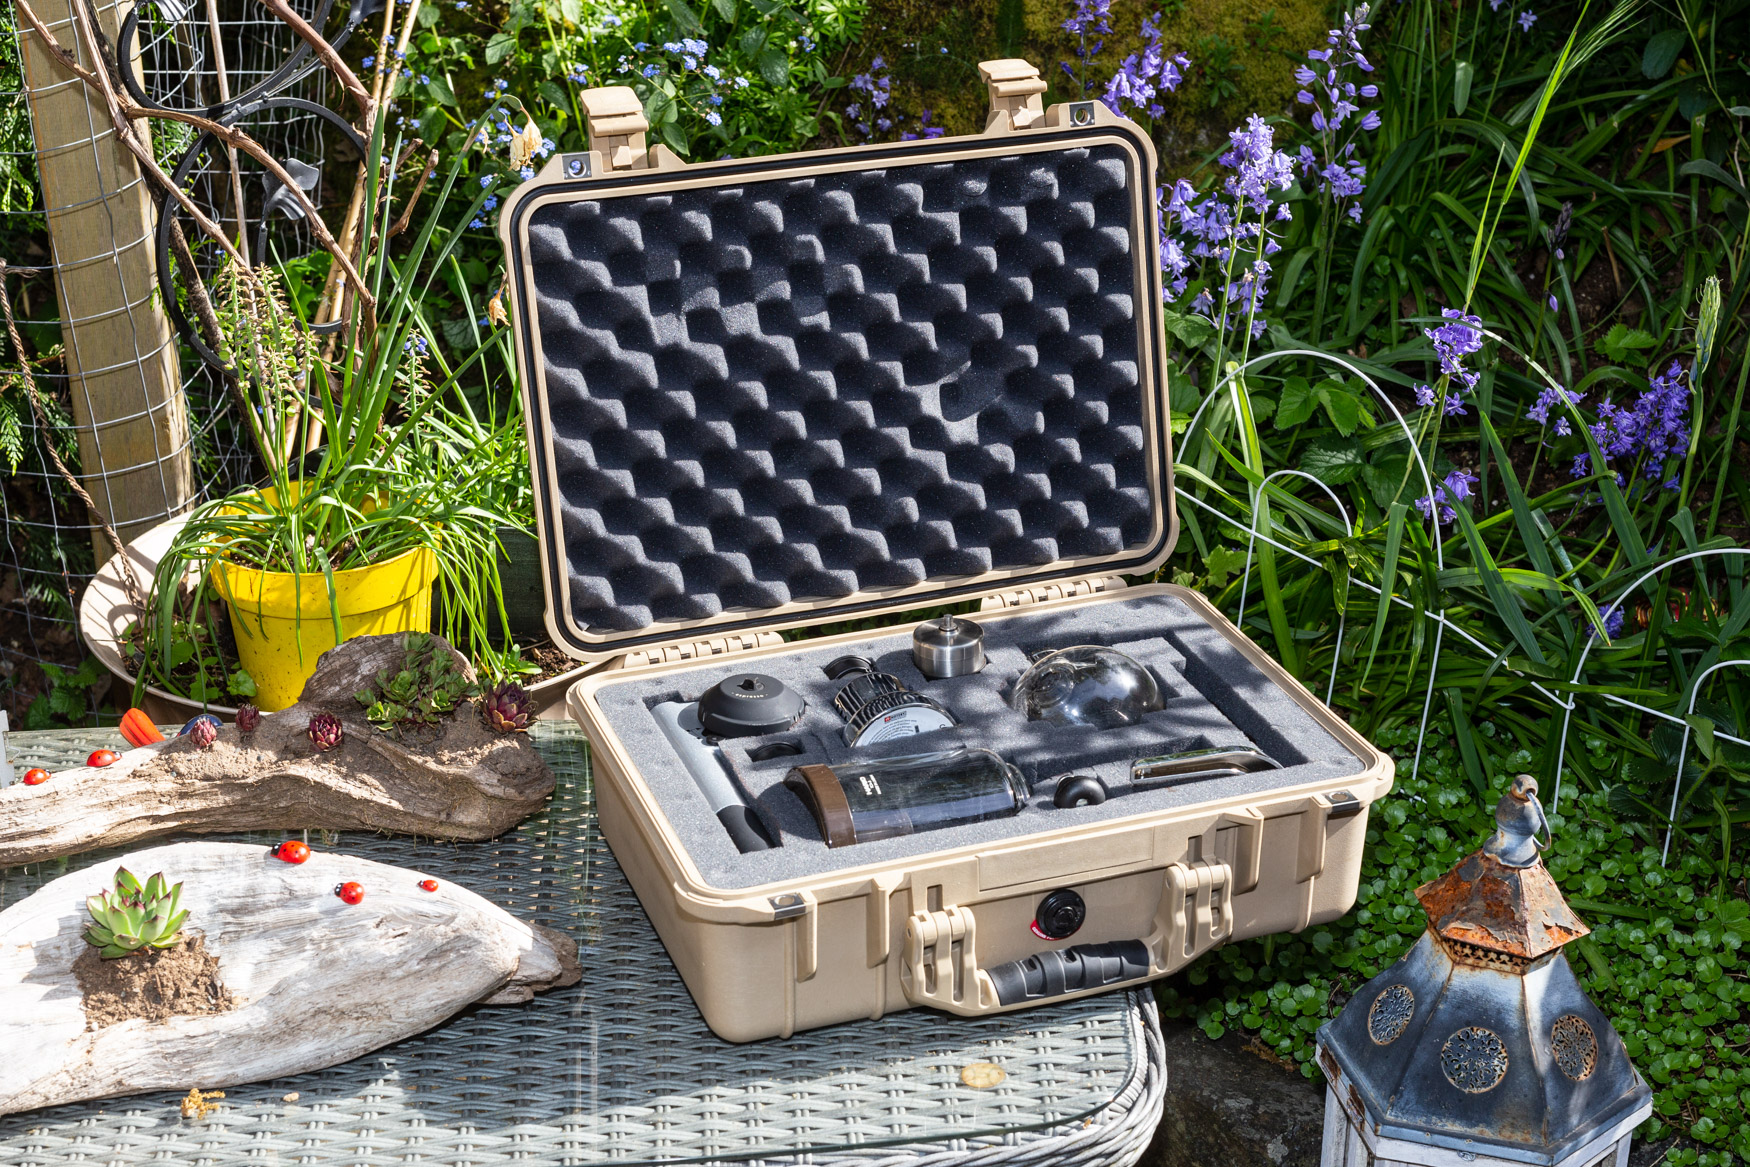
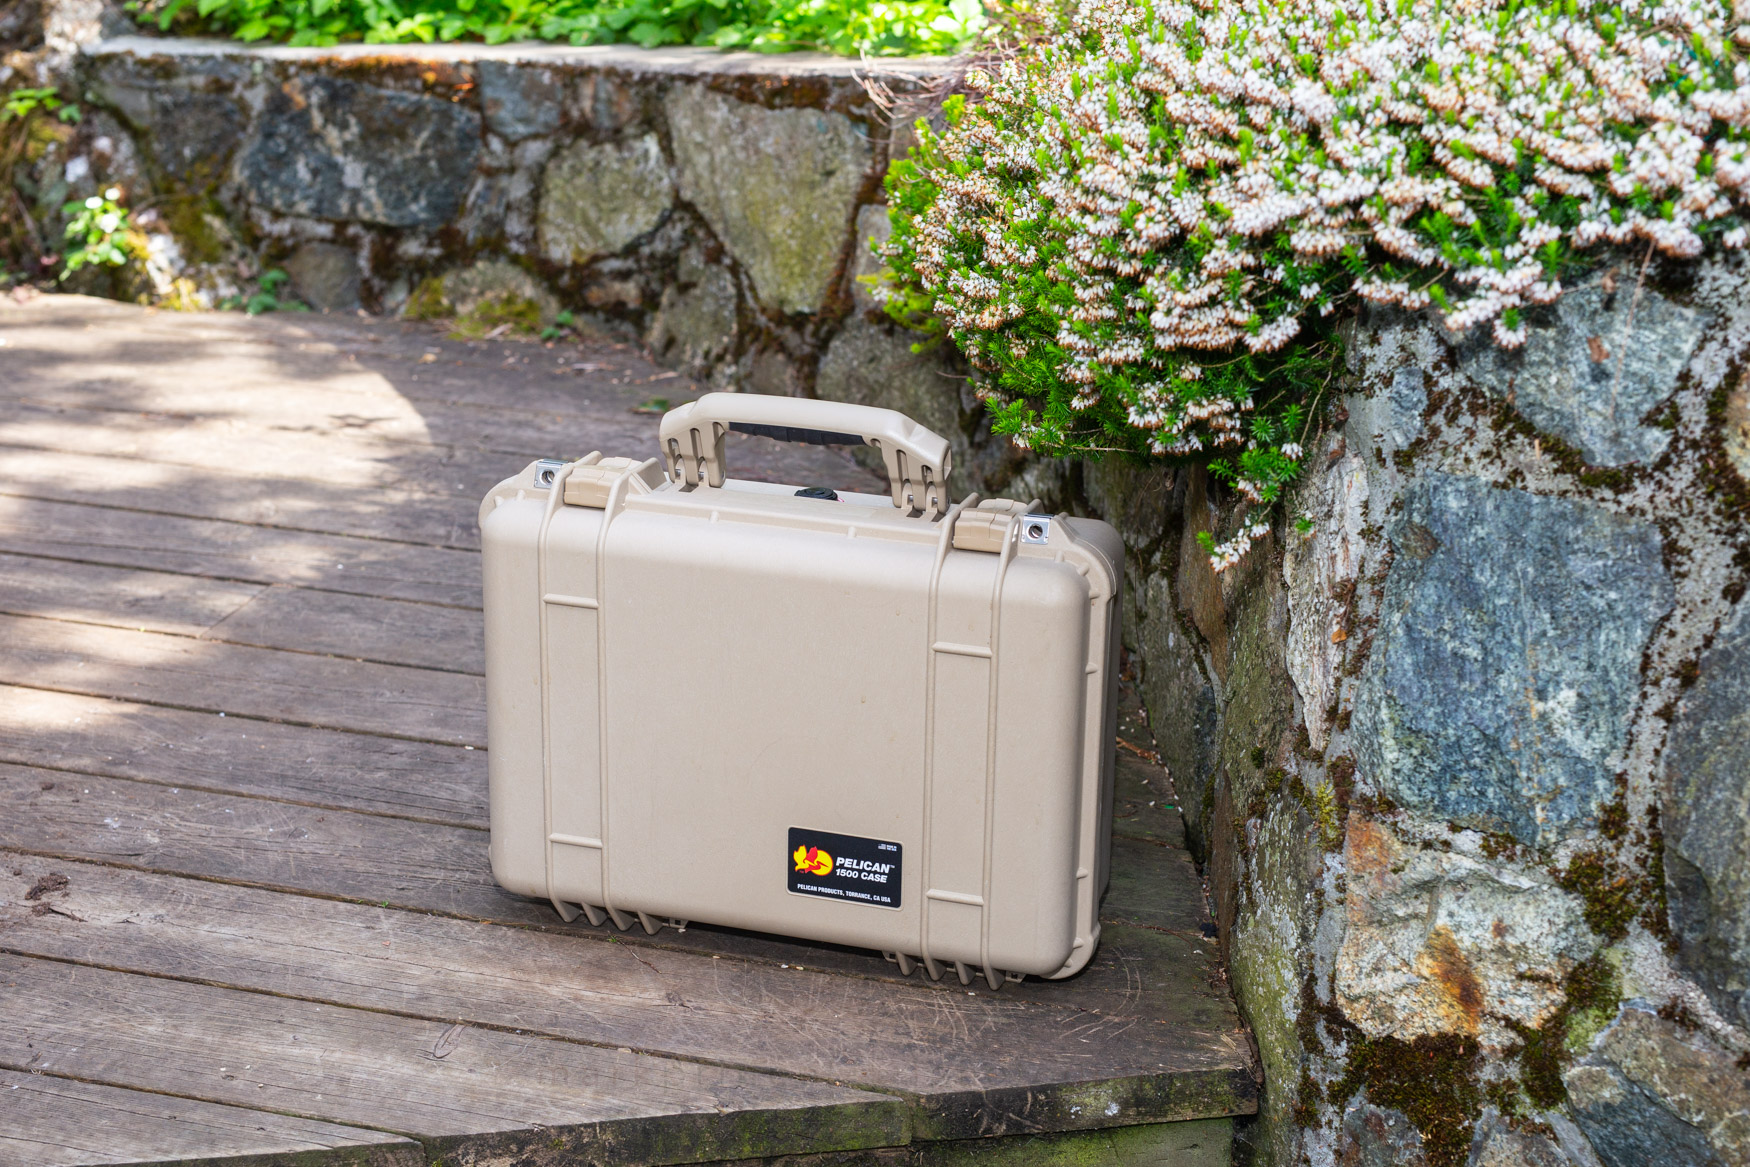
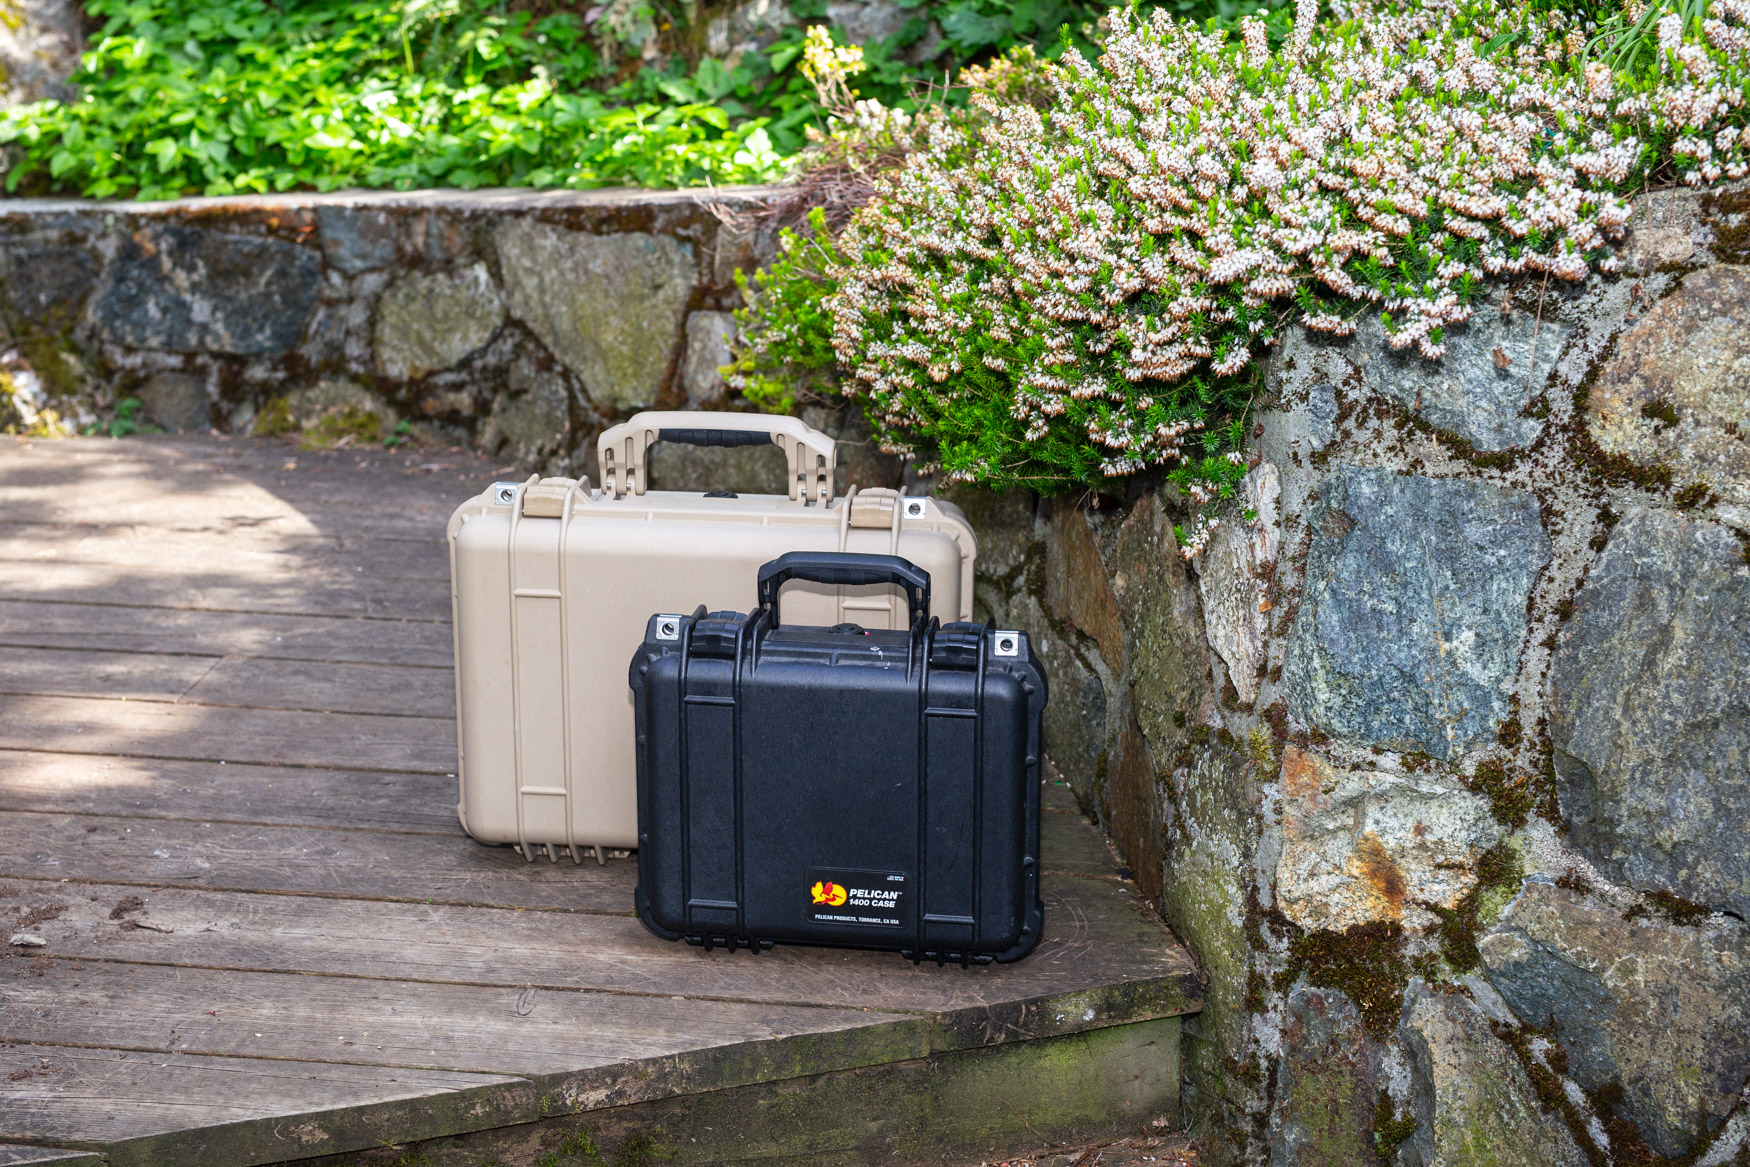
These are no lightweights, designed for ultralight backpacking or bicycle camping. The Pelican cases and their contents are pretty heavy. The 1400 Pelican measures 34cm long, 29cm deep, and 15.5cm tall, and weighs 2kg with the foam inserts. The 1500 Pelican is more beefy; it’s almost half a meter wide, 36cm deep, 18cm tall and weighs 3.2kg empty.
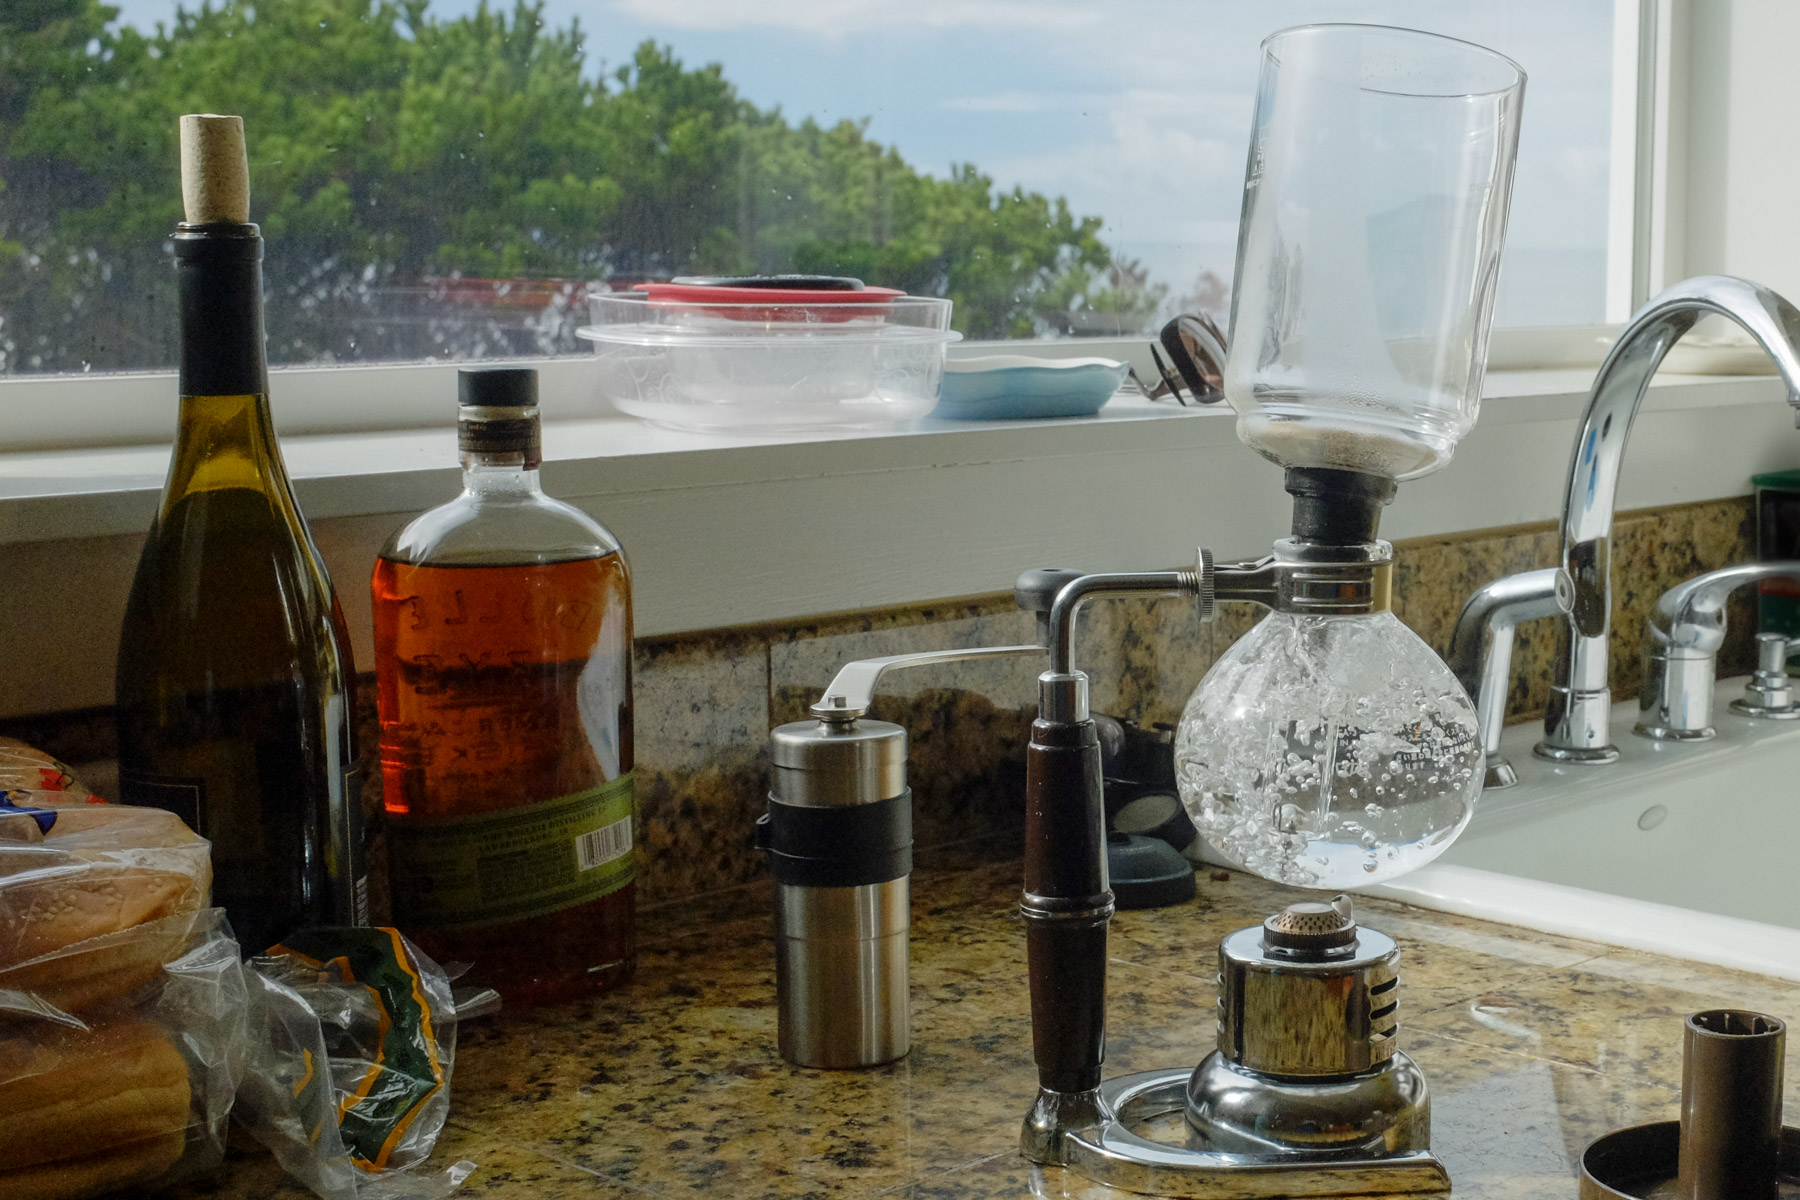
But they are heavily protected cases ideal for fragile items. And I inadvertently tested them once in a real moment of stupidity. I left the 1400 case – loaded with the 3 cup siphon, burner, and grinder – on the trunk of my car after we did an afternoon picnic trip on Vancouver Island. The case actually stayed put as I backed out of the gravel parking lot, and drove away at a slow speed. It bounced off the trunk when the road transitioned from gravel to tarmac. I heard the noise, and immediately realised my mistake.
We stopped, I walked back and picked up the case which barely had any scuffs. Gave it a shake – no sound – so I put it back on the trunk of the car and opened it up.
Everything was pristine. Sigh of relief.
What Does it Cost
Bottom line: this is not a budget setup. The cheapest you’ll be able to build out the Three Cup Case is at around $250. The Five Cup Case with a Minipresso GR (or Handpresso if you order one from France), extras, and maybe an Aeropress tossed in? You’re looking at $350, but at least you’re packing 3 complete brewing methods inside.
The Case
Pelican cases aren’t cheap. In Canada, the 1400 case – ideal for a 3 cup siphon setup – is usually around $130-$150, though I’ve seen it as low as $120 on Amazon Canada. In the US, price is all over the map; Amazon’s price is usually around $95. Make sure you get it with the foam inserts. The 1500 cases are up there: $200 in Canada, and $150 in the US.
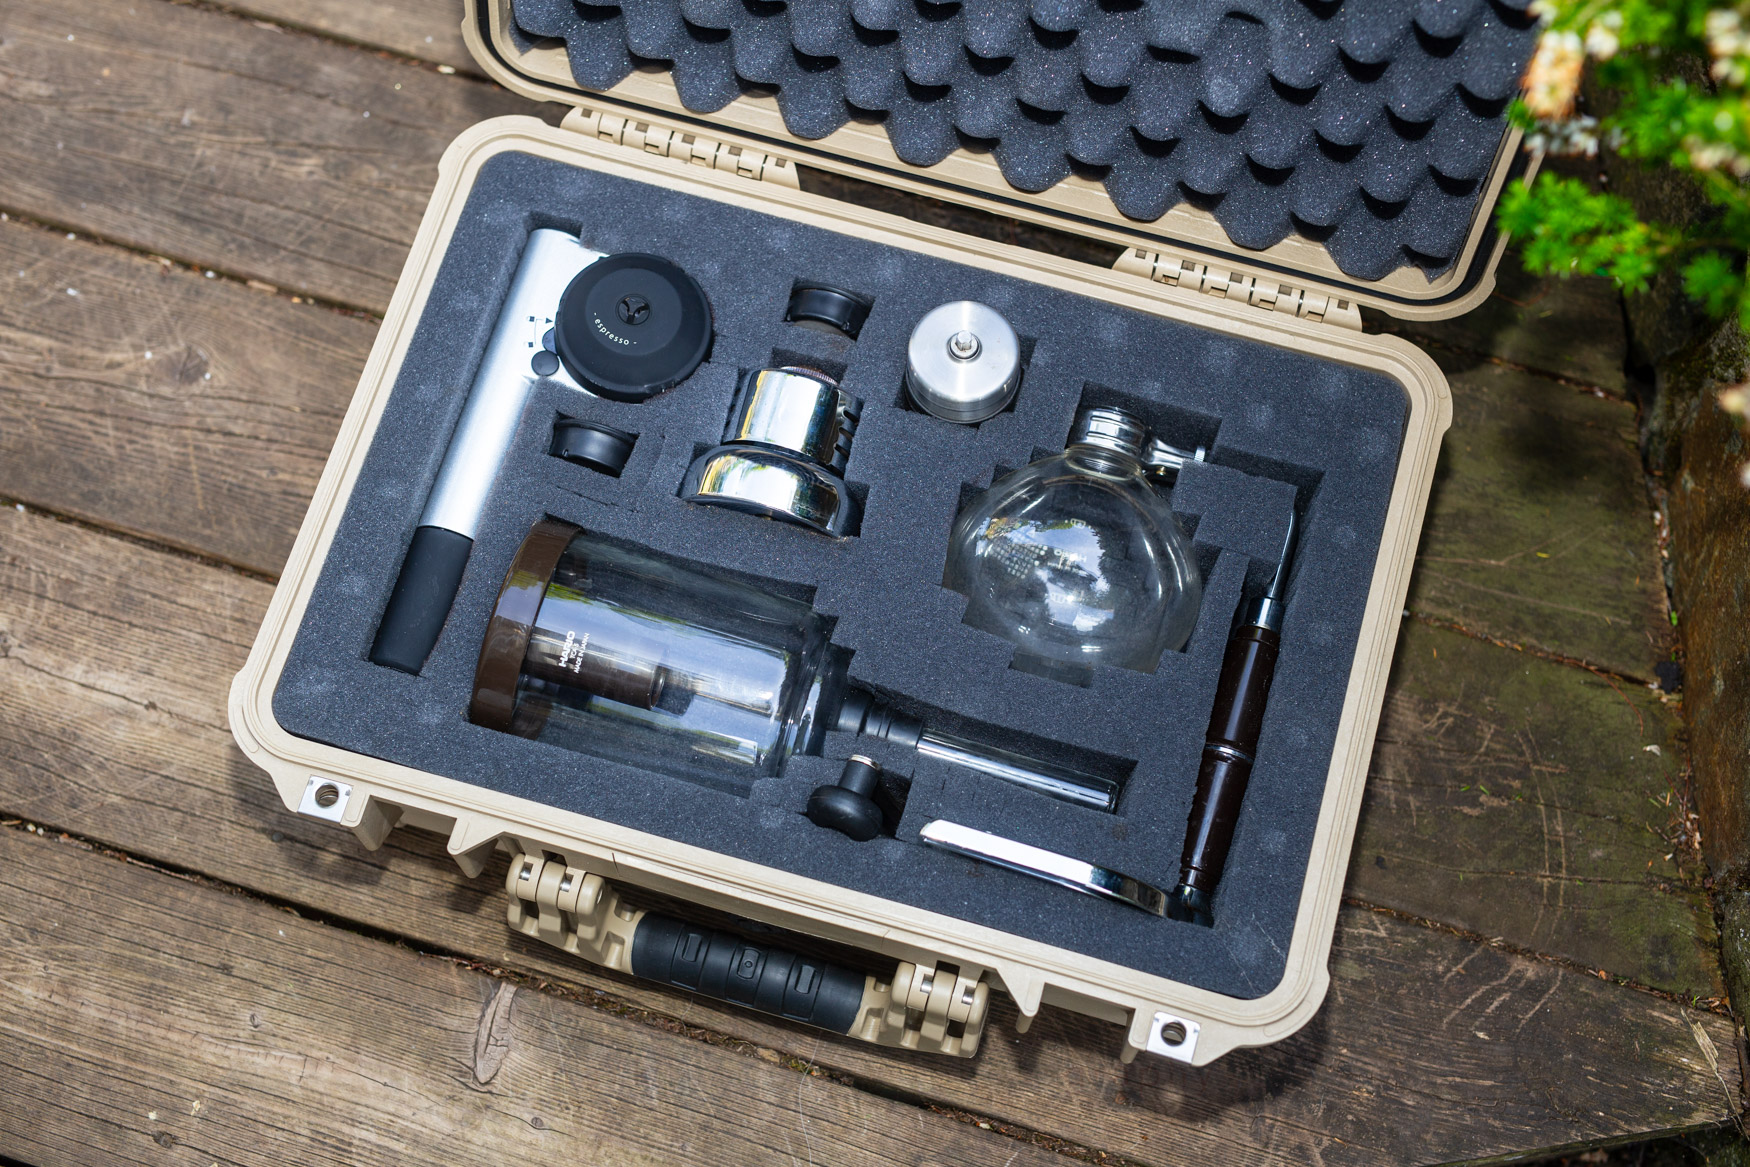
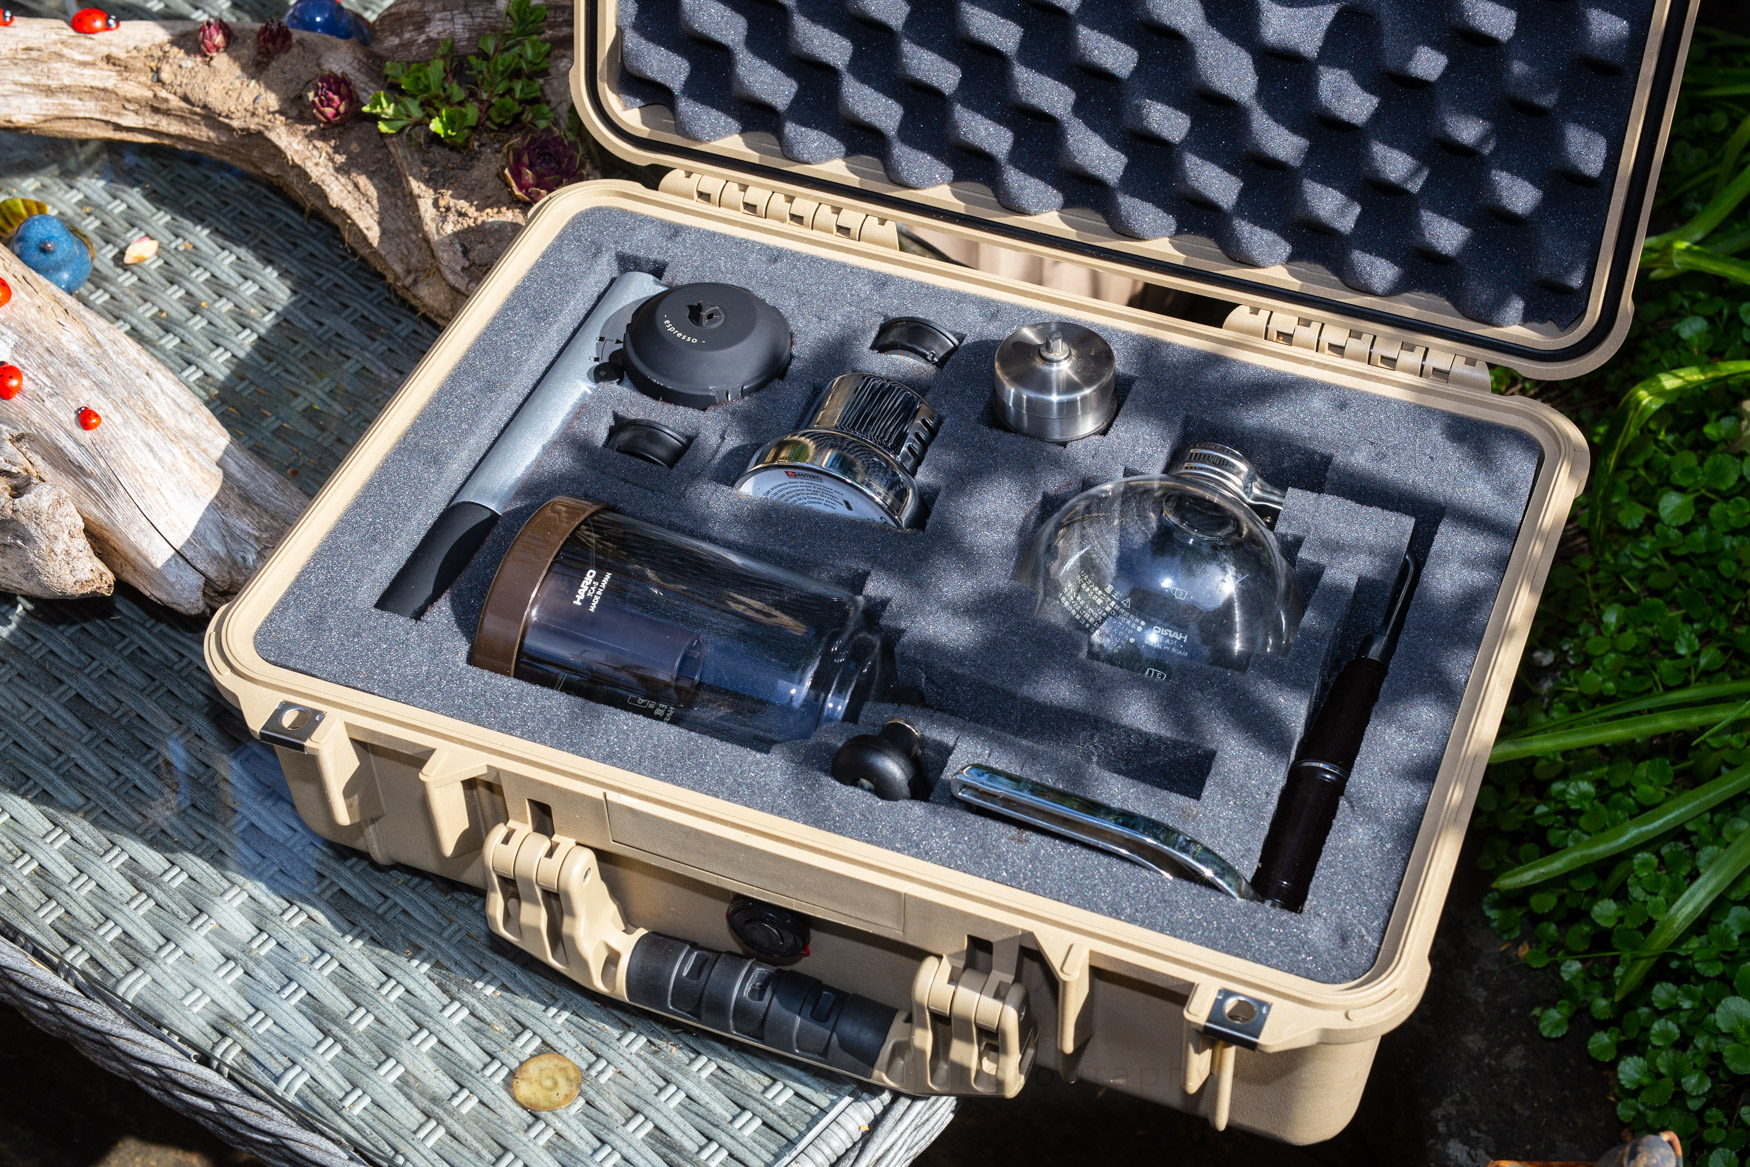
The Siphon
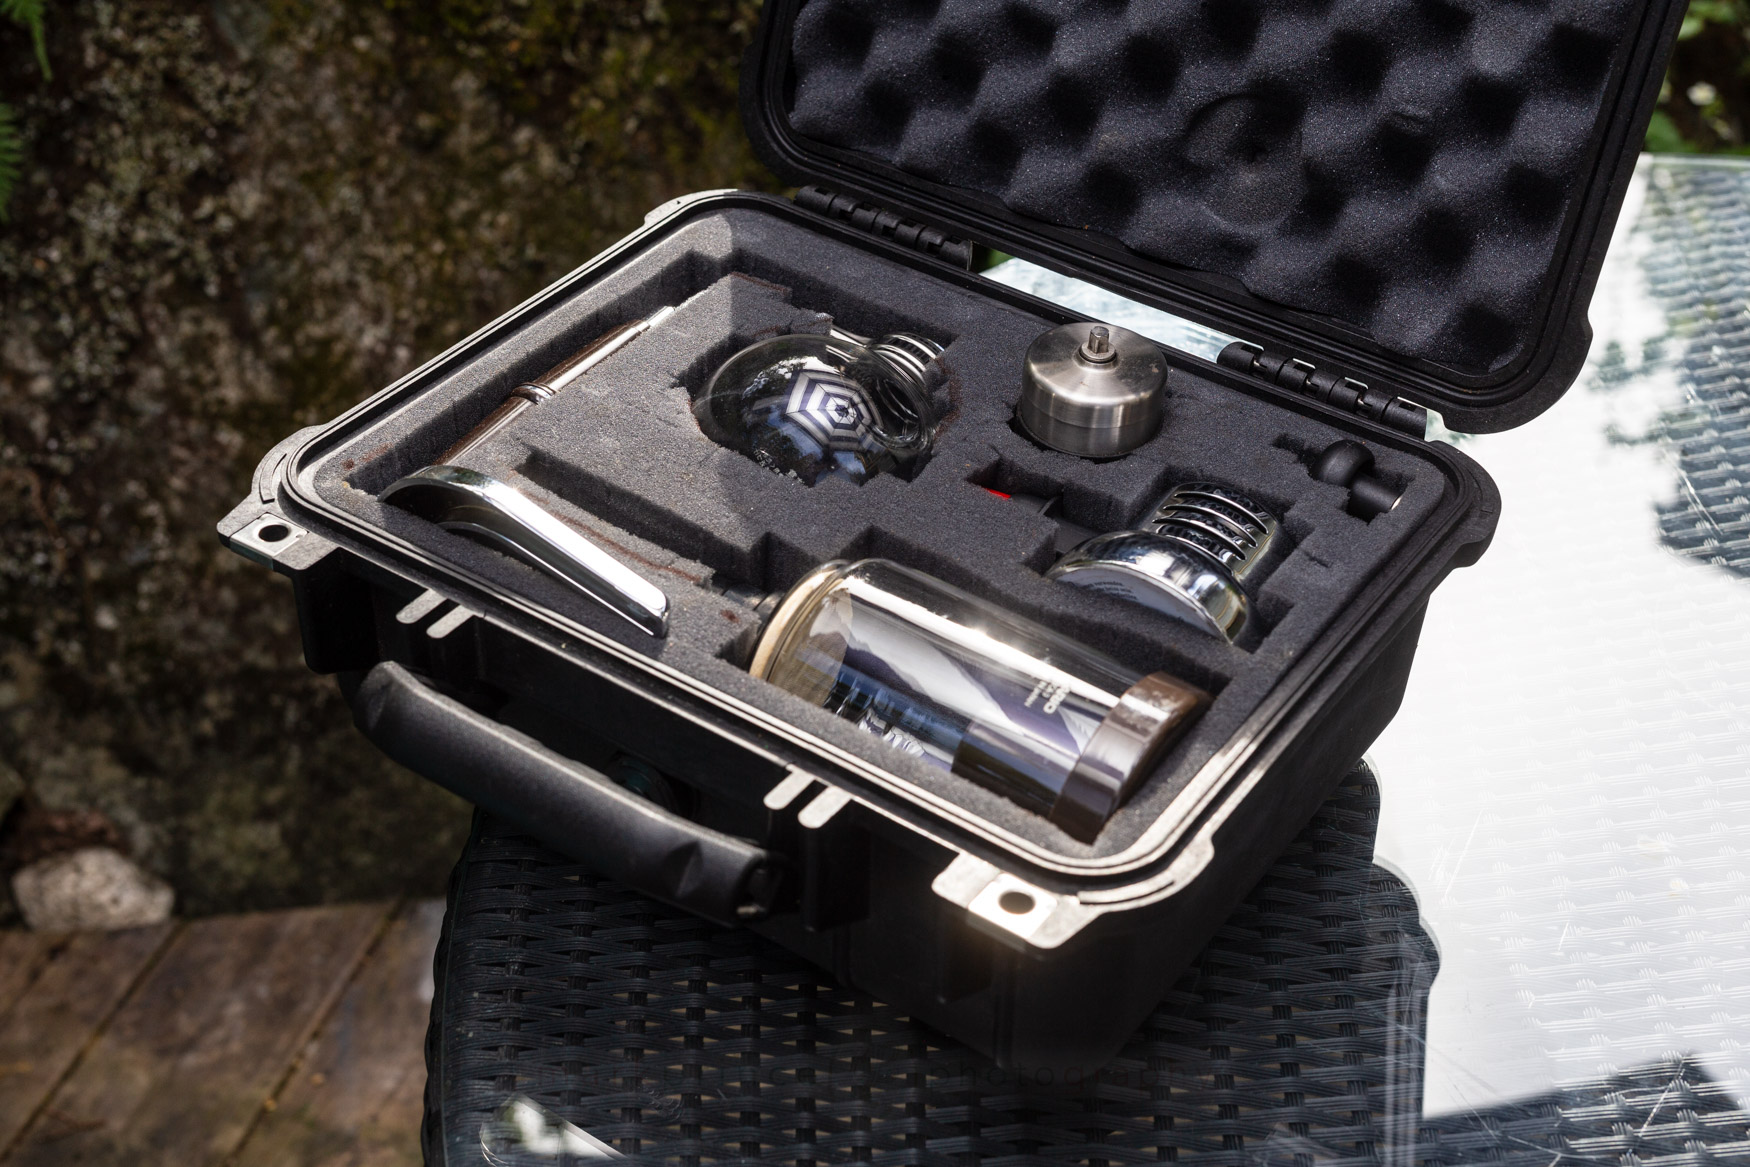
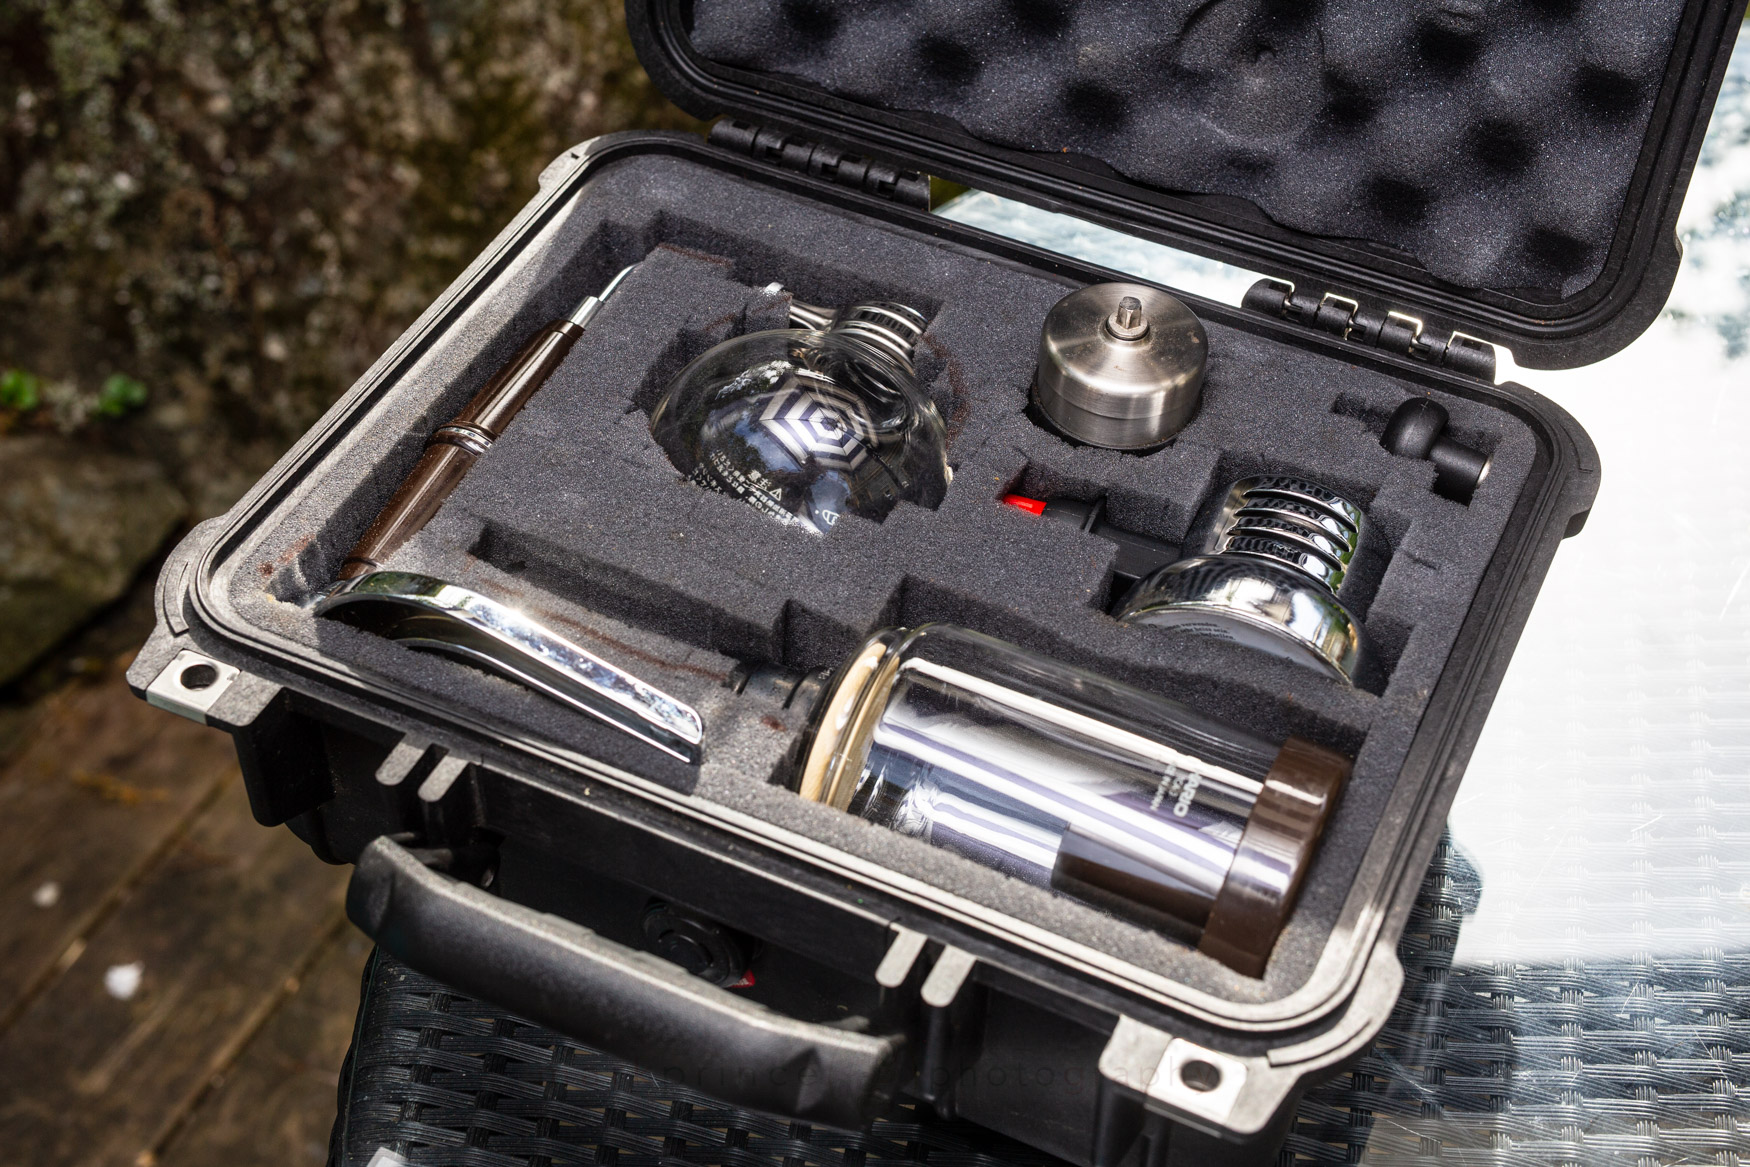
You don’t need a $100 Hario Technica 3 Cup; there’s plenty of 3 Cup Siphons out there for under $40US that will suit this case fine. There’s also lots of 5 cup siphons at similar prices, shop around.
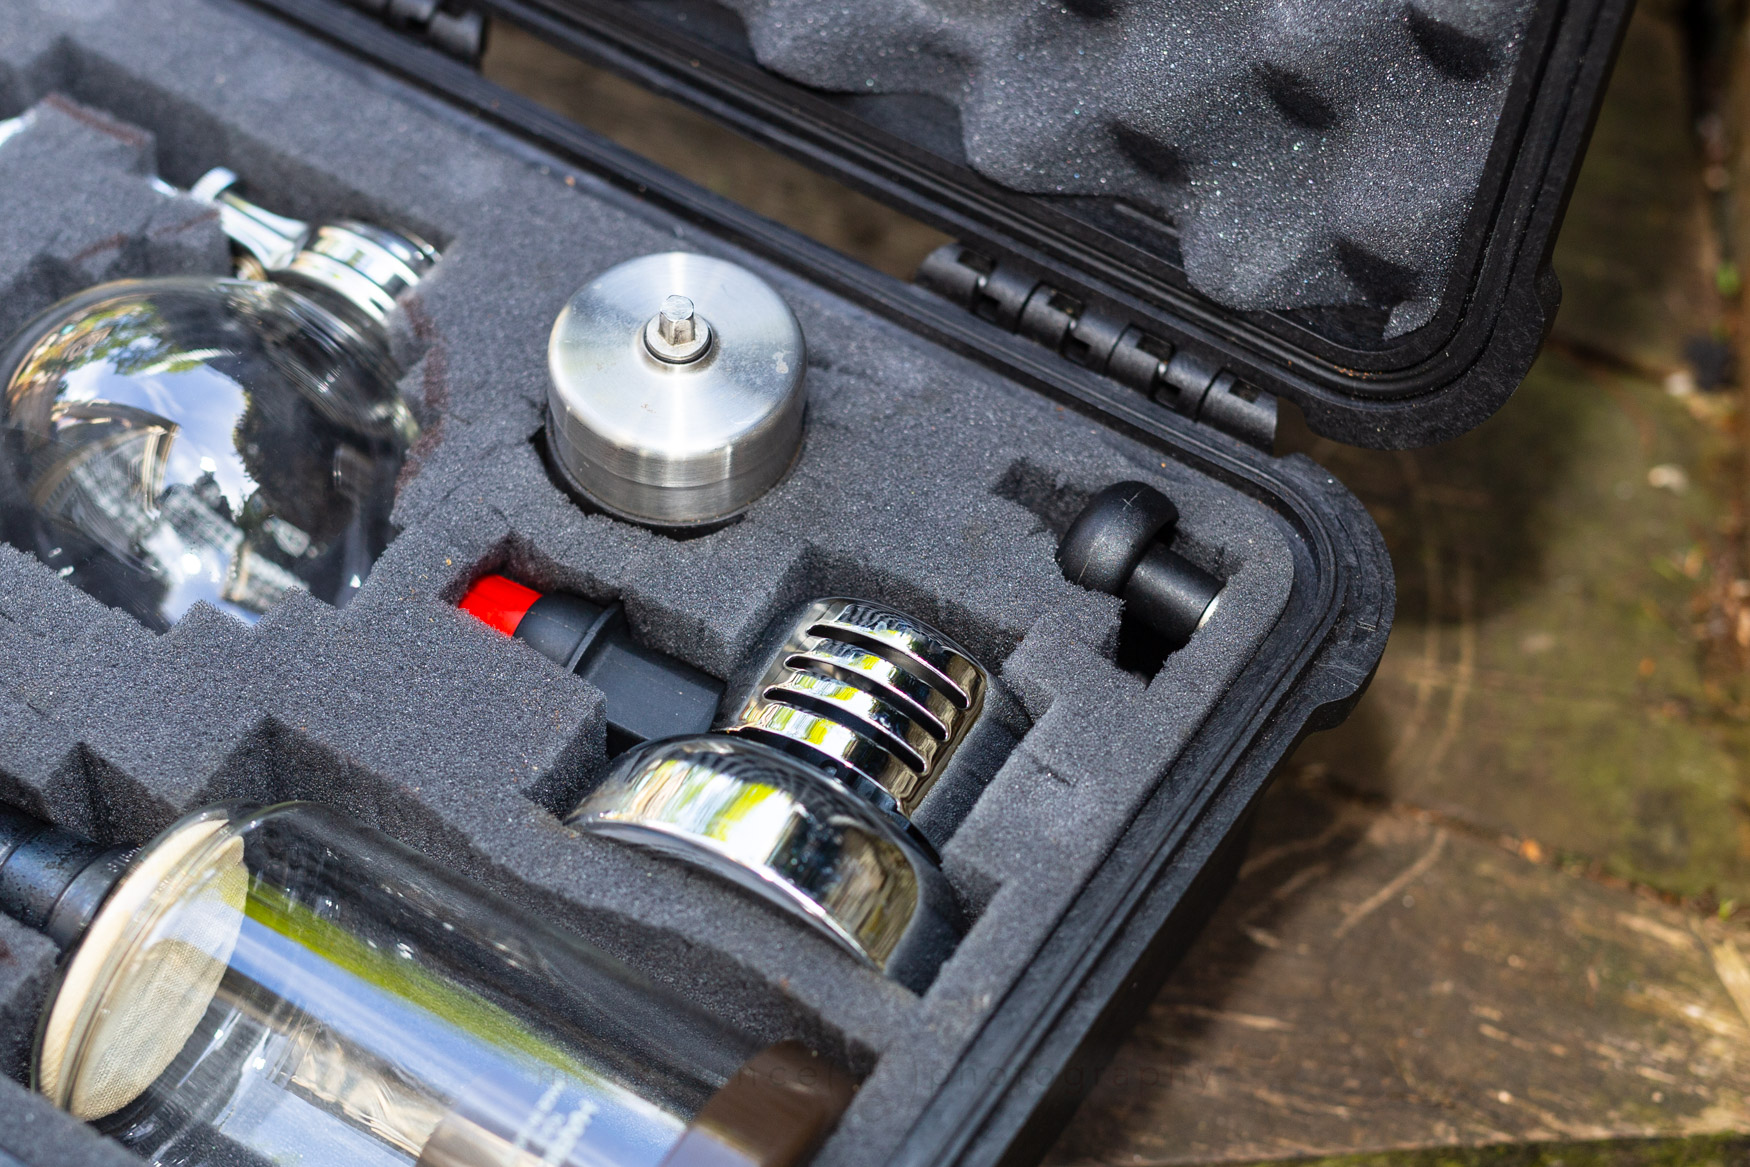
The Burner
A must have is a good butane burner; I like this one ($38) because it also comes with a stand for use with a pour over kettle.
The Grinder
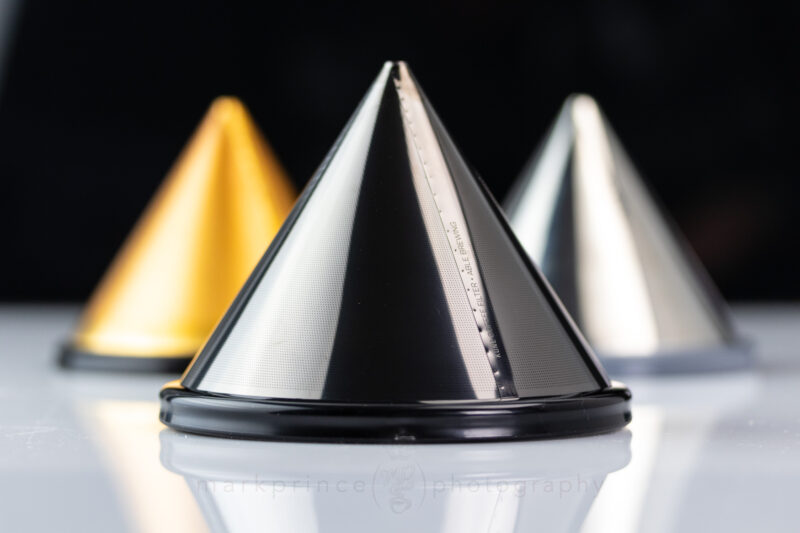
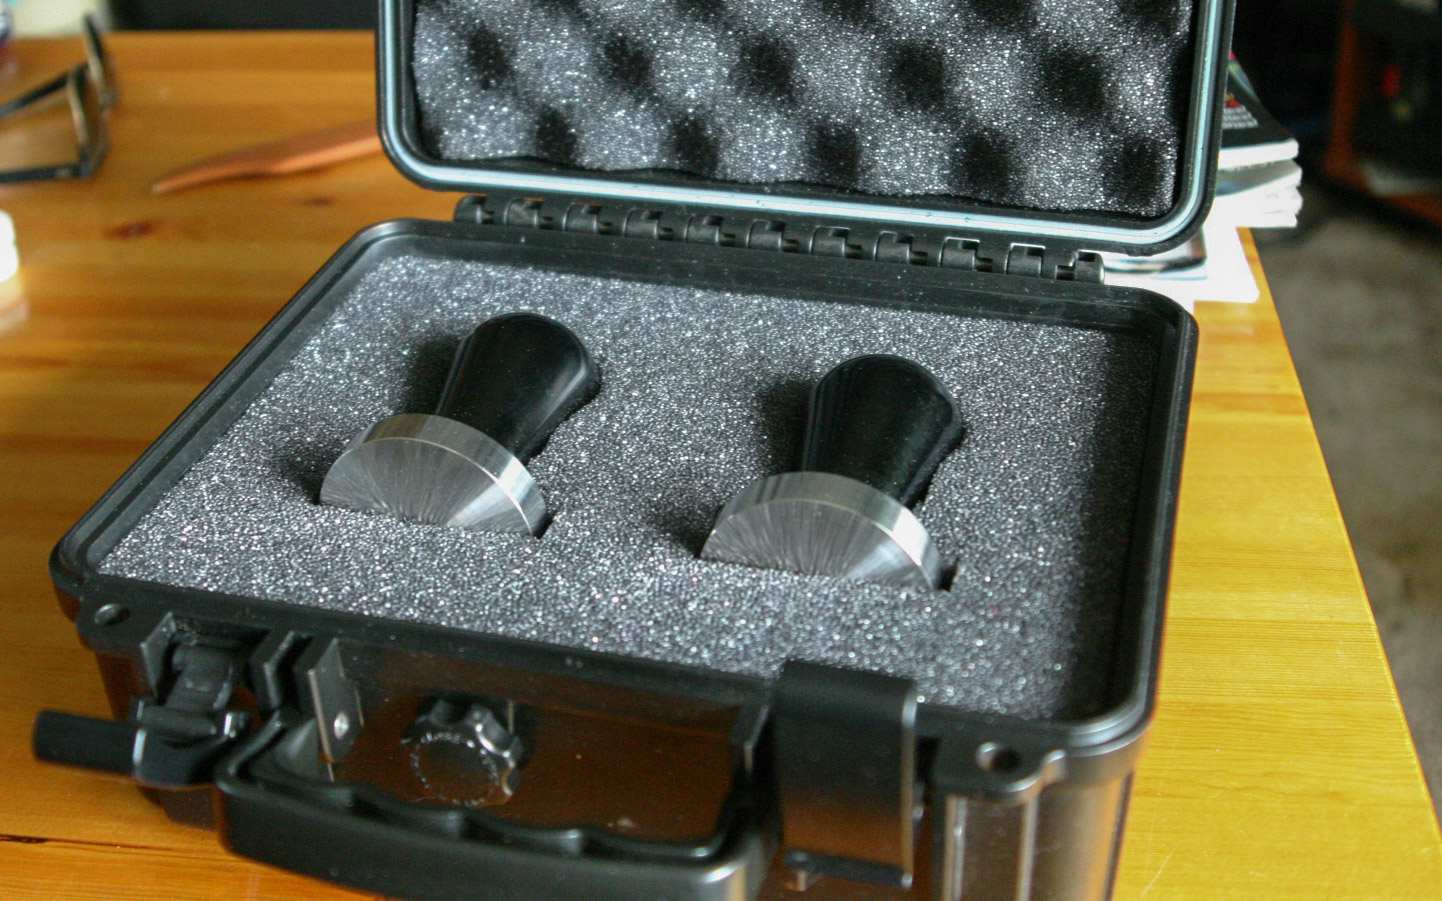
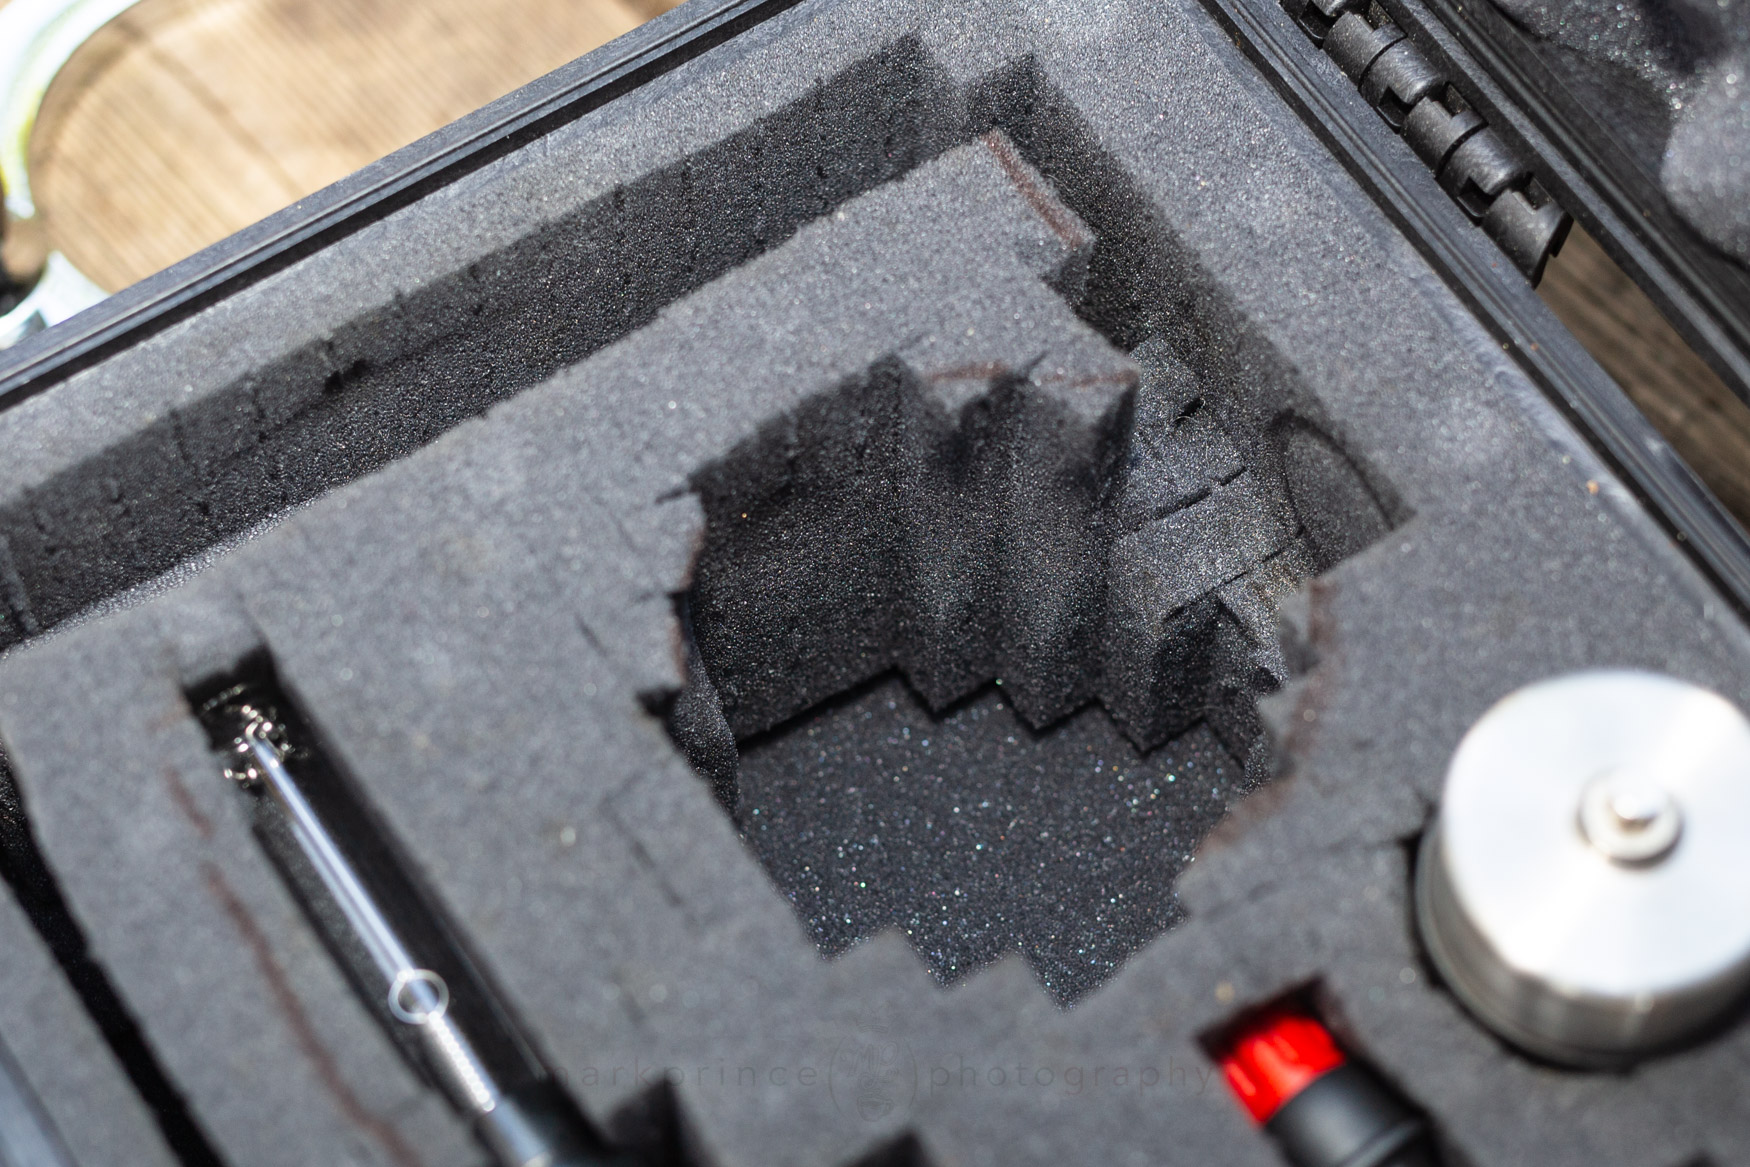
The important thing about any hand grinder you choose for this setup is the vertical height. In the large case you can get away with splitting the grinder into two (if the design allows for that) but in the smaller case, it’s better to just have one hole cut out for the grinder, so a really short grinder is best. Porlex is the only way to go if you want to have an okay grinder that is tiny. The Porlex Mini is $70, but if you shop around, you may find it for less. Beware of knockoffs.
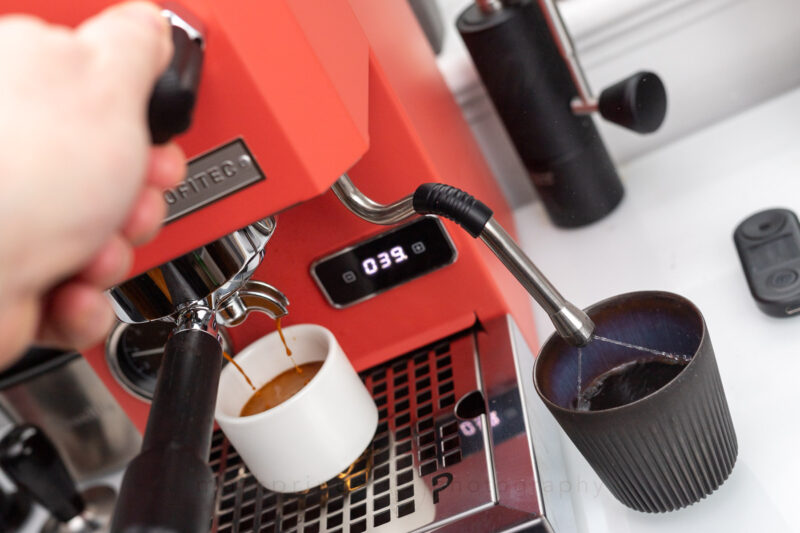
The Espresso Option
As mentioned, the Handpresso is no longer available in the US or Canada, but it’s still being made and can be ordered from Europe. There’s other options, and one of our blog contributors is a big fan of the Minipresso, so we’re recommending it for these cases. They start at $50.
Extras
For the Five Cup Case, you can include an Aeropress ($30), and some porcelain espresso cups ($10) to really round out the package.