Last week in part one of this article, I introduced you to the God Shot and also discussed the artistry and magic that make up true espresso. I also had you convinced I was insane because I like buying $100 tiny little cups to serve my espresso with. This week we’ll delve right back into the topic.
Meanwhile, I left you off with a promise on how to achieve a great espresso shot, and possibly even a God Shot. Here’s what is involved in making, nay crafting, a quality espresso.
Bean there, grind that…
The first thing you need is a great grinder. Blade grinders that double as spice grinders simply don’t “cut it”. Neither do those $40 Brauns, or $30 Salton grinders. Bare minimum is the $100, $120 grinders.
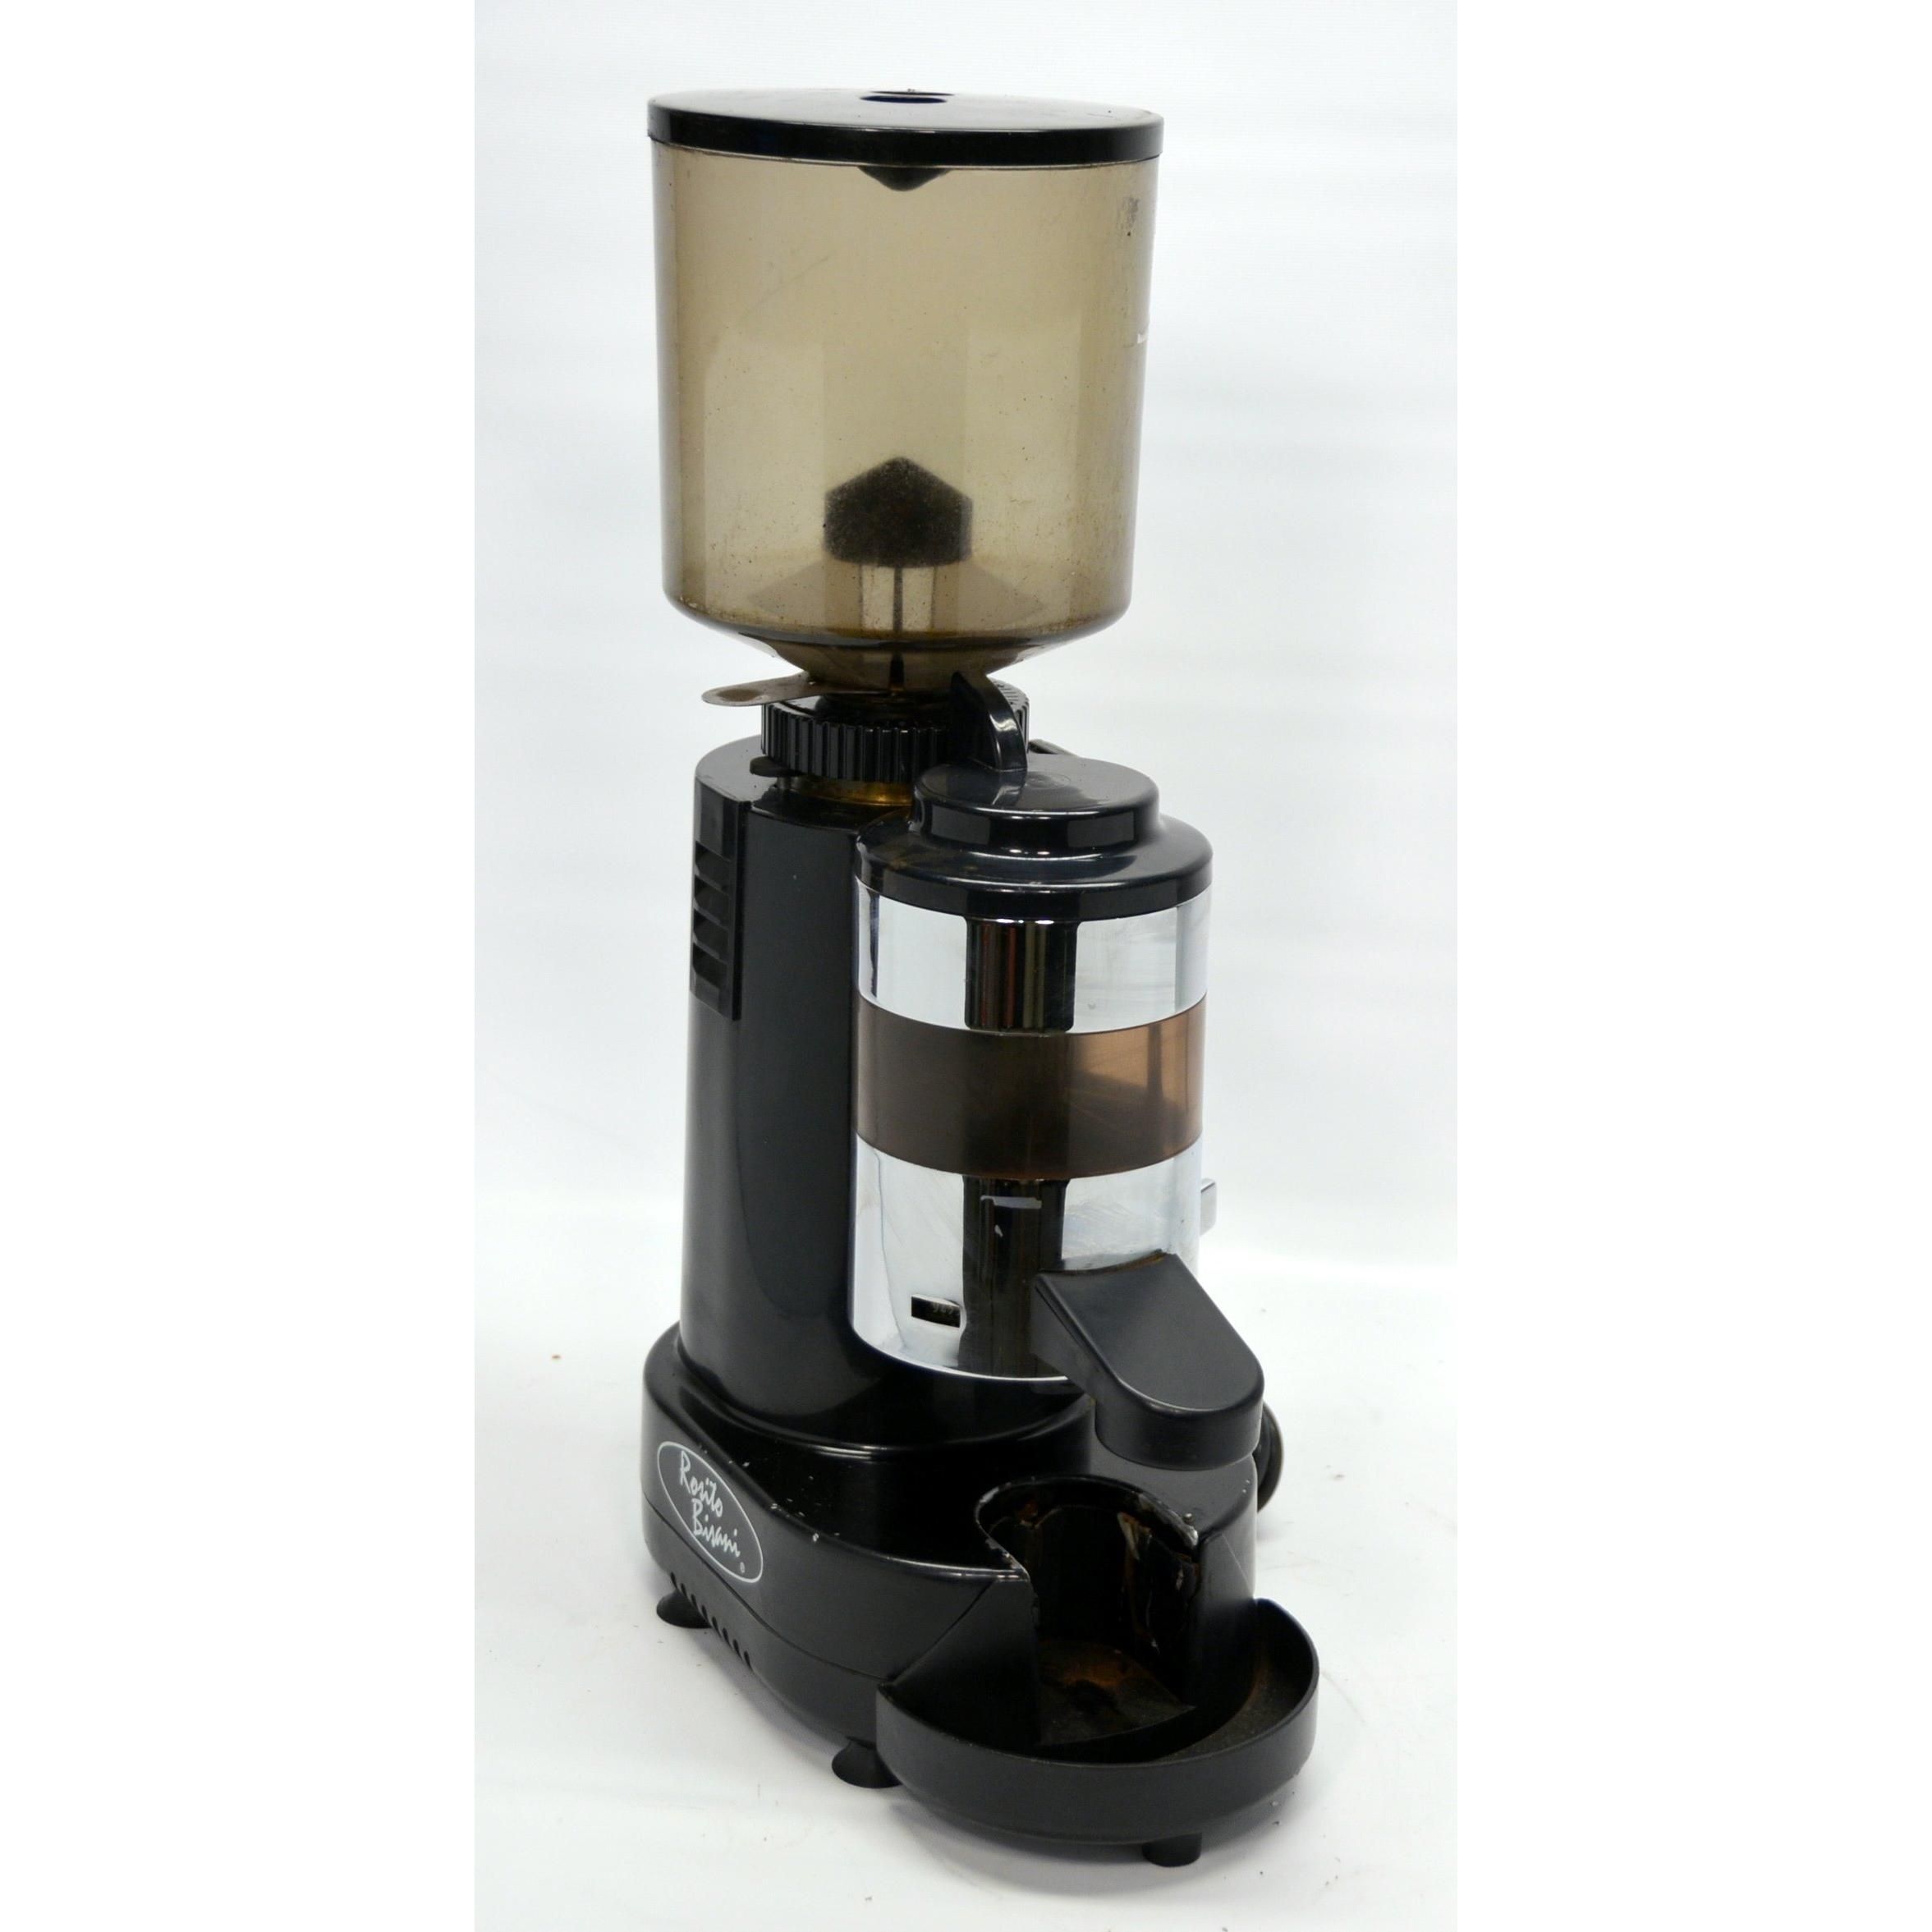
More acceptable is in the $200 range, and there’s my grinder, a $650 Rossi RR45 commercial espresso grinder (pictured to the left). The grinder really does make or break your shot. In fact, using a sub-par (or sub $100) grinder basically turns your chances of getting a God Shot into a lottery… with bad odds. Increase them. Get a good grinder.
The next most important factor is quality beans. Fresh, quality beans. Did I mention fresh? Or quality? Anything older than 3 or 4 days and your percentages of getting a God Shot go from rare to nil. And I’m talking about the day it was roasted, not the day you bought it. Anything older than that, it’s time to save it for drip brew or the Americano you know you want.
So you grind your fresh roasted beans. But it’s not that easy. You need a month or more to get totally familiar with your mega expensive grinder, to get it “tuned in” to your espresso machine. Actually, the grinder has to be “tuned in” to you – you have to know the variances it is capable of, the effect that things like humidity, bean age, and even the time of day can have on the grinder, and you have to know from a simple glance at the resulting grind what kind of tamping pressure that grind is going to require. And of course, you have to know how your espresso machine will react to a given grind. Only practice and experience gives you these skills – you can’t read them in a book, and you certainly can’t become an instant expert by just reading this column. It’s all about practice, grasshopper.
Work that elbow pressure…
So it took you a month or more to just grind those darned beans, can you believe that? And we haven’t even moved onto the espresso machine yet! And we still won’t, at least not for a few paragraphs.
Okay. So you’ve been grinding for a month. Now you’ve ground enough, and it is time to do the clackity clack dance on the doser lever of your grinder. You take your portafilter (the handled device that locks into your espresso machine) and fill it so that you have a slightly bulging mound of finely ground coffee that fills the filter insert to overflowing.
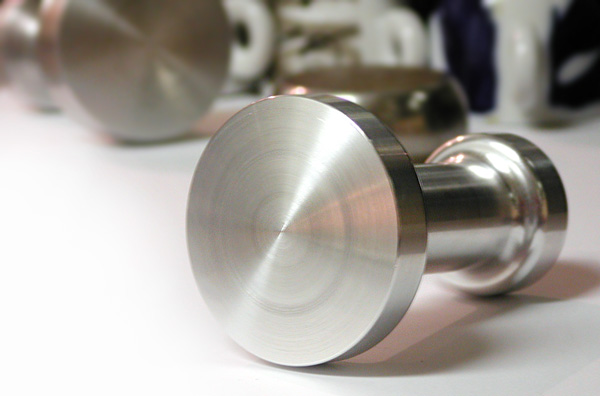
Next up, you reach for that essential tool of the barista – your tamper. And it isn’t the cheesy plastic one that shipped with your machine – leave the cheeze in the fridge – your tamper is a heavyweight, solid metal with a base that is between a quarter inch and a full inch tall and a handle that is between 2 and 4 inches long.
This serious tool is going to set you back $20, $30, $50 or more, so be ready for it.
You grab the tamper, and you… tamp. The act of tamping is pressing down with 25lbs of pressure (good starting point, not the set rule); then a twist; then a quick flick of the wrist; then a knock on the side of the portafilter to knock loose grinds from the walls of said portafilter; then another press, and a quick 180 degree twist of the tamper to finish off the job and give a polish to your grinds.
You now have what is referred to as a “packed portafilter”. What’s next? Lock and load time, baybee! But not quite yet.
The machinen commeth…
Here’s where you need another month or two of diligent practice with a quality espresso machine. Don’t even attempt to pursue a God Shot without this experience under your belt. I’m not saying you won’t ‘score’ a God Shot – you might, you just might – but you increase your odd with something I stressed heavily earlier on: practice, grasshopper. Practice.
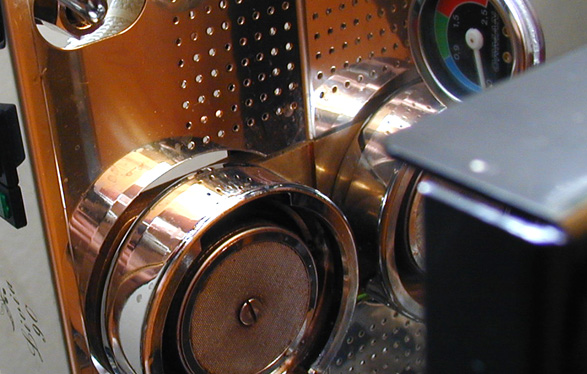
By practicing, you know, instinctively, what condition the machine is in, and what the approximate temperature it will deliver to the grounds. More expensive ($1000 or more) machines will have a pressurestat that is adjustable and a pressure gauge visible on the front. Sometimes you want to wait until the gauge hits a certain spot before you brew, and this act is known as “temperature surfing”.
On machines with heat exchangers (HE), you want to flush the HE before actually locking and loading. This gets excess heat out of the system, ensuring perfect brewing temperatures between 192F and 200F. You do this because you know that the water sitting in the HE for the last few hours (or minutes) has heated up beyond your ideal brewing range.
And you know all of this because you are a skilled barista who has spent months, years, decades even doing things like learning, practicing and experiencing all of this. This is stuff that the typical minimum wage “barista” at Starbucks or some nameless “coffee stop” just isn’t capable of understanding. Some do… don’t get me wrong. Some baristas at chain cafes take this as seriously as I do, and I don’t want to generalize too much here.
But most don’t even have a clue.
The elixir makes a show…
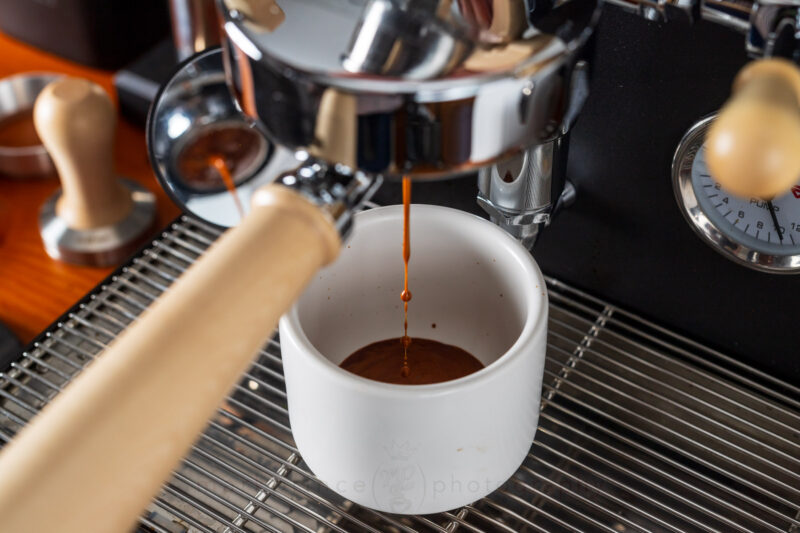
So now you get to finally brew that shot. It’s been months, years even since you started this quest for a God Shot. So you brew.
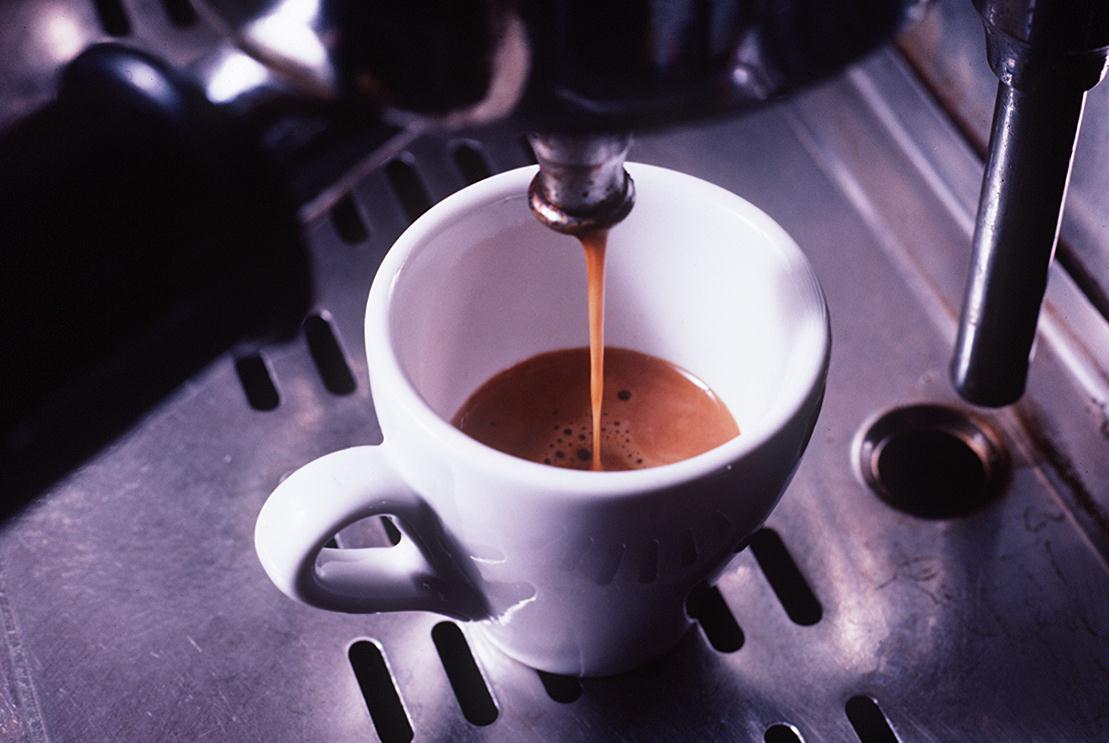
My shot of choice is called a “double ristretto”. A normal single shot of espresso is roughly 1.5 ounces brewed using 7 grams of coffee. A normal double is 2.5 to 3oz using 14-17g of coffee. A ristretto is a “restricted shot”, as in less volume brewed, but the same amount of grinds as those used in a normal shot.
If you remember what I said in the previous article, you’ll recall that caffeine and bitters take longer to extract than the flavour oils and aromatics. A double ristretto uses about 17g of ground coffee to produce a beverage of 1.25 to 1.5 ounces total. And that’s what I pull, all the time, everytime.
And sometimes they be God Shots. Most of the time, they just be good. And that’s about the best I can do, though I continue to practice and hone my skills everyday.
I use resources to continually expand my knowledge. Resources like this site and the other columnists that write for it. Newsgroups like alt.coffee. And books, man, let me tell you – I own almost every book written on espresso in the last 20 years.
But books aren’t enough. Reading isn’t enough. Only practice, perseverance, and attention to detail, microscopic attention to detail can give you that elusive God Shot one out of fifteen times, one out of ten. One out of eight, and that’s about it. Anyone you tells you differently isn’t aware of the potential espresso can have.
Which brings us back to $100 cups…
With all this passion and attention to the craft that is espresso, let me ask you something.
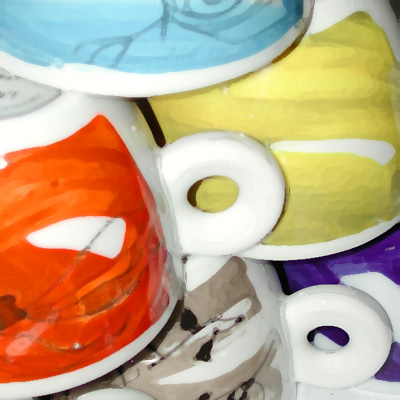
When it comes time to “framing” this drink, would you consider anything less than a cup that costs $25 a setting? Or how about something that cost $100 per cup and saucer.
I know I wouldn’t. Artistry begets artistry. You don’t put an original Monet up in an Ikea frame. You shouldn’t house a potential God Shot in anything other than a suitable vessel, one that holds an honored place on top your espresso machine, or maybe even in a display cabinet.
This, my faithful reader, is why I love espresso cups.